This handbook records the workflows, techniques, tools, and hard-won
lessons from my ongoing journey into jade and stone carving. It will
grow as the work continues — new stones, new mistakes, new refinements
folded in over time.
My path here began elsewhere: oil and watercolor painting, carpentry,
wood sculpting, and clay work. Stone is where I’ve landed, and it plays
by different rules. There is no adding material back, no second chances
on a cut — only judgment, applied one pass at a time. Three finished
pieces in, the workflow and tools documented here are proven in
practice. This book is that record.
The focus throughout is sculptural: shaping a stone into a complete
three-dimensional form, not cutting cabochons, faceting gems, or
slabbing rough for jewelry — pursuits that call for a different setup
entirely. Reading the stone, roughing the mass, refining the planes, and
carrying the surface to a mirror polish is the same direct-carving
discipline sculptors have practiced for centuries, scaled here to fit a
home studio.
Everything here assumes a small, home-scale setup, not a professional
studio. Stones run 12 in (30 cm) or smaller, 18 in (45 cm) at the
outside. The station is a cart built from off-the-shelf dimensional
lumber, fitted with
a rotary tool and a belt-driven wet lap wheel, costing about $600 and
taking up roughly 2 square meters — small enough for a garage corner or
a patio, and easy to keep the slurry contained. Chapter 4 covers the
full build. If your stone, space, and budget are in this range, the
workflows ahead should carry over directly; at a larger scale or in a
full studio, treat this as a starting point rather than a blueprint.
Before: raw stone.After: finished piece.
Chapter 1Carving Workflows
The standard workflow for carving quartz, quartzite, chalcedony, and
similar hard stones using the current workshop setup.
Basic Stone Carving Workflow
The chapters that follow build on this workflow: Chapter 2 covers tool
selection in detail, Chapter 3 walks through the sculpting process
itself step by step, Chapter 4 documents the DIY workstation the
workflow runs on, and Chapter 5 covers stone identification for
picking what to carve in the first place.
Chapter 2Tool Selection Guide
Drive Motor
The cart’s third “tool” isn’t handheld — it’s the fractional-horsepower motor that drives the lap-wheel arbor (Chapter 4) through a V-belt instead of spinning a bit directly. That distinction shapes every spec on it. Mine: 1/2 HP single-phase AC, 1725 RPM, 5/8 in (1.6 cm) shaft, 56 frame, TEFC.
Water resistance. This motor sits inches from a wet grinding trough, so an open-frame motor — the kind on most cheap bench grinders — is a non-starter; splash or slurry mist reaching the windings is a matter of when, not if. A TEFC (Totally Enclosed Fan-Cooled) motor solves this: the housing is sealed, cooling air runs over the outside of the case instead of through the windings, and the junction box is gasketed. Check the nameplate for an IP rating — IP54 (“splash-rated, dust-protected”) is the practical minimum for anything living next to wet work; IP44 is open enough to risk it, IP65+ is overkill for a hobby bench.
RPM. 1725 RPM is the standard output of a 4-pole single-phase AC motor on 60 Hz power (synchronous speed 1800, minus slip under load) — the “slow” tier below the 3450 RPM 2-pole motors sold for bench grinders. Slower is the right call here: the belt-and-pulley arbor already lets me gear the final disc speed up or down, so the motor itself doesn’t need to spin fast, and a slower motor gives more torque, less water flinging, and finer control — all of which matter more than raw speed on a wet lap-wheel.
Blades and wheels. Because the motor drives an arbor rather than mounting a disc directly, it isn’t “rated” for cutting or grinding the way a handheld grinder is — that rating belongs to the arbor and the disc, not the motor. What the motor needs to match is shaft diameter and frame size: 5/8 in (1.6 cm) shaft, 56 frame is the standard fractional-HP combination most lapidary and bench-grinder arbors are drilled for, so it bolts up without an adapter. Any diamond disc rated for the arbor’s running speed works on it — cutting blade or lapping/grinding wheel alike — since the motor only supplies rotation, not a speed rating of its own.
Rule of thumb: for a wet lapidary drive motor, prioritize sealed housing and splash rating first, standard shaft/frame size second, and horsepower last — 1/3–1/2 HP (~250–375W) covers a hobby-scale lap wheel or small saw arbor with room to spare.
Rotary Tool (Medium)
Sized to close the gap between the 4.5 in (11 cm) angle grinder and the detail rotary tool next below. Neither of those covers this middle ground well: once the block-out is done the grinder is too big and too fast to control at that scale, and the detail tool is underpowered for general shaping. Specs: 780W, 500–23,000 RPM stepless speed via foot pedal, 1/4 in (0.6 cm) 3-jaw chuck, ~100cm flex-shaft.
A foot pedal frees both hands for the workpiece and the flex-shaft handpiece, and stepless speed control matters more here than on the detail tool below — this tool spans a wider range of operations, from moderate stock removal to shaping, so the right speed keeps changing through a session instead of settling on one setting. The 1/4 in (0.6 cm) chuck is the other deciding spec: it takes shanks noticeably larger than the 1/8 in (0.3 cm) most detail bits use, which is what lets it run bigger burrs and mounted points for faster removal instead of just fine detail.
Rotary Tool (Detail)
This is what I use: a Dremel-style rotary tool with flex-shaft attachment, ~1.6A / 120V (~135–165W) — intentionally underpowered for anything beyond fine work, which is exactly what leaves the gap the medium tool above exists to fill.
It’s bolted to a bracket at the top of the cart, with the flex-shaft handpiece hanging within reach of the main work surface — this is the tool for eyes, lips, hair, and tight undercuts once the piece is past shaping (see the burr guide below for the bit progression). Low power is a feature here, not a limitation: it’s harder to gouge past a fine detail with a tool that can’t remove much material per pass.
Cutting Wheels: 8 in (20 cm)
This is what I use: an 8 in (20 cm) diamond lapidary saw blade with a thin continuous rim — 0.022 in (0.06 cm) rim, 0.017 in (0.04 cm) core, diamond edge on a high-carbon steel core, 1 in (2.5 cm) arbor with a 5/8 in (1.6 cm) bushing.
The thin rim keeps kerf loss low on valuable material, which makes it good for trimming and slabbing softer, high-value stone like turquoise, gaspeite, and opal on a tile or lapidary saw. It’s wet-cutting only — water keeps it cool and cutting cleanly.
Grinder Wheels: 4.5 in (11 cm)
This is what I use: a 4.5 in (11 cm) super-thin turbo/mesh-rim diamond blade (the same line is also sold 4 in (10 cm)–10 in (25 cm)), about 1.2 mm thick, with a 7/8 in (2.2 cm)–5/8 in (1.6 cm) arbor, rated for granite, marble, and porcelain tile.
It mounts on a standard 4.5 in (11 cm) angle grinder and runs wet or dry. The perforated mesh rim runs cooler and cuts faster than a solid rim, which makes it good for quick trims and rough cuts before moving to burrs for detail work.
Chisel
The same cold chisel from Chapter 5’s stone-hunting kit earns a second job at the bench: splitting a rough block along a seam, or knocking it down toward the marked cut line, before it goes anywhere near a saw or grinder. It’s a hand-tool shortcut for bulk waste removal on material with an obvious weak plane — faster than sawing through material that’s coming off anyway, and it costs no diamond wear on stock headed for the scrap pile either way. See Chapter 5 for handling notes; nothing about it changes between field and bench use.
Burr Selection Guide
Burr Material: Sintered vs. Coated vs. Vacuum-Brazed
Aspect
Sintered
Coated
Vacuum-Brazed
Diamond layer
Multi-layer, in matrix
Single surface layer
Single layer, vacuum-bonded
Working life
20–100+ hrs
30 min–5 hrs
5–20× coated
Est. cost
~$8–20
~$1–3
~$5–10
Cutting speed
Steady as it wears
Fast, fades quickly
Fast, fades slower than coated
Wears out by
Slow grind-down
Coating flakes off
Flakes off, slower than coated
Renewable
Yes, dress with SiC
No
No
Best for
Core set, long sessions
Odd/disposable shapes
Mid-tier, when coated is too weak
Sintered costs more upfront but is cheaper per hour of use and holds shape better — the right choice for a primary set. Coated suits odd shapes or one-offs not worth a sintered investment. After burning through too many coated burrs, I switched to all-sintered and haven’t gone back.
Actual life depends on stone hardness, pressure, speed, and cooling. On harder stones (Mohs 7+, e.g. quartzite), electroplated burrs wear out fast enough to interrupt a session — favor sintered there.
Maximizing Burr Life:
Always carve with water.
Use light pressure; let the diamond cut.
Keep the burr moving.
Avoid overheating.
Dress sintered burrs periodically with a silicon carbide dressing stone.
Never use diamond-on-diamond for dressing.
Core Burr Set
Ranked for figure sculpture work.
Rank
Shape
Burr Shape
Priority
Primary Use
1
Ball
★★★★★
General shaping, hollowing, blending, smoothing organic forms
2
Straight Cylinder
★★★★★
Fast stock removal, flattening surfaces, straight grooves, establishing planes
3
Flame (Teardrop)
★★★★☆
Refining curves, anatomy, transitions, reaching tight areas
Undercuts, crisp edges, separating forms, deep grooves
5
Wheel / Disk
★★★★☆
Rapid material removal, slots, concave cuts
6
Cone
★★★☆☆
V-grooves, chamfers, bevels
7
Needle / Point
★★☆☆☆
Fine details such as eyes, lips, hair, and tiny undercuts
Recommended Starter Set (Sintered): 8 mm Ball, 6 mm Straight
Cylinder, 6 mm Flame, 6 mm Inverse Taper — covers roughly 90–95% of
sculpture work on jade, quartz, agate, and quartzite.
Additional Tools: 20–30 mm Vacuum-Brazed Diamond Carving Disk,
Thin Diamond Cutoff Disk, 3–4 mm Ball Burr, Needle Burr for fine
detail work.
Typical Burr Workflow
This is the rotary-tool sequence once a piece reaches the burr stage —
a subset of the full carving workflow, not the whole thing end to end
(see Chapter 1 for that).
Diamond cutoff or carving disk → remove large pieces.
Straight cylinder → establish planes and rough shape.
Ball → create smooth organic forms.
Flame → refine transitions and anatomy.
Inverse taper → create undercuts and crisp shadow lines.
Needle → finish fine details.
Chapter 3The Sculpting Process
Carving a stone from raw block to finished piece is one continuous process, even though it’s easiest to talk about in three stages. Roughing establishes the form. Sculpting refines that form into something specific. Finishing & polishing brings out the surface. Each stage leaves the piece in a state the next one depends on — skipping ahead just means backfilling work later, under worse conditions.
Getting a Design onto the Stone
Every workflow below starts at the saw, which assumes the cut lines are already decided. That decision happens first:
Sketch or reference first. Work out the form on paper (or from a reference photo) before touching the stone — proportions are far easier to fix on paper than after the first cut.
Mark directly on the stone with a grease pencil or fine permanent marker for the main silhouette and centerline; wax pencil shows up better on wet or dark stone than graphite.
Check the marked stone from multiple angles before cutting — a silhouette that looks right face-on can be badly off from the side, and this is the cheapest point in the whole process to catch that.
For an irregular blank, let the stone’s natural shape and any fractures (see the roughing section below) influence where the design is marked, rather than forcing a symmetrical layout onto an asymmetrical block.
Marking is not a one-time step — carving removes the surface the mark was drawn on, so lines get ground away or thrown out of proportion as material comes off. Expect to re-mark after each major pass, checking against the stone’s current form rather than the original sketch.
Once the design is marked, the workflow below picks up at the saw.
Roughing: Establishing the Form
Figure 3.1: Rough stone blank being ground down, major planes not yet established.
Read the Stone First
Before cutting, read the material: check for fractures, weak zones, grain changes, and natural planes, and let the stone’s structure guide the cut instead of fighting it. Decide the final orientation up front — mark the centerline, the major silhouette, and any reference points — so the plan stays fixed instead of getting improvised mid-cut.
End of free preview
Continue Reading in the Full Book
The rest of the roughing, sculpting, and finishing & polishing workflow — plus tool selection, the DIY workstation build, and the 30-stone identification guide — continues in the full handbook.
Figure 3.2: Inspect for fractures, weak zones, and grain changes before removing any material.
Plan the Block-In
Remove material in stages rather than carving toward the final shape in one pass: clear the obvious waste first, establish the largest planes next, then move toward the general form. Stay on the main mass and overall proportions before anything smaller — starting too small too early lets the piece lose balance before the form is even stable.
Figure 3.3: Mark the centerline, major axis, and reference points before the first cut.
From Blank to Refined Rough Form
Leave a safety margin until the rough form checks out from every angle, and check it often — stop, rotate the piece, and compare front, side, top, and back. That margin, and that habit, is what catches overcutting, hidden flaws, and symmetry problems that only show up once the stone is turned.
Figure 3.4: Work from large shapes to smaller shapes — details come last.
Check the Form From Every Angle
The most common roughing mistakes are chasing details too early, cutting too deep on one side, and ignoring weak planes in the stone. Good roughing stays controlled and deliberate — it sets the boundaries for shaping and gives the sculpture a stable structure to build on.
Figure 3.5: A shape that looks right from one view may be wrong from another — rotate and compare often.
Good Roughing vs. Overcut Roughing
Figure 3.6: Good roughing keeps a safety margin; overcut roughing cuts past the target line and can't be recovered.
Sculpting: Refining the Planes
Sculpting is where that rough block turns into a specific form. Start big, not small: use a 4.5 in (11 cm) angle grinder to establish the large surfaces that define the sculpture before touching any detail — these planes control how the piece reads from every angle.
Work in small steps: remove a little material, check the shape, repeat. This keeps the form moving forward without losing the structure that roughing already gave it. Different stones behave differently under the tool — some cut clean, others need gradual, repeated passes — so let the material set the pace rather than forcing it.
Once the big shape is right, start softening hard edges and connecting surfaces on purpose — this is what makes a piece feel deliberate instead of blocked out. Keep checking symmetry as you go: compare both sides, rotate the piece often, and remember that a shape which looks right from one angle can still be unbalanced overall.
Hold off on fine detail until the larger form is stable — details added too early won’t survive the changes still to come. Watch for the same handful of mistakes: over-refining too soon, flattening forms that should stay rounded, transitions that are too sharp or too soft, losing symmetry while focused on one area, and cutting past the piece’s intended rhythm.
Sculpting is the turning point: it’s where the piece becomes recognizable. Get it clear, balanced, and readable here, and finishing and polishing will go smoothly.
From Blank to Finished Form: A Complete Sequence
The eight photos below follow one piece through every stage described above, start to finish — from the first marks on the raw stone to a finished multi-angle check — rather than isolated examples pulled from different work. Taken together they’re the clearest picture of how rough, provisional, and marked-up a piece looks through most of its life, and how late the “finished” look actually arrives.
Figure 3.7a: The raw stone with the design sketched on.Figure 3.7b: After the initial grinder pass exposes a flat face, the design is re-marked on the fresh surface.
Figure 3.7c: The rough form blocked in — major masses established, guide lines re-marked for the next pass.Figure 3.7d: Cut in further — head and limbs now clearly separated from the surrounding mass.
Figure 3.7e: Flex-shaft shaping the arm, stone clamped wet in the trough jig.Figure 3.7f: Dry and dust-covered, the form nearly complete — most guide lines worked away.
Figure 3.7g: The finished piece — planes softened and connected, ready for polishing.Figure 3.7h: The same piece from the opposite side — clean from every angle, not just the one it was designed from.
Finishing & Polishing
I use two polishing systems, and switch between them depending on the
surface I’m working on:
Abrasive polishing discs mounted on a flex-shaft or rotary
tool — fast, good for open/convex surfaces.
Diamond compound applied with felt bits — slower, but reaches
tight undercuts and detail work the discs can’t touch, and gives
the highest final gloss.
Neither system is stone-specific gospel — match grit progression to
the Mohs hardness and polish potential noted in Chapter 5’s stone
tables. The two systems also differ in water use: run the discs wet,
but keep the compound-and-felt stage dry (see notes below).
System 1: Abrasive Polishing Discs
These are small abrasive discs mounted on a rotary tool mandrel, 1
inch (2.5 cm) in diameter, rated for jade, agate, and marble. My own
set runs 100, 200, 400, 600, 800, 1000, 3000 grit.
At 1 inch (2.5 cm), these discs are sized for flex-shaft/rotary tool work
rather than a bench grinder — good for flattening facets, working
convex curves, and covering broad areas quickly before moving to
felt-and-compound for the final gloss. Sellers in this category
typically offer the same disc in a graded grit range (coarse to
fine); buy a spread of grits rather than a single grit so you can
step down through the scratch pattern instead of jumping straight to
fine.
The exact numbers above don’t have to match any particular listing
— what matters is that the set covers the stages lapidaries
typically break a diamond disc progression into: coarse (roughly
80–200, for bulk shaping and establishing the profile), medium
(400–800, for clearing the coarse scratch pattern), fine
(1000–1500, for closing up the surface), and polish (2000–3000+,
for the final sheen before moving to felt and compound). The
100/200/400/600/800/1000/3000 set above covers all four stages; its
one gap is jumping from 1000 straight to 3000 with no 1500/2000 step
in between, so expect that last pass to take noticeably longer than
the others.
Work through the grit range in ascending order, without skipping a
step. Each grit only removes the scratch pattern left by the grit
before it — coarser scratches are deeper than a finer grit is
capable of cutting through in a reasonable amount of time. Skip a
step (say, jumping from 400 straight to 3000) and the leftover 400-grit
scratches will still be visible under the finer polish, forcing you to
back up to a coarser disc and re-do the sequence. Working the full
ladder in order is slower per-step but faster overall, and it’s the
only way to reach a true mirror finish.
Run this stage wet, same as the earlier shaping and sculpting
steps — water clears the abrasive swarf, controls dust, and keeps
the disc and stone from overheating.
System 2: Felt Bits + Diamond Compound
Felt bits are cone/bullet-point wool felt bits on an extended,
long-reach 1/8 in (0.3 cm) shank, 75 mm long, sold 30 bits per set.
The extended 1/8 in (0.3 cm) shank is what makes these useful beyond generic
felt polishing wheels: 75 mm of reach gets the felt cone down into
undercuts, hollowed interiors, and tight anatomical transitions that
a short-shank bit or a disc can’t reach without the mandrel body
scraping the stone.
Diamond compound is a diamond paste/lapping compound with a grit
range of roughly 500 to 80,000, at 30% diamond concentration, rated
for glass, metal, marble, rock, jewelry, and watch work.
Load a small amount of compound onto the felt bit, work it into the
felt before touching the stone, and step through the grits in order
— skipping steps leaves visible scratch traces that the next grit
up often can’t fully erase. The high end of this range (tens of
thousands of grit) is what produces a true mirror finish; stop
earlier if you want a satin rather than glass-like surface.
Run this stage dry, no water. The compound is oil-based —
water breaks the oil carrier down, floods the diamond off the felt,
and stops it cutting. Wipe the piece down between grit changes
instead so leftover coarse compound doesn’t contaminate the next
(finer) felt bit.
Choosing Between Them
Discs first, felt second on any piece with open, accessible
surfaces: rough out the polish with discs, then switch to
compound-loaded felt bits for undercuts and the final high-grit
pass.
Felt + compound only on pieces that are mostly hollow forms,
deep relief, or fine detail, where a disc mandrel can’t get
physical clearance.
Dry the stone completely before switching from discs to compound
— residual water on the surface or in the felt will kill the
oil-based compound’s cutting action. Wear a dust mask during the
dry compound stage since there’s no water to knock dust down.
Figure 3.8: A felt bit loaded with diamond compound, polishing dry.
Chapter 4The DIY Workstation
Built from off-the-shelf dimensional lumber rather than bought as a
dedicated lapidary bench. The setup is really two pieces working
together: a mobile tool cart for the flex-shaft and portable grinders,
and a separate motor-driven lap-wheel trough for wet grinding and
lapping flat faces.
Frame size isn’t called out on the drawings below because it isn’t a
fixed spec — size the frame to your own work, not the other way
around. My own carving stays under 12 in (30 cm), so the cart footprint
is 24 in (61 cm) L × 18 in (45 cm) W × 26 in (66 cm) H and the whole station fits in about 4×4 sqft of
floor space. Sculptures up to about 18 in (45 cm) still fit, but larger pieces
get tricky to maneuver around the cart and trough. Decide your own
dimensions based on the maximum sculpture size you actually carve.
These were the original design sketches, drawn up before anything was
built — planned a couple inches taller (29 in, 74 cm) than the cart actually
came out (26 in, 66 cm). Each row below pairs a sketch (left) with how that
part of the cart actually turned out (right): first the fixed,
table-mounted 8 in (20 cm) wheel/saw arbor described for small stones
below (see Setup Choice), then the rotary-tool component layout —
flex-shaft up top, motor and consumables mid-shelf, angle grinder on
the bottom — documented shelf by shelf below.
Figure 4.1a: 8 in (20 cm) saw arbor — design sketch.Figure 4.1b: 8 in (20 cm) saw arbor — actual build.
A few reasons pushed this toward a DIY cart rather than a commercial
lapidary station:
Lapidary equipment solves a different problem. Commercial
lapidary machines — trim saws, flat laps, faceting rigs — are built
to cut and polish small material down into cabochons, slabs, and
facets for jewelry. Sculptural carving runs the other direction:
most of the stone’s mass has to come off to reveal a form, so bulk
grinding tools do the majority of the work, with lapidary-style
polishing showing up only at the very end.
No off-the-shelf unit matches this tool mix. The workflow needs
three distinct handheld tools working side by side — a big angle
grinder, a medium rotary tool, and a small detail rotary tool — plus
a separate wet lap-wheel trough. Commercial lapidary machines are
built around a single wheel or arbor size; buying this combination
pre-built would mean several separate machines and their own floor
space instead of one cart.
Sized to the stone, not the other way around. At under 12 in (30 cm) per
piece, this setup falls between two poles of the retail market:
small rock-tumbling/cabbing kits sized for much smaller stones, and
full lapidary shop equipment sized — and priced — for studio-scale
work. Building it means the cart footprint (24L × 18W × 26H in, 61 × 45 × 66 cm)
matches the stones actually being carved instead of over- or
under-shooting them.
Mobility matters more than a fixed bench does. Wet and dry
stages need to move outdoors or to a ventilated spot (see Personal
Safety & Dust Protection below), and locking casters make that
trivial. Most bought lapidary benches are meant to sit in one place.
Cost. Framing, tools, and hardware for the whole cart-plus-trough
setup run about $680 total (see Build Time & Cost below) — in the
range of a single mid-size commercial trim saw or flat lap alone,
for a setup that covers block-out through fine detail. Many of the
tools involved — angle grinders, rotary tools, drills, shop vacs —
are common home-improvement tools, so if you already do DIY or home
repair work, you may own a good chunk of this list already.
Fast to build and easy to change. With the framing on hand,
assembly took about an hour, and the design leaves room to grow —
the medium rotary tool called out above mounts with just another
bracket on the rail. A bought machine doesn’t flex that way.
This isn’t an argument against buying equipment in general — it’s what
fit a home setup, a specific stone size, and a fairly modest budget
better than anything on the market did.
Base & Frame
Built from off-the-shelf 1×2 & 1×3 dimensional lumber, screwed and
through-bolted into a three-tier open-shelf cart.
Mounted on locking casters, so the whole station can be rolled
outdoors for wet or dusty work and back in when done.
Shelves are organized by function rather than by tool type: the
flex-shaft handpiece lives at working height on top, the heavier
drive motor sits mid-shelf to keep vibration and noise away from the
point of work, and secondary tools (angle grinder, spares) are
stored on the bottom shelf out of the way.
Why wood is enough. Nothing on the cart pushes back on the
frame the way a wood table saw does — there’s no blade biting into
material and kicking load back through the base. The stone stays in
a handheld tool or a hand-fed vise, so the frame only has to carry
static weight (motor, tools, trough) plus light handling vibration,
well within what screwed-and-bolted 1×2/1×3 dimensional lumber can
take. That’s why a welded metal frame was never necessary here.
Setup Choice: Stone Size Determines the Workflow
Chapter 1’s workflow diagram assumes the stone fits the vise. Vise
capacity is what actually decides how a piece gets carved, so it is
worth spelling out before getting into the trough and vise builds
below.
This handbook draws the line at 4 in (10 cm), measured along the
stone’s longest dimension – the biggest a stone can be and still fit
the vise. A large stone is above that limit; a small stone is
at or below it.
Large stones (> 4 in / 10 cm): turntable-fixed, tool-in-hand
A stone too big for the vise cannot be clamped at all, so it is instead
screwed down to a rotating lazy-susan turntable. The screws hold it
fixed for any given cut, and the turntable lets it spin so each face
can be brought into reach without unscrewing it. Either way, the stone
stays put and each tool comes to it by hand: the jade saw for the
initial block-out, then the angle grinder with the thin diamond wheel
for relief cuts and separation, and so on through the sequence. This is
the setup behind Chapter 1’s workflow diagram.
Small stones (≤ 4 in / 10 cm): two options
Anything that fits the vise can be worked either of two ways.
The first keeps the same tool-in-hand approach as large stones, just
with the vise mounted on top of the turntable: the stone is clamped in
the vise, and the grinder or saw is brought to it by hand.
The second flips the setup around instead: the tool is mounted
stationary and the stone is moved by hand against it. This is worth
doing once a piece gets small enough that a spinning grinder wheel is
hard to control and unsafe to work handheld. In practice, that means
working on a fixed, table-mounted saw rather than a handheld angle
grinder. Because the saw is bolted down and the stone is small enough
to guide freely with your fingers, it becomes practical to use the
8 in (20 cm) saw disk for far more of the process than the vise-held
method above – not just the initial block-out, but much of the shaping
that a handheld diamond wheel would otherwise handle. The angle grinder
still has a place for relief cuts and detailing, but it does
proportionally less of the work; the table saw does more.
The short version: large stones, vise-held, move the tool; small
stones flip that around and move the stone against a fixed tool,
leaning more heavily on the table saw and less on the handheld
grinder. A dedicated small-stone workflow diagram is reserved for a
future revision of Chapter 1.
The Trough Station: Lap-Wheel or Rotary Mount
The trough is one shared water station with two swappable modes, only
one of which occupies it at a time: a motor-driven lap-wheel for wet
grinding and cutting, or a hand-turned rotary mount for holding a
stone against a handheld tool. Both draw on the same pump and water
line, so there’s no separate plumbing to build for each.
Lap-wheel mode (motorized). A fractional-horsepower motor on the
middle shelf drives a single external arbor via a V-belt rather than
spinning a tool directly — this keeps the heavy, vibrating motor
separate from the handheld tools. The arbor’s shaft rides in two
pillow-block bearings bolted to the trough’s box dividers, with a
diamond disc mounted on the end. Which disc depends on the job: a fine
continuous-rim cutting blade turns this into the fixed, table-mounted
8 in (20 cm) saw used for small stones — per the Setup Choice guidance
above, below a certain size a stone can’t be held safely in a vise
against a handheld tool, so this arbor takes over most of the block-out
and shaping instead of the
angle grinder below; a lapping/grinding wheel turns it into the
lap-wheel proper, for wet grinding and lapping flat faces. Same motor,
same shaft — just a different disc bolted on.
Figure 4.3a: Lap-wheel mode — design sketch.Figure 4.3b: Lap-wheel mode — actual build: belt-driven arbor and diamond disc, mounted over the plastic-tub-lined tray with a drip-fed water line for wet lapping.
Rotary mode (hand-turned). For work that’s better done by hand
against a handheld tool — reorienting a stone mid-grind without
unclamping and re-clamping it — the arbor and shaft assembly comes
out, and a rotary-vise frame takes its place at the trough’s edge in
one swap: its lazy-susan turntable bearing is bolted directly to the
frame rather than set loose in the water, so the bearing and frame
move together instead of being placed and aligned separately. It sits
close enough for the same pump and gooseneck line to keep the stone
wet, but beside the water rather than in it.
How the stone attaches to the turntable depends on size: for larger
stones, a few screws straight into the wood disc hold it fine; for
very small stones that’s not practical, so a small drill-press-style
vise, fitted with soft jaw pads to protect the stone face, mounts on
top of the disc instead and clamps the piece.
Figure 4.4a: Rotary mode — design sketch.Figure 4.4b: Rotary mode — actual build: the arbor swapped out for a rotary-vise frame — its lazy-susan bearing bolted straight to the frame so both move as one unit — a stone slab mounted on the rotating disc, with the submersible pump and coolant line alongside it.
Shared water system. A shallow open-top wooden box holds a plastic
storage-tub liner, which catches slurry and protects the wood
underneath rather than bonding anything permanently to the frame.
Plywood/OSB offcuts form a false floor inside the tub, keeping the
arbor’s shaft assembly raised above the waterline when it’s mounted. A
small submersible pump sits in the tray itself, recirculating water
from the tub liner up through a flexible gooseneck coolant line (with
an inline shutoff valve) to whichever mode is set up, rather than
relying on a fresh-water drip — misting the disc in lap-wheel mode, or
just keeping the stone wet within reach of the turntable in rotary
mode.
Vise & bearing mount. A closer look at the two components behind
that small-stone setup: the vise itself, clamping a stone too small to
screw down directly, and the lazy-susan bearing underneath the disc
that lets the whole assembly turn.
Figure 4.5a: Rotary mode, small-stone version: the vise mounted on top of the turntable disc, clamping a stone too small to screw down directly.Figure 4.5b: The rotating part itself: a lazy-susan turntable bearing sandwiched between the disc and the base.
Handheld Tools
The cart is built around three handheld tool sizes rather than one
“do everything” tool — a single grinder or rotary tool can’t cover
both bulk removal and fine detail without compromise, and after enough
time at the bench, the gap between them becomes obvious:
Big — 4.5 in (11 cm) angle grinder. Bulk stock removal and the initial
block-out. Plenty of power to move material fast, but too large and
too aggressive to control for anything approaching fine shaping.
~11A / 120V (~1,300W).
Medium — rotary tool with flex shaft. Fills the gap between the
other two: the small detail tool below is underpowered for general
shaping once the block-out is done, and the grinder is too big and
too fast to control precisely at that scale. 780W, 500–23,000 RPM
stepless speed via foot pedal, 1/4 in (0.6 cm) 3-jaw chuck, ~100cm
flex shaft.
Detail — small rotary tool with flex shaft. Fine detail work:
eyes, lips, hair, tight undercuts. ~1.6A / 120V (~135–165W) —
intentionally underpowered for anything beyond fine work, which is
exactly what leaves the gap the medium tool above is meant to fill.
Mechanically, on the cart itself:
The detail rotary tool is bolted to a bracket on the top shelf rail,
with the flex-shaft handpiece hanging within reach of the main work
surface. The medium tool mounts the same way.
Cords are zip-tied along the frame instead of lying loose on the
floor; the motor’s plug is tagged for quick identification at the
outlet.
Corded tools not in active use (angle grinder, etc.) are parked on
the bottom shelf, off the working surface.
Water & Dust Management
Clear plastic sheeting is taped up around the flex-shaft station as
a splash guard, since it sits next to a window.
A water bottle is kept on the cart for rinsing and topping off
carving water.
The trough station (above) contains its own slurry management
independent of the cart.
Water sealing needs real thought in a wood build like this — I use
grout to seal the wood joints. The basin splashes a little, so the
wood underneath and around it is fully sealed rather than just
spot-treated. If you’d rather skip sealing altogether, work outdoors,
or pick a spot that can tolerate light splash.
The wood itself is coated with polyurethane to make it water
resistant.
Personal Safety & Dust Protection
The water and dust controls above protect the equipment and the room;
they don’t replace protecting yourself. Dust protection is a
dry-stage concern specifically — dry grinding and dry polishing (see
Chapter 3’s felt-and-compound stage) throw airborne dust that wet work
mostly suppresses, and quartz-family stones (agate, chalcedony,
quartzite) release crystalline silica dust, a real long-term lung
hazard (silicosis) if breathed regularly, not just a nuisance. Eye and
face protection, by contrast, matter any time a wheel, burr, or disc
is spinning — wet or dry.
Wear a properly rated N95/P100 respirator (not a paper dust
mask) for any dry grinding, dry polishing, or dry sanding step —
cloth and surgical masks don’t filter silica-sized particles.
Run wet whenever the workflow allows it (see the wet/dry notes in
Chapter 3); wet work is the single biggest reduction in airborne
dust, and skips the respirator requirement for that step.
Wear eye protection rated for the tool in use any time a wheel,
burr, or disc is spinning, wet or dry.
Add a face shield over safety glasses for wet grinding — a
spinning wheel throws water and slurry back toward your face, and
the shield blocks most of that splash where glasses alone only
cover the eyes.
The diamond wheel/disc is not the same finger risk as a wood table
saw. A wood saw blade has aggressive teeth that grab and pull —
that’s what takes fingers off. A diamond disc abrades instead of
biting, so brushing it lightly is more likely to burn or scrape than
to cut. That doesn’t make it safe to get careless around — keep
fingers clear of the cut line regardless — just that the
catastrophic table-saw-style injury isn’t the failure mode here.
Work the dry stages outdoors or with the cart rolled to a
ventilated spot (the casters exist partly for this) rather than in
a closed room.
Wash hands and forearms after handling dry slurry or dust residue,
and launder dusty clothing rather than shaking it out indoors.
This applies to every stage in this handbook that produces dry dust
— roughing, sculpting, and the dry compound stage of polishing —
not just the workstation itself.
Build Time & Cost
This workstation is fast and cheap to build — with the framing on
hand, an hour of woodworking is enough to get from lumber to a
carving-ready station. After a few months of regular use, the wood has
held up well; nothing has needed replacing.
The frame and tools are a one-time cost, but diamond burrs are a
running consumable — they wear out and get replaced over time (see the
burr guide and its notes on
maximizing burr life). The total below reflects the 16 burrs currently
on hand, not a fixed, one-time number.
Prices above reflect new-retail costs in the US as of 2026. Buying secondhand — online bidding or garage sales — can cut this further, especially on the motor.
Category
Item
Details
Cost
Framing
Wood
1×2 & 1×3 dimensional lumber (actual ¾×1½ in / ¾×2½ in, 1.9×3.8 cm / 1.9×6.4 cm), 8 ft lengths — 3 pieces of each.
$20
Board
1/2 in (1.3 cm) OSB sheet
$20
Rotating lazy susan
Square turntable bearing — common sizes run 3–4 in (8–10 cm)
$10
Small vise
Drill-press vise — common jaw widths run 2.5–3 in (6–8 cm)
$20
Tools
Motor
1/2 HP single-phase AC motor, 1725 RPM, 5/8 in (1.6 cm) shaft diameter, 56 frame — TEFC (Totally Enclosed Fan-Cooled) sealed housing, IP54 splash-rated, gasketed junction box: no open vents for water or grit to enter, important since it sits right next to wet grinding — typical fractional-HP range 1/3–1/2 HP (~250–375W)
$150
Grinder (big)
4.5 in (11 cm) angle grinder, 11A / 120V (~1,300W) — typical 4.5 in (11 cm) grinders run 7–11A (~800–1,300W)
$100
Rotary tool (medium) + flex shaft (optional)
Rotary tool with flex-shaft attachment, closes the gap between the grinder and the detail tool below — 780W, 500–23,000 RPM stepless speed via foot pedal, 1/4 in (0.6 cm) 3-jaw chuck, ~100cm flex shaft.
($100)
Rotary tool (detail) + flex shaft
Rotary tool with flex-shaft attachment, 1.6A / 120V (~135–165W) — typical rotary tools run 1–2A (~135–240W)
$100
Water pump
Small submersible pump, feeds the drip line onto the lap-wheel disc
$10
Consumables
Diamond burrs
16 sintered diamond burrs on hand, spanning the core shapes and starter/additional sizes from the burr guide in Chapter 2 — averages ~$9.40/burr. Wears down with use; expect to keep buying replacements rather than a one-time purchase.
$150
Total(excl. optional items)
$580
Chapter 5Stone Identification
Stone Materials
The stone materials covered here are commonly found in the US and China —
reflecting where I source and carve, not a global survey — and they
span very soft talc/pyrophyllite bodies up through quartz and
igneous stones hard enough to dull diamond burrs. The chart below
groups them by mineral family rather than marketing name, since family
predicts carving behavior better than a name does — Shoushan and
Changhua Stone carve almost identically because both are pyrophyllite,
while “jade,” “onyx,” and “marble” get applied loosely to unrelated
minerals.
The lens throughout is sculptural, not lapidary: what matters is how a
stone behaves as mass comes off under a grinder and rasp — grain
direction, fracture planes, how the surface takes a mirror polish —
not color saturation or pattern framing, the criteria that drive
cabochon and slab grading. A stone that’s mediocre lapidary rough
(mottled, fractured, oddly shaped) can still carve into a strong
sculptural piece, and vice versa.
Mohs hardness is the key filter: below ~3 works with hand rasps alone,
3–5 is the comfortable zone for rotary tools with sintered diamond
burrs, and above 6 requires plated diamond, patience, and real dust
control. Availability also varies — soapstone, alabaster, marble, and
travertine are easy to source in the US, while the Chinese
scholar-stone tradition (Shoushan, Qingtian, Changhua, Balin) and
nephrite/jadeite are more common through Asian markets and specialty
importers. For outdoor pieces, stick to quartz, granite, basalt,
sandstone, or soapstone (dense enough to weather well despite its low
hardness); pyrophyllite and gypsum-family stones are indoor/display
only.
For a first stone, soapstone or a pyrophyllite-family stone (Shoushan,
Qingtian) is the standard recommendation — soft, forgiving, and cheap
enough that mistakes are a learning experience. Save quartz-family and
igneous stones until your technique and dust control are solid.
Stone Comparison Chart
Family
Name
Mohs
Polish
Outdoor
Gallery
Talc
Soapstone (Steatite)
1–2
Satin
Maybe
★★★☆☆
Pyrophyllite
Shoushan Stone
2–3
Satin
No
★★★★☆
Qingtian Stone
2–3
Satin
No
★★★★☆
Changhua Stone
2–3
Satin
No
★★★★☆
Balin Stone
2–3
Satin
No
★★★★☆
Agalmatolite (Figure Stone)
2–3
Satin
No
★★★★☆
Gypsum
Alabaster
2
High
No
★★★★☆
Selenite
2
High
No
★★☆☆☆
Calcite
Marble
3
Mirror
Yes
★★★★★
Calcite Onyx
3
Mirror
Maybe
★★★★★
Afghan Onyx
3
Mirror
Maybe
★★★★☆
Limestone
3–4
Satin
Yes
★★★★☆
Travertine
3
Satin
Yes
★★★★☆
Serpentine
Serpentine
3–5
Mirror
Yes
★★★★☆
Xiuyu
3–5
Mirror
Yes
★★★★☆
Bowenite
5–5.5
Mirror
Yes
★★★★★
Metamorphic
Chlorite Schist
2.5–4
Satin
Maybe
★★★★☆
Slate
3–5
Satin
Yes
★★★☆☆
Argillite
2.5–4
Satin
Yes
★★★★☆
Gneiss
6–7
Mirror
Yes
★★★☆☆
Verdite
3–4
Mirror
Yes
★★☆☆☆
Volcanic
Wonderstone (Rhyolite)
6–7
Satin
Yes
★★★☆☆
Basalt
6
Satin
Yes
★★★★★
Obsidian
5–5.5
Mirror
Maybe
★★★☆☆
Sedimentary
Sandstone (fine-grained)
6–7
Satin
Yes
★★★★★
Jade
Nephrite
6–6.5
Mirror
Yes
★★★★★
Jadeite
6.5–7
Mirror
Yes
★★☆☆☆
Quartz
Agate
6.5–7
Mirror
Yes
★★★★★
Chalcedony
6.5–7
Mirror
Yes
★★★★★
Jasper
6.5–7
Mirror
Yes
★★★★★
Chert
6.5–7
High
Yes
★★★★★
Flint
6.5–7
High
Yes
★★★★☆
Chrysoprase
6.5–7
Mirror
Yes
★★★★★
Carnelian
6.5–7
Mirror
Yes
★★★★★
Aventurine
6.5–7
Mirror
Yes
★★★★☆
Quartz (Rock Crystal)
7
Mirror
Yes
★★★★★
Quartzite
7
Mirror
Yes
★★★★★
Ornamental Mineral
Turquoise
5–6
Mirror
No
★★★★☆
Malachite
3.5–4
Mirror
No
★★★★☆
Lapis Lazuli
5–5.5
Mirror
No
★★★★☆
Igneous
Granite
6–7
Mirror
Yes
★★★★★
Diorite
6–7
Mirror
Yes
★★★★☆
Gabbro ("Black Granite")
6–7
Mirror
Yes
★★★★☆
Raw Stone Gallery
Real specimens showing the natural variance within each stone type,
sourced from Wikimedia Commons — full credits for every photo are in
Chapter 6, References.
Limestone
A sedimentary carbonate rock formed from compacted shell, coral, and skeletal fragments, so grain and color vary widely by quarry. Soft enough to carve with hand tools yet dense enough to weather outdoors, it has been a workhorse building and sculpture stone for millennia — from Egyptian temples to European cathedrals. For an artist, its appeal is largely economic: it's one of the cheapest carving stones by weight, sold at building-stone yards rather than specialty rock shops, which makes it a practical choice for large or experimental pieces where a costly stone would be too risky to commit to. Indiana (Salem) limestone is the quarried variety worth calling out by name: uniform, near-fossil-free oolitic limestone from south-central Indiana that clad most of the early 20th-century American skyscrapers and government buildings.
A coarse-grained igneous rock of quartz, feldspar, and mica that cooled slowly deep underground, giving it an interlocking crystal structure. That structure makes it extremely hard and weather-resistant, but limits detail work to plated diamond tools and a lot of patience. Most of the granite economy is industrial — countertops, monuments, and polished slabs cut by machine — so a hand-carved granite sculpture stands out precisely because so few artists put in the tool time it demands; collectors and public-art commissions pay a premium for that scarcity.
Muscovite-biotite graniteGranite and arkoseGranite
Diorite
A coarse-grained igneous rock between granite and gabbro in composition — mostly plagioclase feldspar and hornblende, giving it a distinctive salt-and-pepper look with none of granite's pink or gray quartz sheen. It carves and weathers much like granite, requiring the same plated-diamond, patience-heavy approach. Its carving pedigree runs deeper than granite's, though: ancient Egyptian and Mesopotamian sculptors favored diorite for their hardest, most prestigious commissions — the diorite statue of Gudea and Khafre's diorite throne statue are among the oldest surviving hardstone sculptures anywhere.
Diorite (Bonsall Tonalite)Diorite with pyriteDiorite
DioriteDiorite, polished study slabTonalite (quartz diorite)
Gabbro
The coarse-grained, slow-cooled equivalent of basalt — dark, dense, and made almost entirely of plagioclase feldspar and pyroxene, with none of granite's quartz. Polished gabbro reads as a near-uniform black, which is why the stone trade sells it as "black granite" even though it's mineralogically unrelated; that marketing name is now the more familiar one for most buyers. It carves like granite and diorite (plated diamond, slow going) but rewards the effort with a mirror-black finish that shows tool marks and scratches mercilessly, making it a favorite for minimalist modern sculpture and monument work where a flawless polish is the point.
GabbroGabbroHornblende gabbro
Hornblende gabbroGabbro, Rock CreekHypersthene gabbro
Gneiss
A high-grade metamorphic rock with the same quartz-feldspar-mica chemistry as granite, but banded into alternating light and dark layers under heat and pressure rather than crystallizing evenly. That banding gives a carved surface a grain direction to work with or against — much like wood — and makes each block visually distinct. Gneiss is a common monumental and building stone worldwide, often quarried and sold under the "granite" label alongside true granite since both dress and polish the same way; a carver buying "granite" from a monument yard is nearly as likely to be getting gneiss.
Metamorphosed sandstone whose quartz grains have fused into an almost seamless, glassy mass. Extremely hard and durable, it takes a brilliant polish and shrugs off weather, at the cost of being slow and abrasive to shape.
Quartzite with jasper pebblesPink quartziteStaurolite quartzite
Antarctica QuartziteQuartzite SollièresQuartzite with barite
Soapstone
A talc-rich metamorphic rock, the softest widely-carved stone at Mohs 1–2, with a greasy, soft feel under a rasp. Its softness makes it the standard first stone for beginners, though it limits how much fine detail survives outdoors. It's also one of the cheapest carving materials by weight, sold in blocks at hobby shops and used in beginner carving kits worldwide — and it underpins an entire established art market of its own: Zimbabwean Shona sculpture, prized internationally since the 1950s, is carved almost exclusively from local soapstone and serpentine.
SoapstoneTalc SchistTalc Schist
Talc SchistTalc SchistTalc Schist
Alabaster
Fine-grained gypsum, translucent at thin edges and soft enough to carve and polish quickly. Its low hardness and solubility in water confine it to indoor display pieces. It has a long decorative-art pedigree — ancient Egyptian canopic jars and vessels were alabaster, and the Italian town of Volterra has sustained a continuous alabaster-carving trade since Etruscan times. Today it sits in an accessible price band between soapstone and marble: soft enough to finish quickly, but translucent and lustrous enough to sell as a finished decorative or lamp-base piece.
Gypsum (alabaster)Gypsum (alabaster)Anhydrite, gypsum and alabaster
Alabaster (gypsum)Block of gypsum alabasterSatin spar gypsum
Onyx (Calcite)
Despite the name, the "onyx" carved into lamps, bowls, and inlay work is calcite — a soft carbonate, same mineral family as marble — not the banded chalcedony jewelers also sell as "onyx" (that harder, unrelated material is covered under Chalcedony instead). This calcite onyx is banded, built up in cave and hot-spring deposits the same way travertine forms — mineral-rich water depositing calcium carbonate in thin sheets over time. It polishes to a glassy mirror finish and anchors a steady decorative-object trade — lamps, bookends, chess sets, and inlay, much of it quarried in Pakistan, Mexico, and Afghanistan — where price tracks the vividness and symmetry of the banding far more than the stone's modest hardness; that same solubility leaves it vulnerable to acid rain outdoors.
Pure crystalline silica, one of the hardest common carving materials at Mohs 7. Its clarity and crystal habit make for striking finished pieces, but shaping it requires diamond tooling from the start.
Rutilated quartzAmethystQuartz on limonite
Quartz crystal pointScepter quartzZincite on quartz
Marble
Metamorphosed limestone — recrystallized calcite (or, in the dolomite variant below, calcite partly replaced by magnesium carbonate) that takes a fine, even grain and a brilliant polish. Carrara marble, fine-grained calcite marble quarried in Tuscany, is the variety most associated with classical and Renaissance sculpture — Michelangelo's David and Pietà are both Carrara marble — and it is still commercially quarried today, supplying everything from architectural cladding to studio sculpture blocks; that pedigree carries a price, and a well-executed Carrara piece commands a real premium in the fine-art market simply for the material's association with the tradition it represents. Dolomite marble is a more affordable domestic alternative with slightly higher hardness and different weathering behavior — Franklin Marble, from New Jersey, is a well-known American example.
White Carrara marble, close detailStatuarietto white marble, veining detailStatuarietto white marble, veining detail
Statuarietto white marble, veining detailStatuarietto white marble, veining detailStatuarietto white marble, veining detail
Franklin Marble (dolomite marble)Variegated dolomite marbleDiffusion dolomite marble
Phlogopite mica in dolomite marbleZinciferous dolomite marbleZinciferous Franklin Marble
Serpentine
A soft-to-medium metamorphic mineral group ranging from mottled green to near-black, sold under names like Xiuyu or bowenite depending on grade and hardness. It carves easily relative to its polish quality — a mirror finish from a comparatively forgiving stone.
SerpentineSerpentineSerpentine
Chromite on serpentineAntigorite (serpentine)Verde antique serpentine
Verdite
A dense, fuchsite-rich metamorphic rock found almost exclusively in South Africa and Zimbabwe, its saturated apple-green color coming from chrome mica packed between microcrystalline quartz grains. Prehistoric flaked verdite tools date back tens of thousands of years, and it remains one of the signature carving stones of the Southern African sculpture tradition, worked into figures and vessels alongside soapstone and serpentine. It's one of the harder stones in that regional family — dense enough to hold fine detail and take a glassy polish, but abrasive enough that it wears rasps faster than soapstone does.
Verdite, South Africa
Chalcedony
Cryptocrystalline quartz — silica made of crystals too fine to see — that forms in nodules, veins, and pseudomorphs, distinct from its banded cousin agate. It takes an exceptional polish, but its toughness means shaping is slow, diamond-only work.
Chalcedony pseudomorph after coralStibnite with pyrite and chalcedonyOpal and chalcedony
Blue chalcedonyChalcedonyBanded chalcedony (agate)
Chert / Flint
A dense, cryptocrystalline sedimentary silica rock, chemically close to chalcedony but formed in sedimentary beds rather than veins. Flint is simply the name given to the darker, higher-quality nodular variety historically knapped for tools and fire-starting — same mineral, same carving behavior, distinguished more by color and nodule form than by any real geological line. Both fracture predictably and are prized by carvers today for the same hardness and durability outdoors.
Dover ChertDover ChertDover Chert
Dover ChertWhite fossiliferous chertFossiliferous chert in limestone
Banded chalcedony, its parallel or concentric layers forming as silica-rich groundwater deposits mineral bands inside cavities. The banding is the whole appeal — slicing and orienting the rough to show it off is as much the craft as the carving itself. It anchors a large and active lapidary hobby market: rough agate is bought and sold by the pound at rock shows worldwide, with price driven almost entirely by pattern rarity and color rather than size, and a slab that's nearly worthless as rough can become a valuable cabochon or bookend once the right cut reveals its pattern.
A soft, opaque copper-aluminum phosphate prized for its sky-blue to blue-green color, usually found as thin veins or nodules rather than large carvable masses — most turquoise sold today is stabilized (resin-impregnated) to survive cutting and polishing at all. It's central to Southwestern American and Persian jewelry and small-object carving traditions, but its low hardness (Mohs 5–6) and vein-limited size cap it mostly at inlay, cabochons, and small fetish carvings rather than sculptural work.
TurquoiseTurquoiseTurquoise
Turquoise, Cerrillos Mining District, New MexicoTurquoise specimenTurquoise
Malachite
A vivid green copper carbonate that forms in banded, botryoidal ("grape-cluster") masses in copper-ore deposits, often intergrown with blue azurite. Soft (Mohs 3.5–4) and takes a brilliant polish, but the concentric banding means slabbing and orientation matter as much as they do with agate. Historically ground for pigment and carved into decorative objects since antiquity — the Malachite Room tradition of 19th-century Russian palace decor used slabs veneered over furniture and columns — it remains a popular ornamental and inlay stone, though copper toxicity from dust makes wet work and good ventilation non-negotiable.
A metamorphic rock, not a single mineral — mostly blue lazurite, usually flecked with brassy pyrite and white calcite, the pyrite sparkle being part of the appeal rather than an impurity. The finest material has come from the Sar-e-Sang mines in Afghanistan for over 6,000 years, making it one of the oldest continuously traded carving and pigment materials in the world (ground lapis was the source of ultramarine pigment before synthetic alternatives existed). Moderately soft (Mohs 5–5.5) and carves readily, but its rarity and mine-specific sourcing keep good-quality rough expensive relative to its hardness.
Lapis lazuli, Sar-e-Sang, AfghanistanLapis lazuli, Sar-e-Sang, AfghanistanLazurite with pyrite in marble
LazuriteLazurite in pyritic marble, Sar-e-SangLazurite after scapolite, Badakhshan
Nephrite Jade
A tough calcium-magnesium amphibole (the actinolite-tremolite series) whose interlocking fibrous crystals make it nearly impossible to fracture — the toughest widely carved stone, prized in Chinese jade carving for millennia. Color ranges from white "mutton fat" jade through the classic spinach green. Beyond China, it carries deep cultural weight as New Zealand pounamu (Māori taonga) and is quarried commercially in British Columbia and Siberia. Fine mutton-fat nephrite can fetch prices rivaling gemstones at auction, but even ordinary green nephrite has a steady, well-established market — a rare case of a carving stone whose raw material alone holds significant resale value before an artist ever touches it.
A sodium-aluminum pyroxene, mineralogically distinct from nephrite despite sharing the "jade" name; it's harder and can reach the vivid green "imperial jade" that commands the highest prices in the jade market. Mined primarily in Myanmar, it's historically the rarer and more market-driven of the two jades. Top-grade imperial jadeite is one of the most valuable carving materials on earth by weight — a single fine necklace has sold at auction for tens of millions of dollars — and the Hong Kong jade trade still sets much of the world's pricing benchmark, making jadeite as much a commodity investment as an artist's material.
A pyrophyllite-family stone quarried near Fuzhou, Fujian, and the material at the root of the Chinese seal-carving (篆刻) and miniature-sculpture tradition — soft enough (Mohs 2–3) to work with hand knives rather than power tools, taking fine detail few other stones can match. It's graded and priced by named sub-variety (Tianhuang, Furong, and dozens more) rather than by the "Shoushan" name alone, and top-grade Tianhuang has sold for prices that rival jadeite by weight, making it as much a collectors' commodity as a carving material.
Shoushan stone landscape carving (山子)Shoushan stone landscape carving (山子)Black Shoushan stone seal, with impression
Shoushan stone seal, relief carving of the Eight ImmortalsShoushan stone seal, relief carving of the Eight ImmortalsFurong stone (Shoushan family), miniature relief carving
Qingtian Stone (青田石)
Another pyrophyllite-family scholar's stone, quarried in Qingtian County, Zhejiang, and carving almost identically to Shoushan since it's the same mineral family — soft, fine-grained, and workable with hand knives. Its "lantern-flower" (灯光冻) translucent variety is the most prized, but ordinary Qingtian stone in mottled green and brown tones is the material most Chinese seal carvers cut their teeth on, sold far more cheaply than Shoushan and still the standard training stone in Chinese art schools today.
Raw Qingtian stone blockQing-dynasty Qingtian stone seal, rat-and-melon finialQing-dynasty Qingtian stone seal, Suzhou Museum
Qingtian stone seal carved by Zhao ZhiqianQingtian stone carving, "The Bright Moon Invites One Home"Qingtian stone carving, "The Butterfly Lovers"
Balin Stone (巴林石)
The youngest-established of the four named Chinese scholar-stones, quarried in Inner Mongolia and only widely marketed since the 1970s, though it's the same pyrophyllite-and-related mineral family as Shoushan and Qingtian and carves the same way. Its "chicken-blood" variety (red cinnabar streaks through a pale ground) is the most sought-after, mirroring Changhua stone's prized bloodstone variety from further south — the two are often compared directly in the seal-stone market despite coming from opposite ends of China.
Balin stone seal, gourd-shaped finialBalin stone seal, gourd-shaped finial (detail)Balin stone seal, tile-shaped finial
Balin stone seal, tile-shaped finial (detail)Balin stone seal, companion tile-shaped finialBalin stone seal, companion tile-shaped finial (detail)
Changhua Stone (昌化石)
The fourth of the four classic named Chinese scholar-stones, quarried near Changhua, Zhejiang, and the source of the famous "chicken-blood stone" (鸡血石) — cinnabar streaks through a pale pyrophyllite ground, the most prized pattern in the entire seal-stone market and often more valuable per gram than jadeite. It carves the same way as Shoushan and Qingtian. No specimen or carving photo of it under a usable open license could be found on Wikimedia Commons at the time of writing, so it's noted here for completeness rather than given a gallery entry.
Pipestone (Catlinite)
A soft, fine-grained metamorphic mudstone quarried almost exclusively from a protected site in Minnesota, traditionally carved into ceremonial pipes by Native American nations. Its brick-red color and easy workability make it distinctive, and quarrying rights there are legally restricted to Native Americans.
Pipestone (Catlinite)Quarried pipestone and pipeCatlinite smoking pipe
Red and Black PipestoneCarved catlinite pipe bowlCatlinite embedded in quartzite
Selenite
The clear, crystalline variety of gypsum, forming in flat blades or "roses" of interlocking crystals. Soft and water-soluble like alabaster, it's worked for its striking transparency and light-play rather than durability.
A soft, foliated metamorphic rock with a greenish sheen from its dominant mineral, chlorite. Its layered structure carves easily along the grain but can flake if worked against it, so tool direction matters more than with massive stones.
A hardened, fine-grained mudstone, metamorphosed just enough to lose its fissility while staying soft for detailed hand carving. Haida artists of the Pacific Northwest are especially known for this craft, working a black variety quarried on Haida Gwaii.
Rhythmitic argillite (varvite)Dropstone in varvite argilliteMudcracks in argillite
Travertine
A porous, banded form of calcite that precipitates from mineral-rich spring water, often showing small voids left by trapped gas bubbles or plant matter. Common as a building stone, its natural texture and warm tones read as rustic rather than polished.
Fine-grained metamorphosed shale that splits into thin, flat sheets along well-defined cleavage planes. The same cleavage that makes it useful for roofing and flooring limits sculptural carving to designs that work with the grain rather than against it.
Gray slateGreen slateRed Slate
Andalusite (chiastolite) SlateRed slate (Hatch Hill, NY)Gray slate (Pennsylvania)
Wonderstone (Rhyolite)
A fine-grained volcanic rock, chemically similar to granite but cooled quickly at the surface, often showing swirling flow-banded patterns in reds, yellows, and browns. Popular with lapidary and rock-hound carvers for its color rather than any single mineral.
RhyoliteRhyolite porphyryRhyolite (flow)
Rhyolite PorphyryRhyolite tuffRhyolite conglomerate with copper
Basalt
Dark, fine-grained volcanic rock formed from rapidly cooled lava, dense and extremely durable outdoors. The Olmec colossal heads of Mesoamerica and the moai of Rapa Nui are among the best-known examples of monumental basalt carving, and its near-indestructibility still makes it a favorite for public and outdoor commissions today. The raw stone itself is comparatively cheap — a common volcanic rock, not a rare mineral — so basalt sculpture's cost comes almost entirely from labor: the hardness that gives it millennia of weather resistance also makes it slow, diamond-tool-only work, which is what a buyer is really paying for.
BasaltTholeiitic basaltBasalt
Amygdaloidal BasaltVesicular basaltBasalt with native silver
Obsidian
Volcanic glass, formed when lava cools so fast that no crystal structure has time to form — the reason it fractures with the same razor-sharp conchoidal edges as knapped flint rather than along any grain. Too brittle and edge-fragile for large sculptural forms, but it has a long history in small carved objects: Mesoamerican cultures ground it into mirrors and ceremonial blades, and it remains a popular lapidary and small-object material today, prized for the way inclusions and sheen (snowflake, rainbow, gold-sheen varieties) catch light in ways no other carving stone can match.
Snowflake obsidianObsidianObsidian
Obsidian with cristobaliteObsidian with cristobalite and fayaliteObsidian, Obsidian Cliff, Yellowstone
Sandstone (fine-grained)
Sedimentary rock of cemented sand grains — quartz-cemented varieties skew hard and durable, while calcite-cemented ones stay soft. Fine, evenly-sorted grain is what separates carving-grade sandstone from the coarse building stone most people picture.
Micaceous sandstoneSandstoneCoconino Sandstone
Volcaniclastic sandstoneBanded sandstoneLiesegang banding in sandstone
Non-Stone Materials
Traditional Non-Stone Carving Materials
Although this handbook focuses on stone carving, many traditional
sculptors — especially in East Asia — also carve a variety of non-stone
materials. These materials can be worked with the same setup described
in this book, so they are included here alongside the stone families.
Family
Name
Mohs
Polish
Outdoor
Gallery
Organic
Coral
3–4
High
No
★★★★★
Bone
2–3
High
No
★★★☆☆
Antler
2.5–3
High
No
★★★★☆
Shell (Mother-of-Pearl)
2.5–4.5
Mirror
Yes
★★★☆☆
Amber
2–2.5
Mirror
No
★★★★★
Jet
2.5–4
Mirror
No
★★★★☆
Coral — Organic calcium carbonate skeleton; capable of extremely fine detail.
Bone — Easy to carve and polish; commonly used for practice and decorative work.
Antler — Dense outer layer allows fine carving; internal core is porous.
Shell (Mother-of-Pearl) — Iridescent nacre creates unique visual effects but can be brittle.
Amber — Fossil tree resin; cuts easily and polishes to a brilliant finish.
Jet — Fossilized wood with a deep black color; traditionally used for jewelry and ornaments.
Note: These materials are not geological stone. Their hardness, dust
characteristics, polishing methods, and long-term durability differ
from mineral and rock carving materials. Some materials, such as coral,
are protected or regulated in many countries. Always verify local laws
before purchasing, importing, exporting, or selling them.
Non-Stone Material Gallery
Specimens of common non-stone carving materials, sourced from Wikimedia
Commons — full credits for every photo are in Chapter 6, References.
Coral
The calcium carbonate skeleton of colonial marine polyps, taking a high polish that shows off fine growth structure. Many coral species are now protected or CITES-regulated, so sourcing legality matters as much as carvability.
Fossil rugose coralPolished precious red coral (Corallium rubrum)Raw red coral (Corallium rubrum) branch
Bone
Readily available, easy to carve and polish, and long used for practice pieces and small decorative work. Its cross-section reveals a natural gradient from dense outer cortical bone to a more porous core.
Shang oracle bone (ox bone)Shang oracle bone (ox bone)Shang oracle bone (ox bone)
Carved bone fragmentBone fragment (Metropolitan Museum)Worked bone point, Auckland Museum
Antler
Shed naturally and regrown annually, making it a renewable carving material unlike bone. The dense outer layer carves cleanly while the spongy core limits how deep fine detail can go.
Shed fallow deer antlerShed antler in grassUpper Palaeolithic worked reindeer antler tools
Shell / Mother-of-Pearl
The iridescent nacre lining certain mollusk shells, built up in microscopic layers that scatter light into shifting color. Beautiful and popular for inlay, but brittle enough that thin carved sections crack easily.
Fossilized tree resin, tens of millions of years old in most commercial deposits, soft enough to cut with hand tools and polish to a warm, glassy shine. Occasional trapped insects or plant matter make individual pieces uniquely collectible.
Indonesian amber (Banjarmasin)Polished Borneo amber from SabahBlue Java amber from Indonesia
A compact, lignite-like fossilized wood, deep black and light enough to carve intricate detail without excess weight. Victorian mourning jewelry made it especially fashionable, and Whitby, England remains its best-known source.
Sample of jetJet, waste from workingJet from Holzmaden, Germany
A handful of pocket-sized tools cover most of what’s needed in the field: checking cracks and translucency, judging hardness and mineral family, and pulling a usable sample from a promising find. Ranked by usefulness — flashlight first for a quick read on any stone, then the pick for hardness and a fresh fracture, then the loupe and acid test to confirm an identification, and finally the water bottle and chisel, the lightest and heaviest of the extras.
Figure 5.1: Six field tools for stone hunting and identification, ranked by importance
Flashlight and pick cover the most field decisions: light to inspect by, and the pick for hardness and a fresh fracture. Loupe and acid test confirm an ID once you’ve narrowed it down. Water bottle and chisel are the lightest and heaviest extras.
Flashlight
The simplest tool for evaluating stone in the field. White light does most of the work: spotting cracks, veins, grain direction, and translucency at thin edges. 365 nm UV reveals fluorescence in calcite, marble, and limestone (quartz and nephrite rarely fluoresce) — a bonus, not the reason to buy the light. Prioritize white LED, true 365 nm UV, pocket size, and USB-C rechargeable; ignore lumen claims (they measure white light, not UV output — 500–1000 lumens is plenty) and skip laser pointers. A pen-style dual light (~$15–20) is enough for daily carry; larger 3-in-1 lights suit extended trips but cost pocket convenience.
Stone Pick
A rock/geology pick — pointed pick on one side, flat blade on the other — does double duty as the most-used identification tool after the flashlight. Use the point to scratch-test hardness against known references (fingernail, copper, steel) and to knock a corner off for a fresh, unweathered fracture surface; a weathered or dirty surface hides the color and grain that only show on a clean break. A 20–24 oz head is enough — anything bigger is for breaking rock, not testing it.
Loupe
A 10x jeweler’s loupe, used together with the flashlight, is how grain and crystal structure actually get inspected rather than guessed at — the difference between chert and chalcedony, or between quartzite and marble, often only shows up at this magnification. A $10–15 loupe with a fold-out cover is plenty; no need for a geologist’s achromatic doublet for casual stone hunting.
Acid Test (Dilute HCl)
A small dropper bottle of dilute (10%) hydrochloric acid is the fastest way to sort calcite-family stones (limestone, marble, travertine, onyx, dolomite marble) from quartz-family look-alikes (agate, chalcedony, chert, quartzite) — calcite fizzes visibly on contact, quartz doesn’t react at all. Test on an inconspicuous spot or a fresh break, since a weathered surface can mute the reaction, and rinse the stone afterward. It’s the one item here that can actually damage stone, gear, or skin if it spills, so keep the bottle capped and upright, and treat it with more care than the rest of the kit.
Water Bottle
A small spray or squirt bottle of water reveals a stone’s true color and banding without committing to a fresh break — dry, weathered surfaces mute both. It’s the lowest-stakes tool in the kit: no cost beyond the bottle, no wear on the specimen, and especially useful on agate, jasper, and travertine.
Chisel
A cold chisel (or a second chisel-edge pick) is for when a specimen is worth extracting, not just inspecting in place — splitting along a seam or freeing a piece from matrix. It’s the heaviest and least-often-needed tool here: leave it home on a quick walk, bring it when the trip’s purpose is collecting.
Minimum Carry
For a quick stone-hunting walk, a flashlight alone covers most decisions. The acid test, loupe, and water bottle are all light enough to just leave permanently in the kit once you own them. Add the pick once hardness and fresh-fracture checks matter — true for most outings. Only bring the chisel when the plan is to actually extract and take material home.
Collecting or removing stone isn’t legal everywhere — rules vary by country, state/province, and specific site (public land, parks, private property). This book doesn’t cover collecting law; check local regulations yourself before taking material home.
Chapter 6References
This chapter collects the general sources behind factual claims made
earlier in the book, and gives attribution for photographs that aren’t
the author’s own work, where that attribution is currently available.
Nothing here is cited sentence-by-sentence — treat it as further
reading, plus an honest status report on image licensing.
Further Reading & Sources
Mineral hardness (Mohs scale) — used throughout Chapter 5
Unless credited otherwise below, every diagram (the roughing-stage
figures in Chapter 3) and every photograph of tools, technique, and
the author’s workstation (Chapters 1, 2, 3, and 4) is original work
created by the author for this book.
AI-generated and AI-assisted images
The burr shape icons and the Chapter 1 workflow chart were generated
with AI tools. The cover art is based on the author’s own photograph,
converted to line art with an AI tool.
Stone & material specimen photographs
Every photograph in Chapter 5’s Raw Stone Gallery and Non-Stone Material
Gallery is a real specimen photo sourced from Wikimedia Commons, verified
individually. CC0 and public-domain entries require no attribution and
are omitted below; the remaining entries are the ones under CC BY or
CC BY-SA license terms that require photographer credit, listed with
photographer, license, and source page per the terms of those licenses.
The complete photographer-by-photo attribution table for both galleries, including the CC0 and public-domain entries omitted here, is included in the ebook and digital editions of this book.
All photographs above were retrieved from Wikimedia Commons in
August 2026 and are used under the Creative Commons or public-domain
terms listed. Each license’s full legal text is linked from its
Wikimedia Commons source page above.
Safety Disclaimer
Stone carving involves power tools, cutting and grinding equipment, and fine mineral dust — including crystalline silica from many of the stones covered in this handbook — which is a known respiratory hazard. Work in a well-ventilated space, favor wet-cutting and wet-grinding methods, and wear appropriate protective equipment: eye protection, hearing protection, and a properly fitted respirator rated for fine particulates.
The tools, setups, and techniques described here reflect the author's own home-workshop practice and are provided for informational purposes only. They do not replace the safety instructions and specifications provided by the manufacturer of any tool or material you use — always read and follow those first. Stone carving is undertaken at the reader's own risk; the author assumes no liability for injury, loss, or damage arising from use of the information in this book.

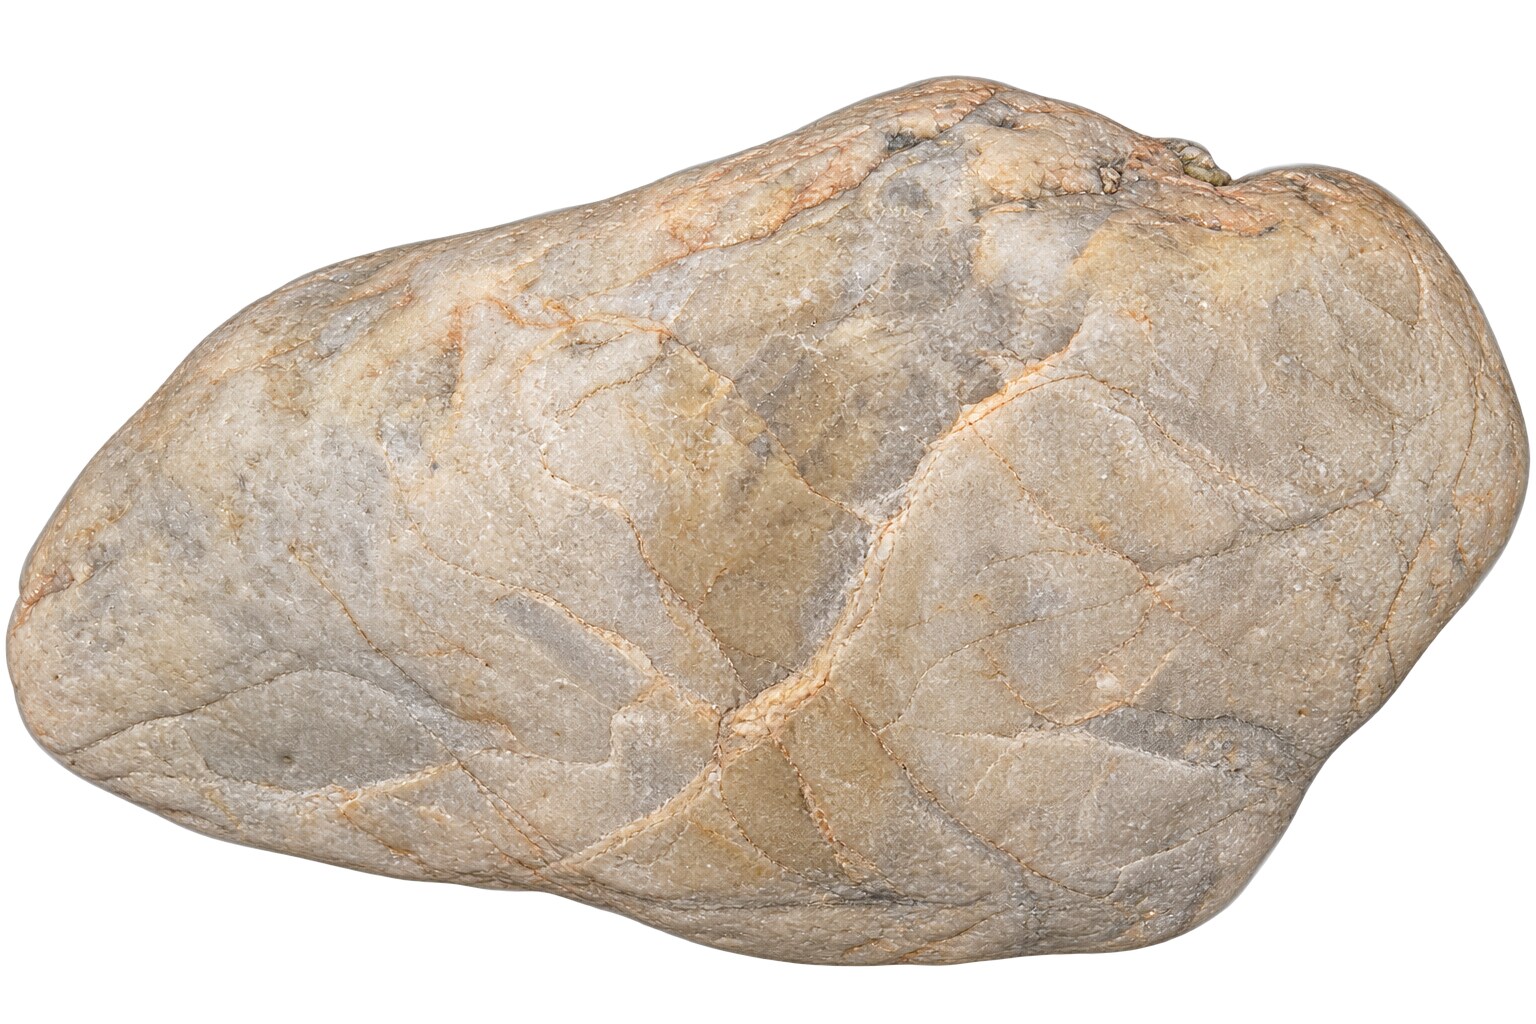
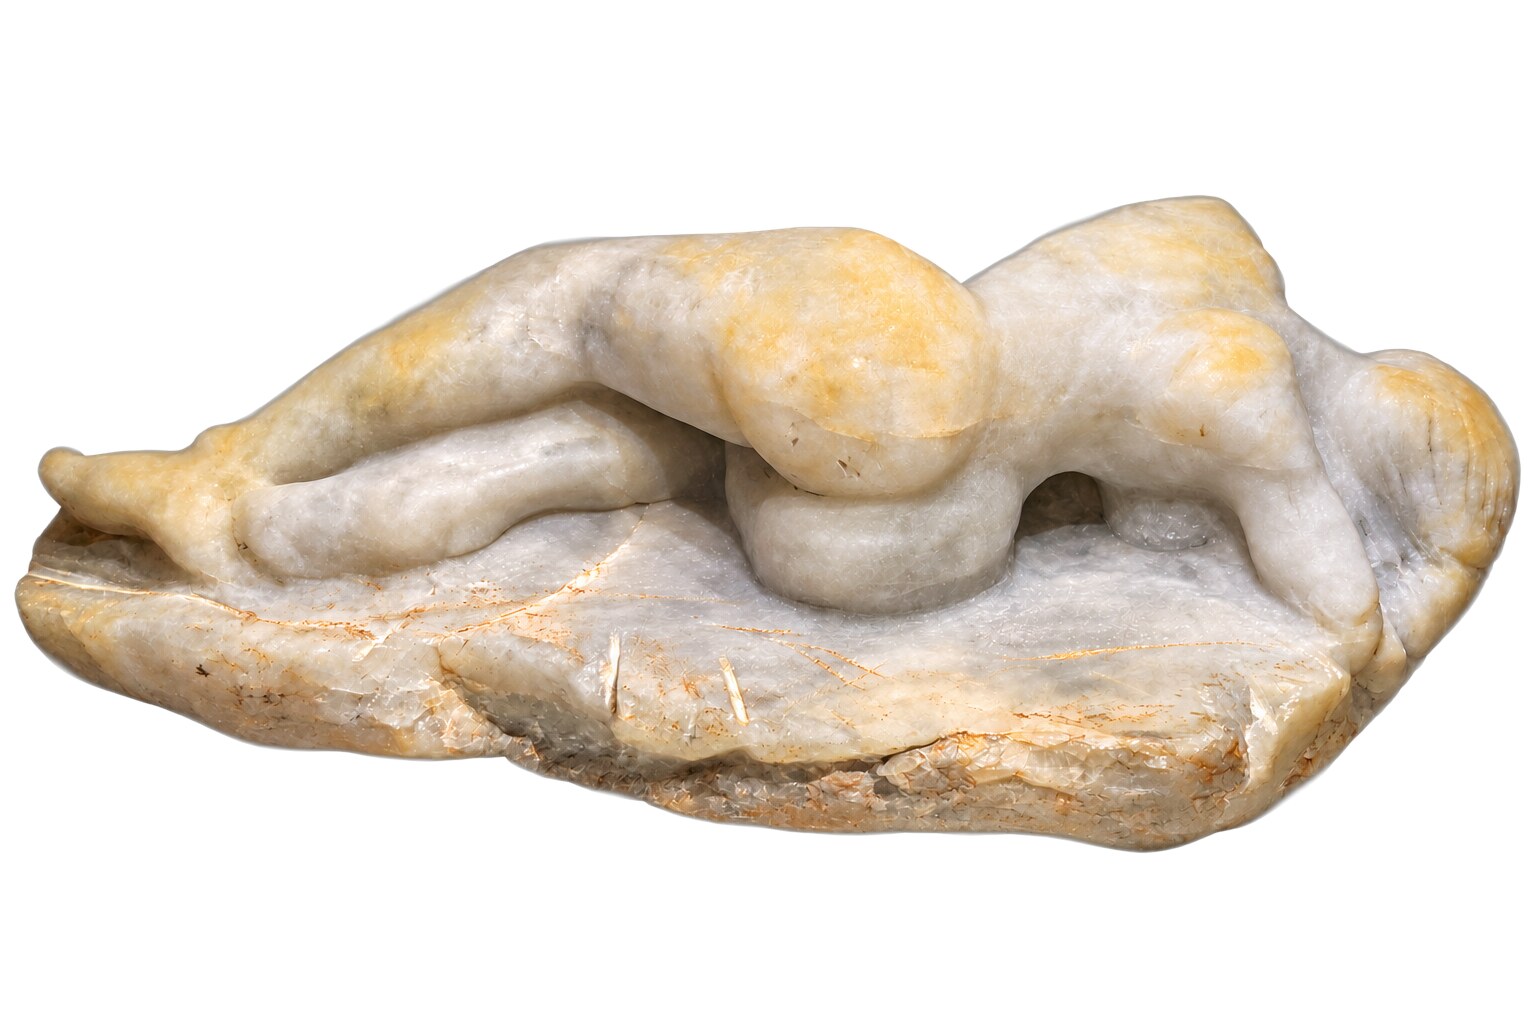








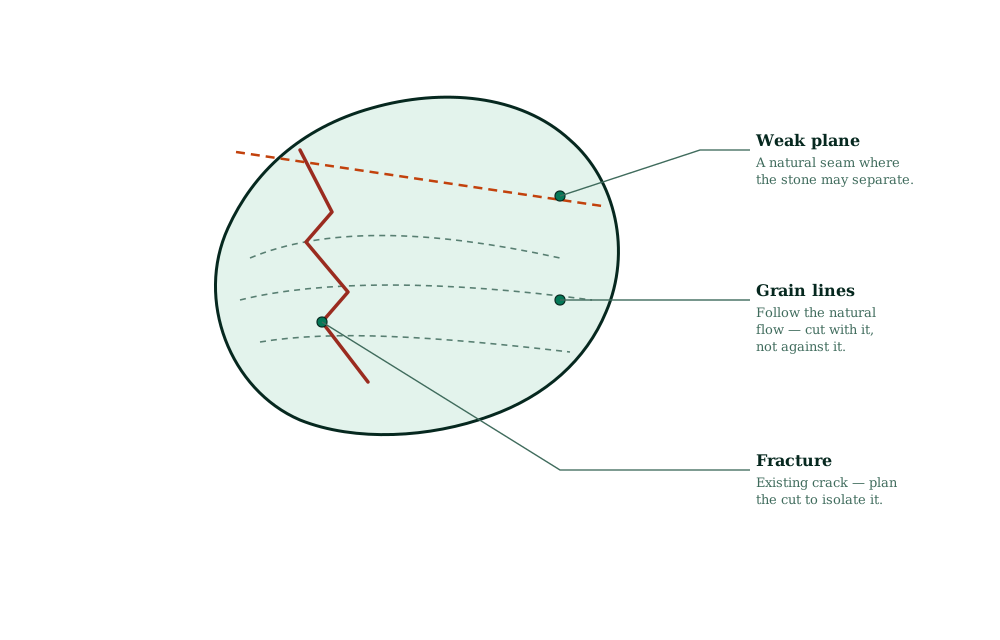
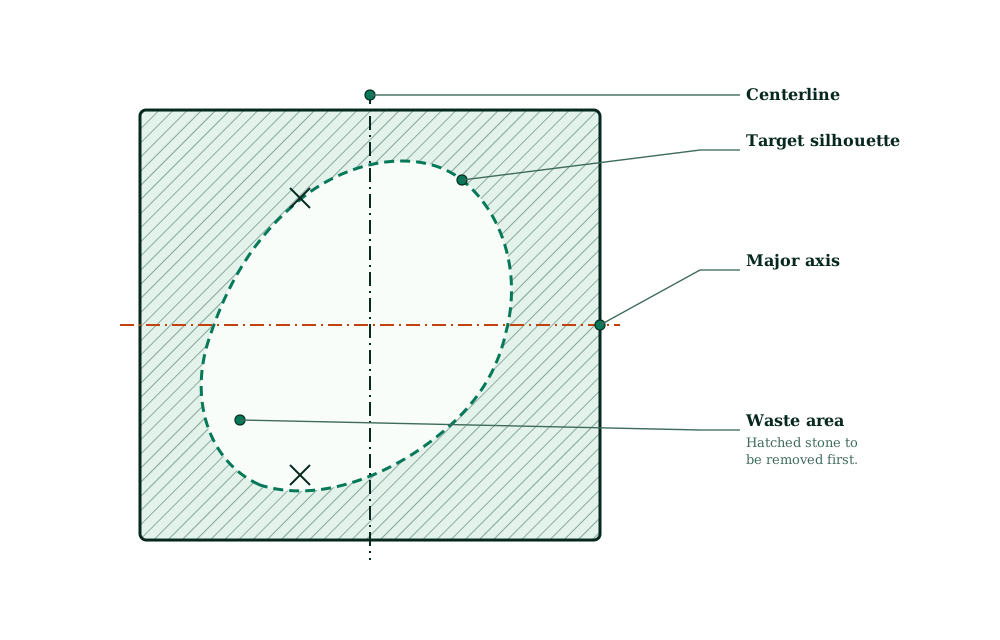
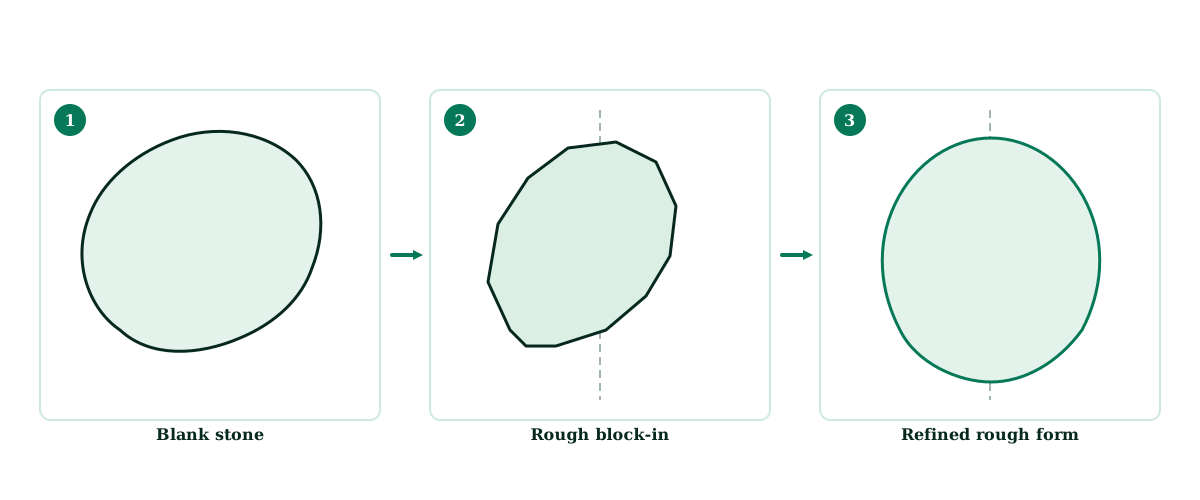
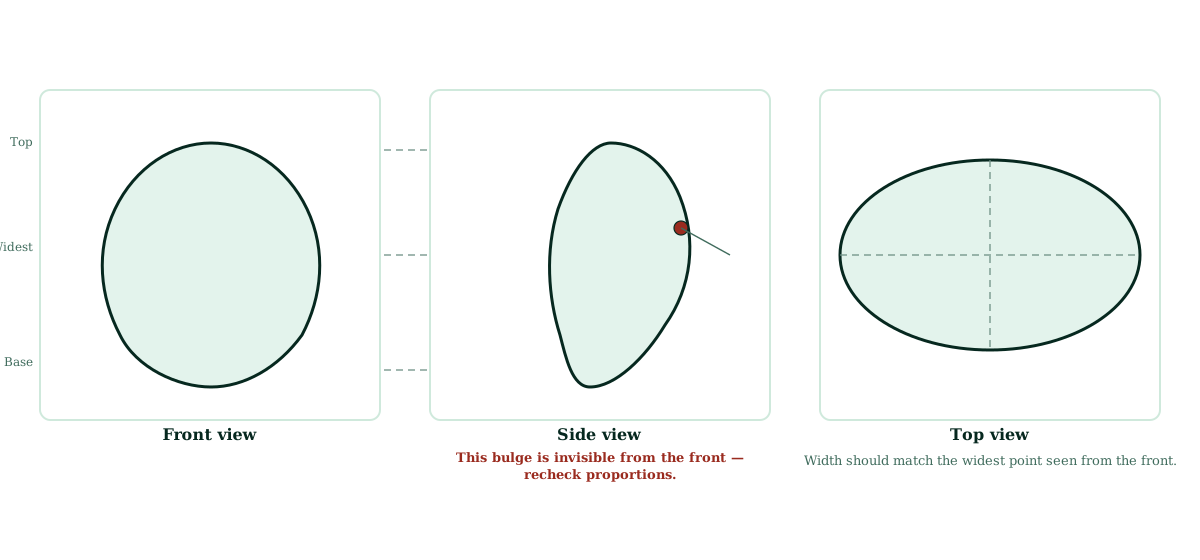
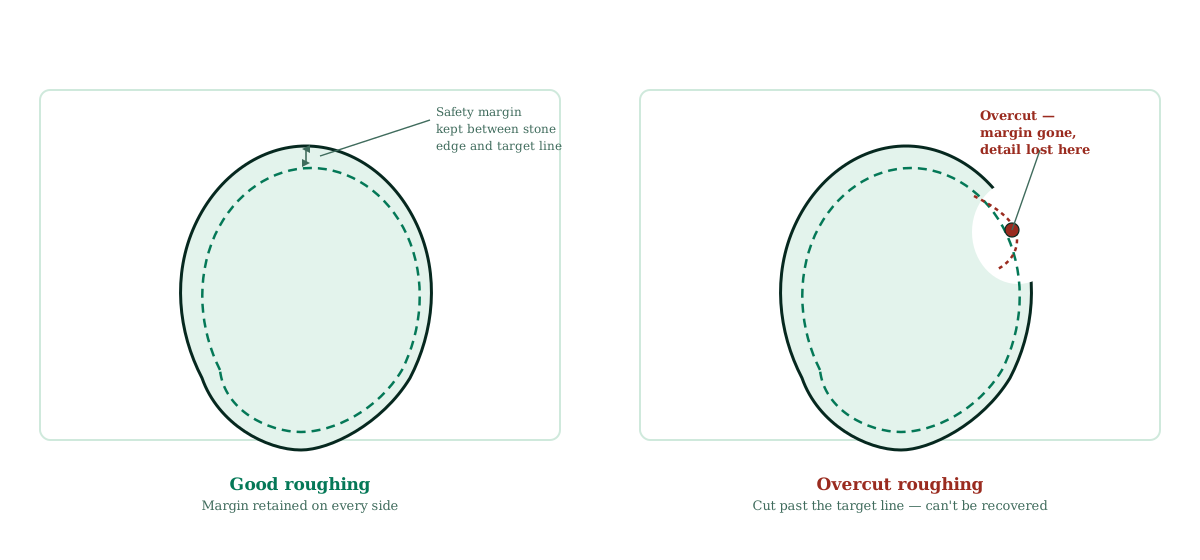
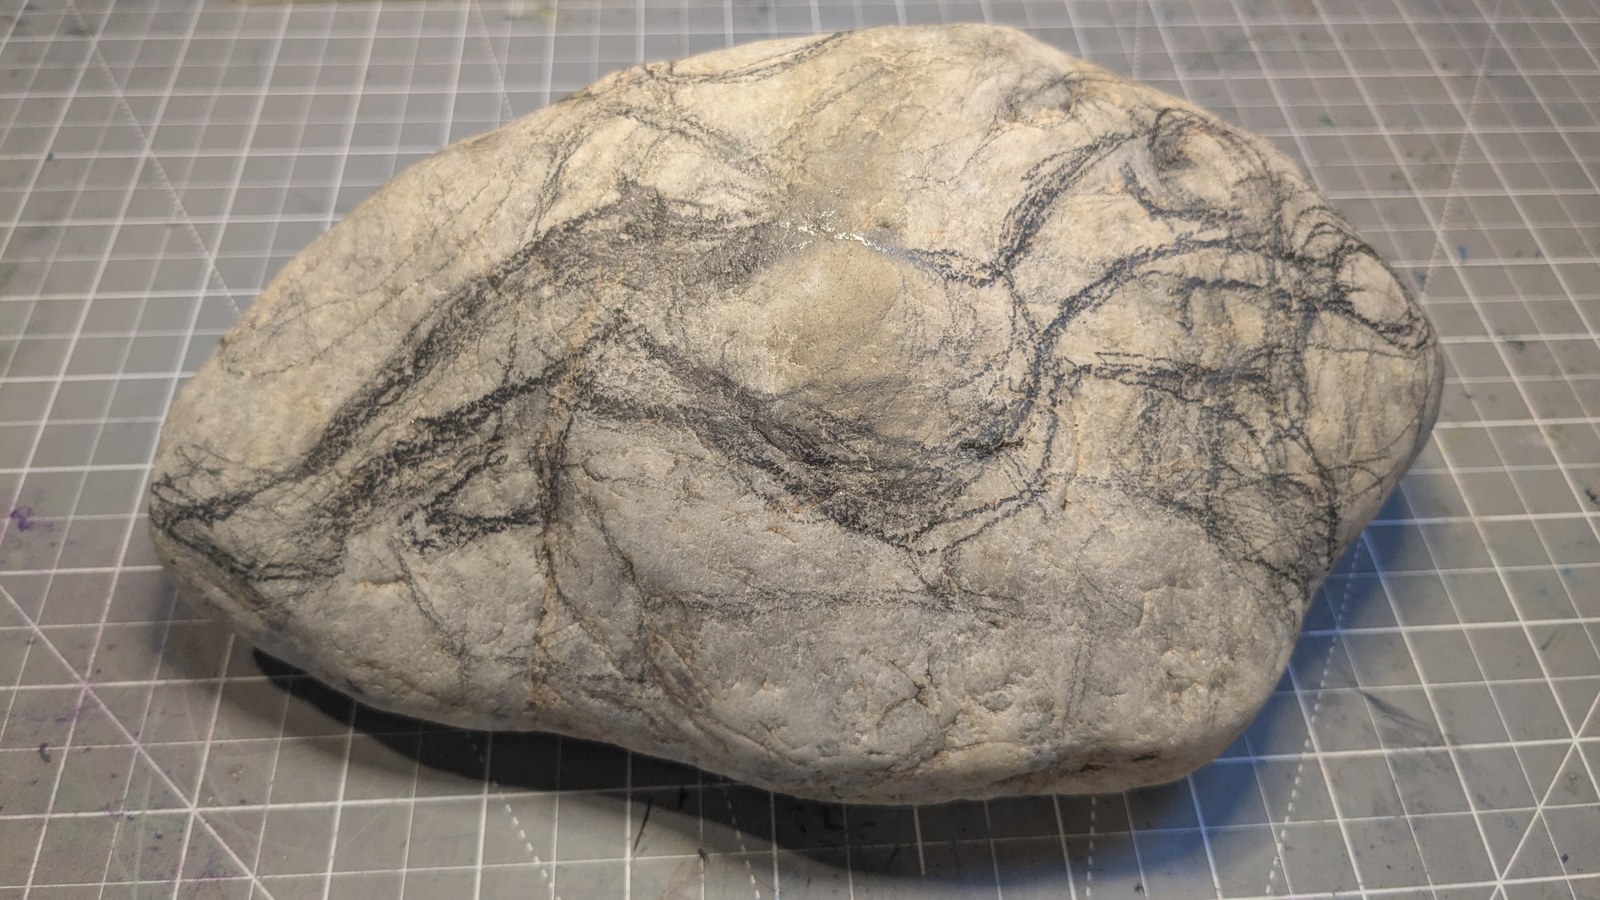
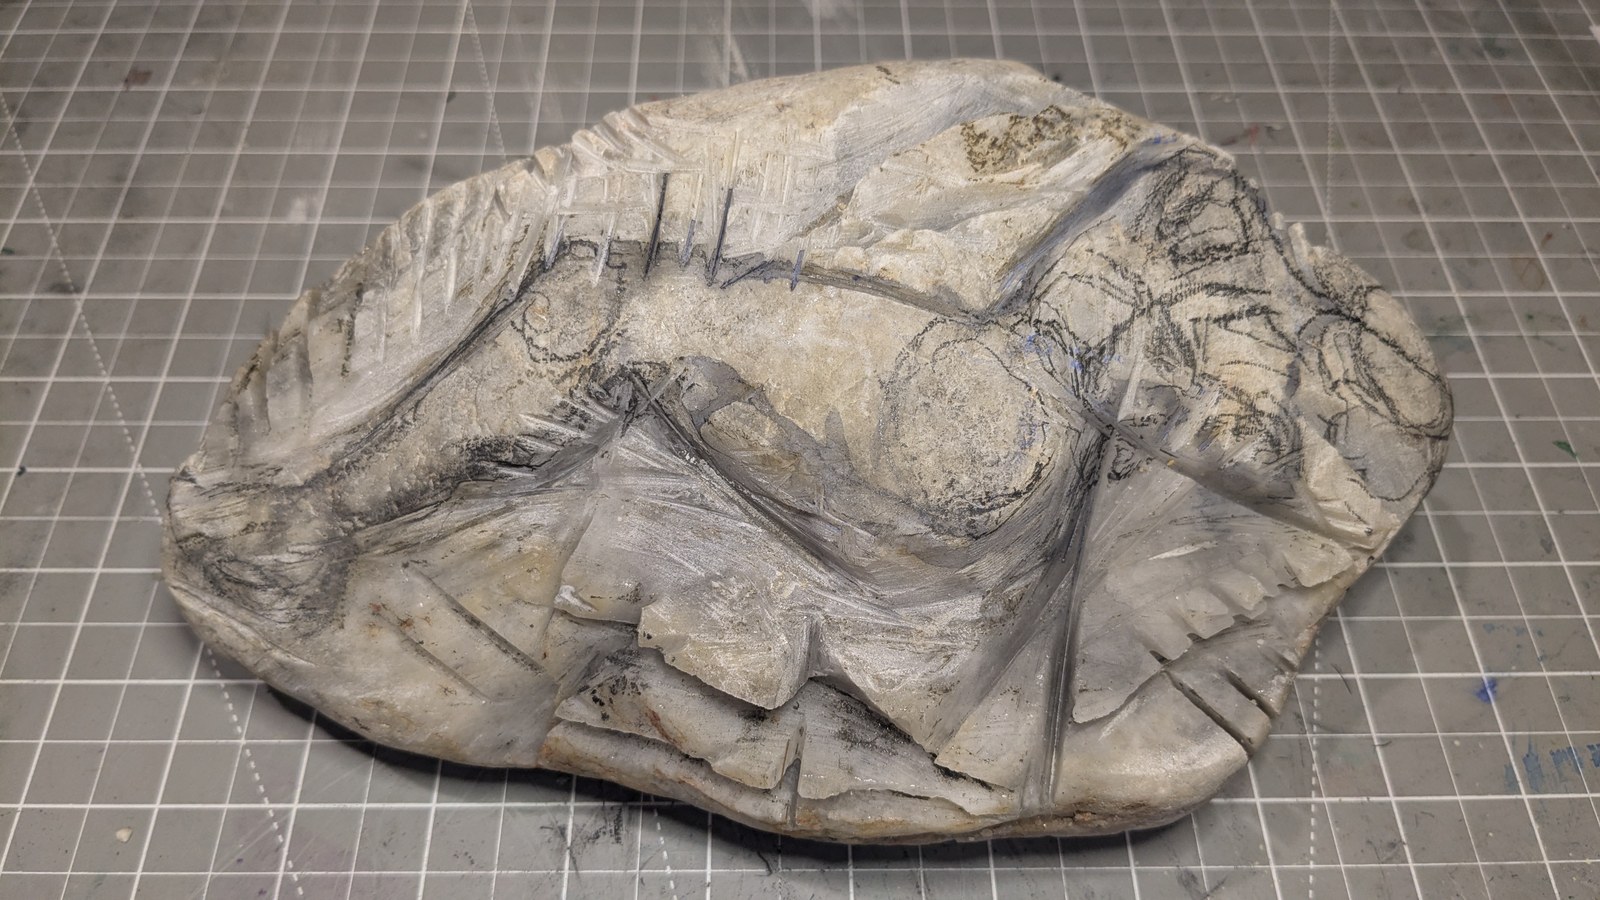
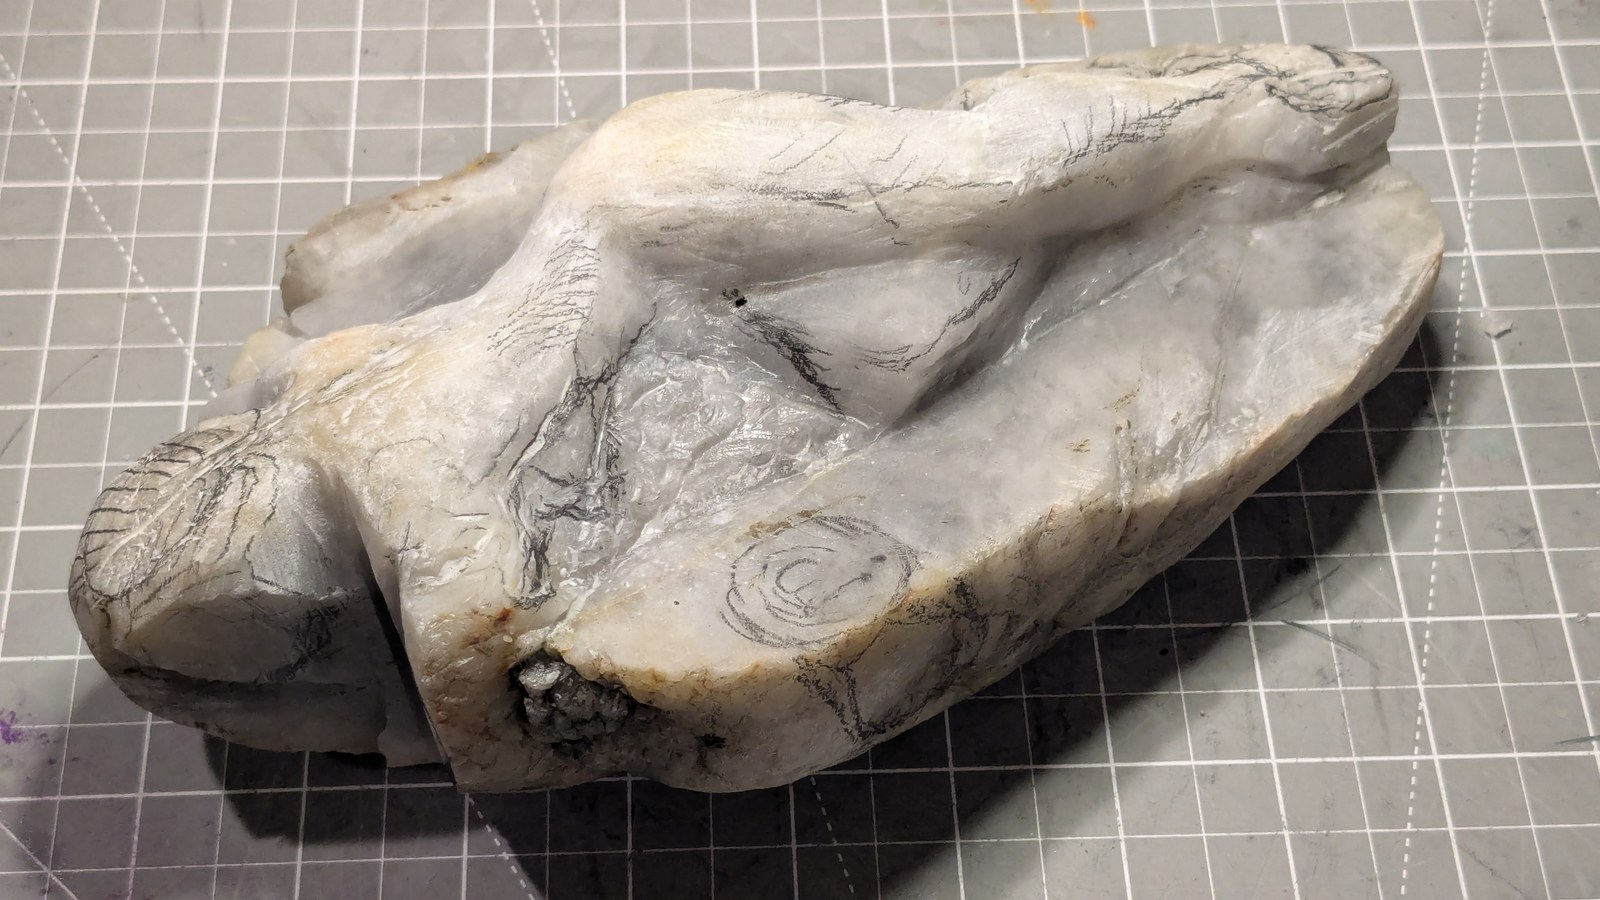
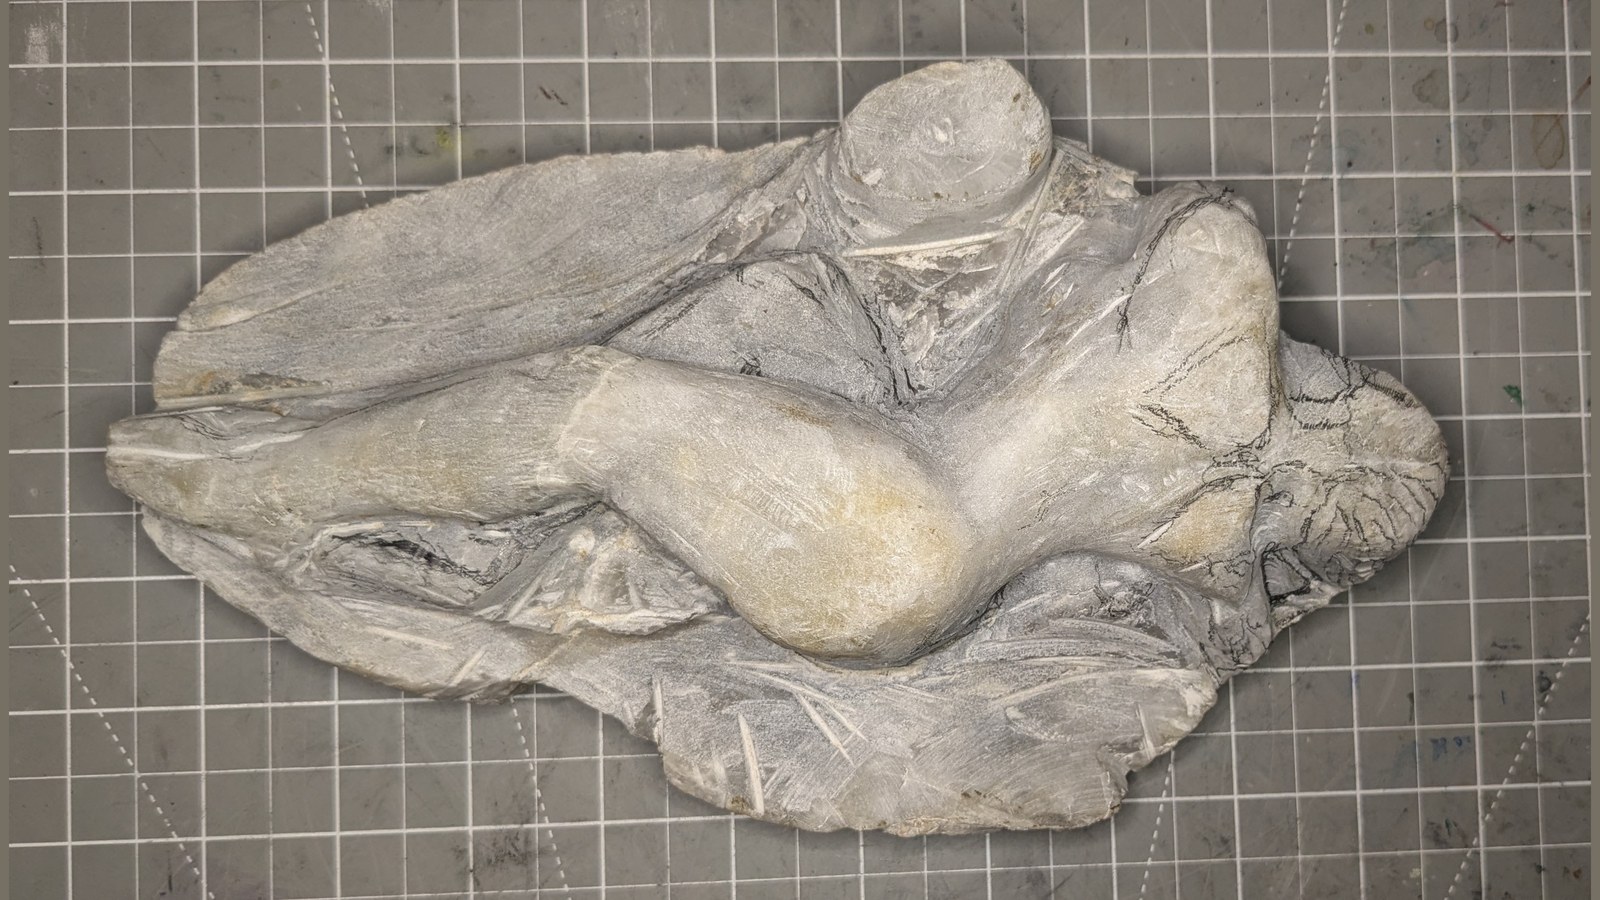
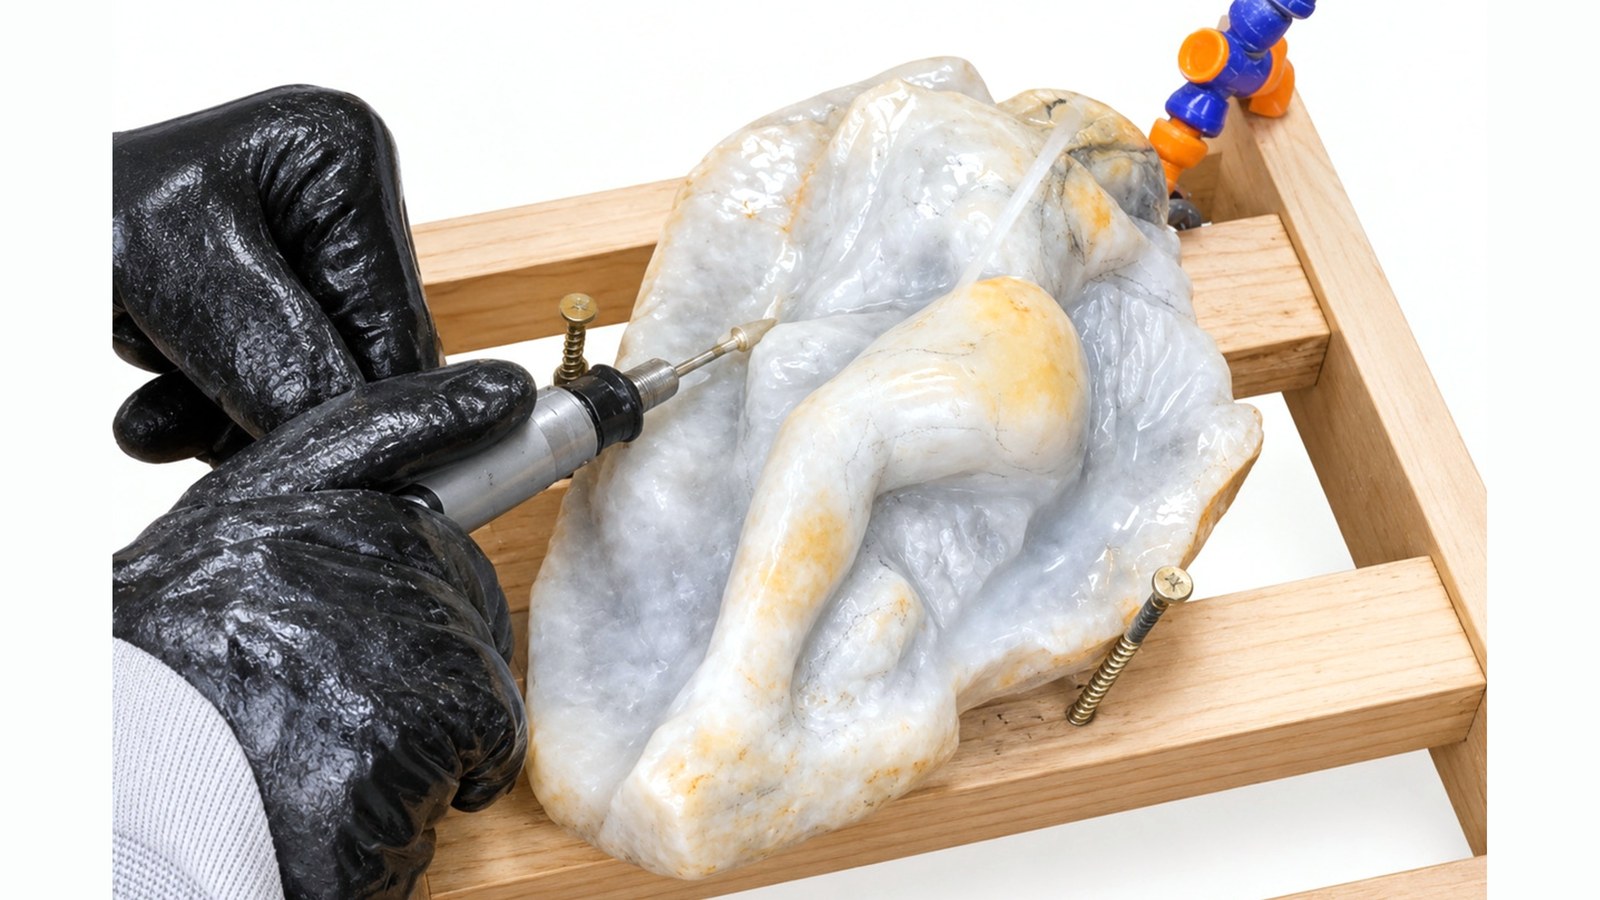
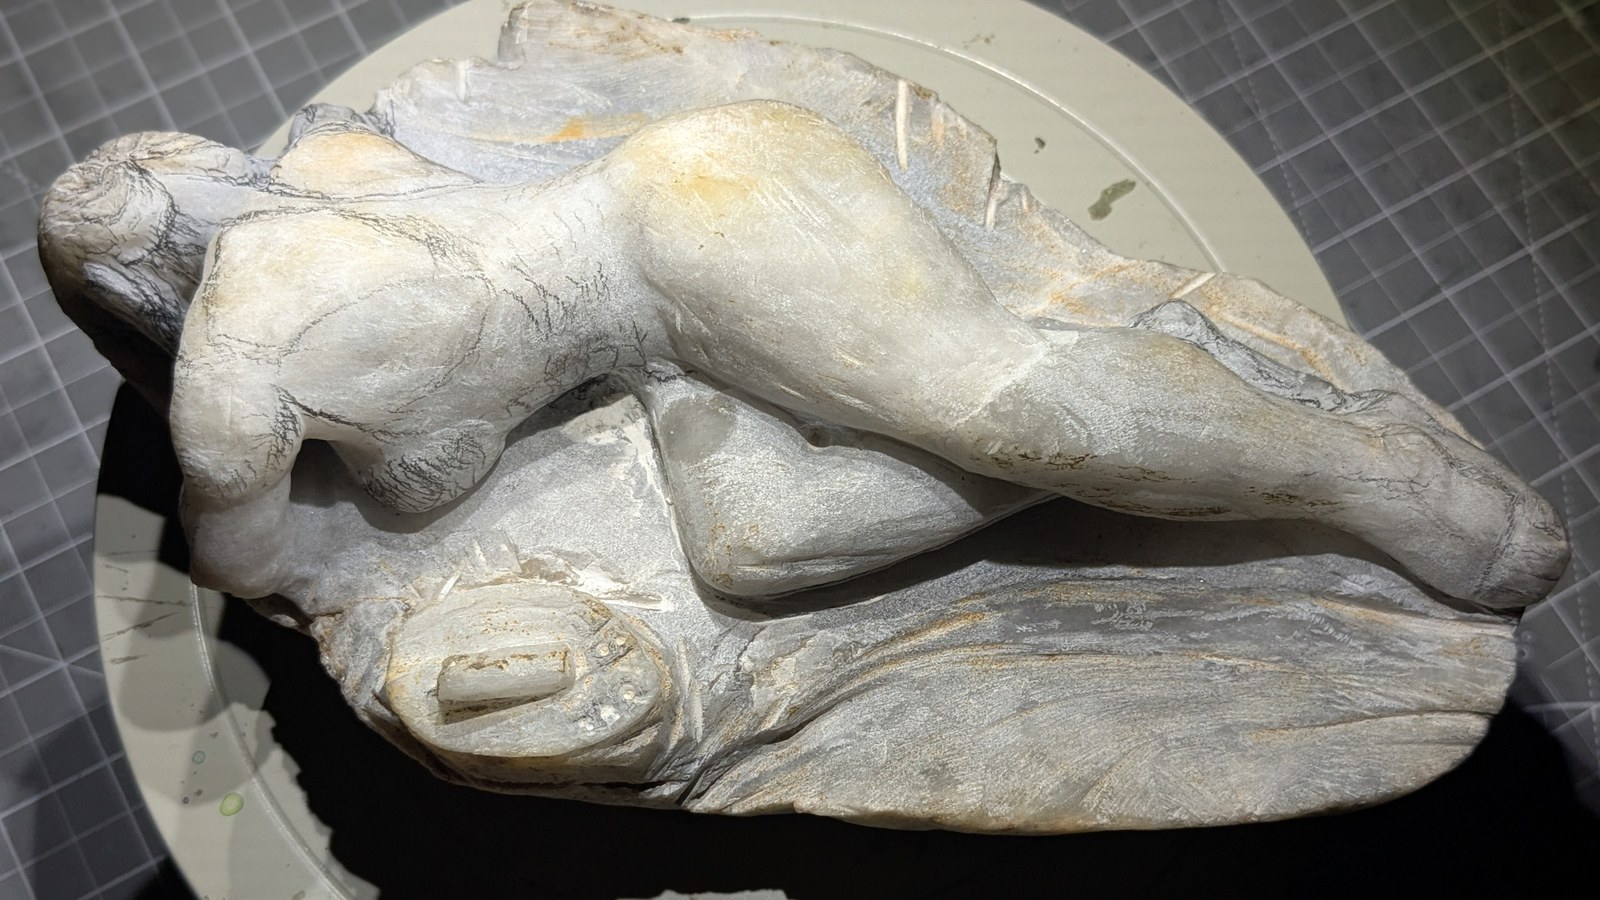
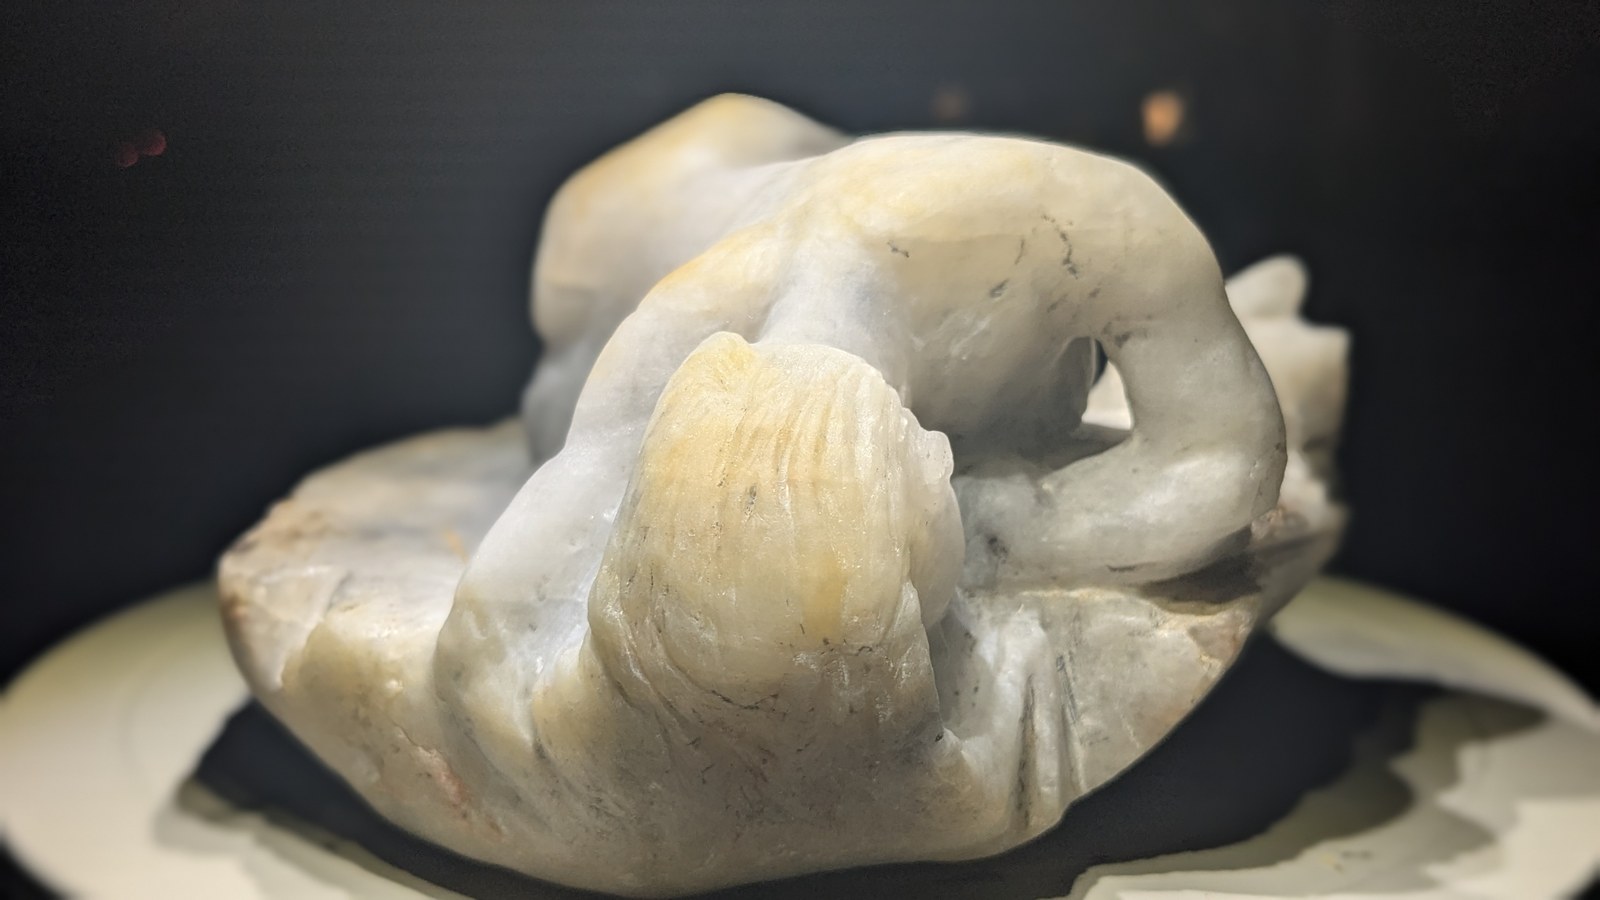
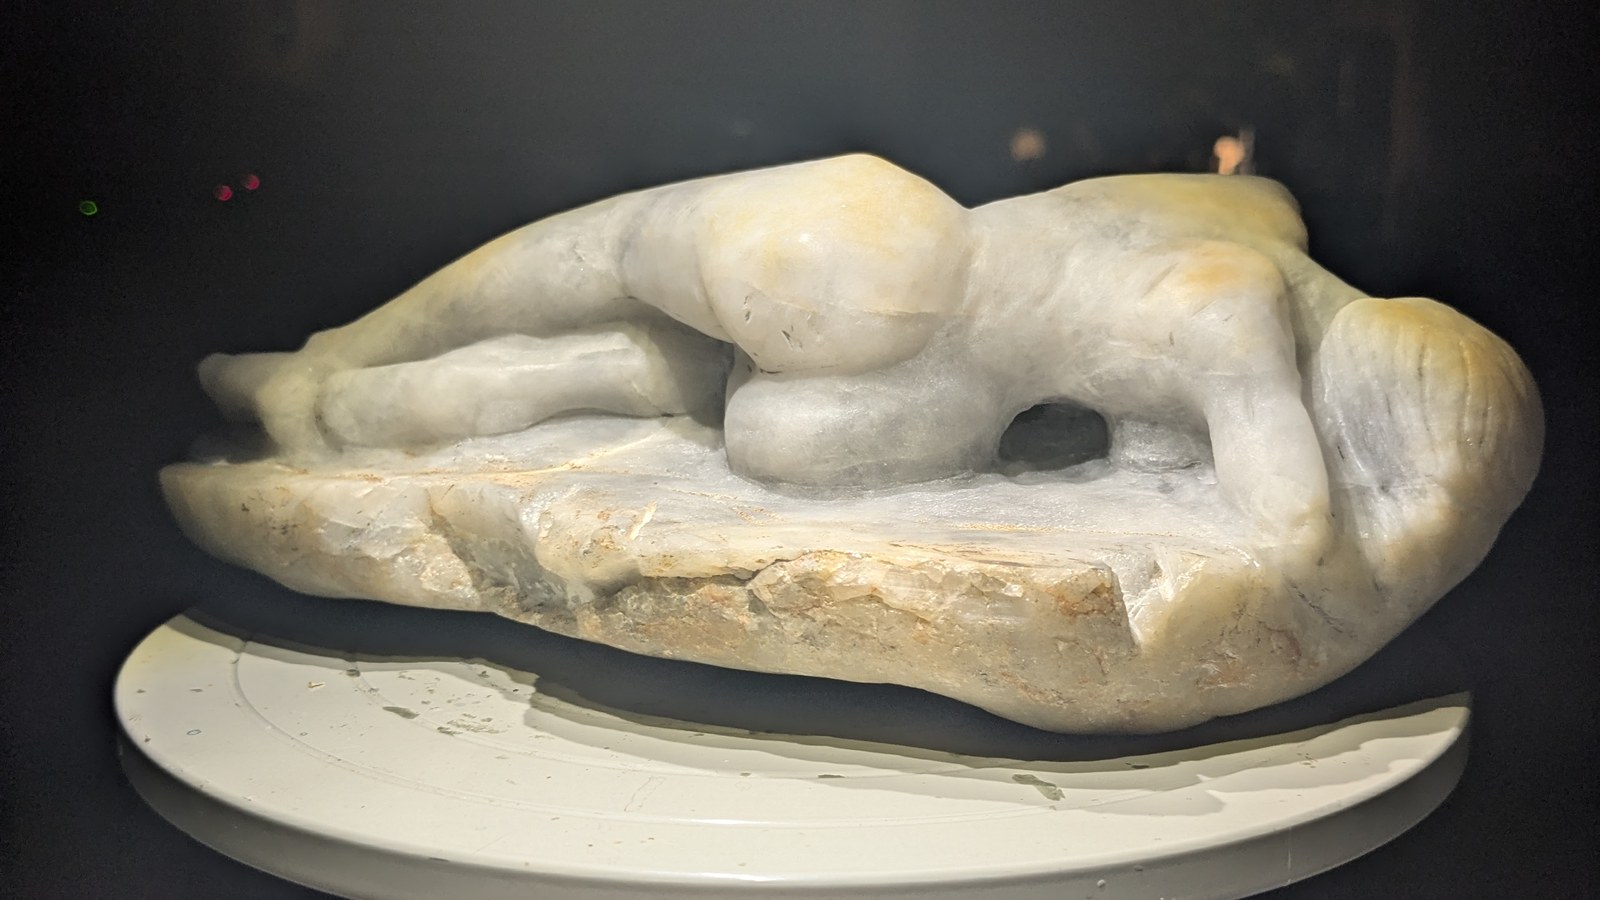


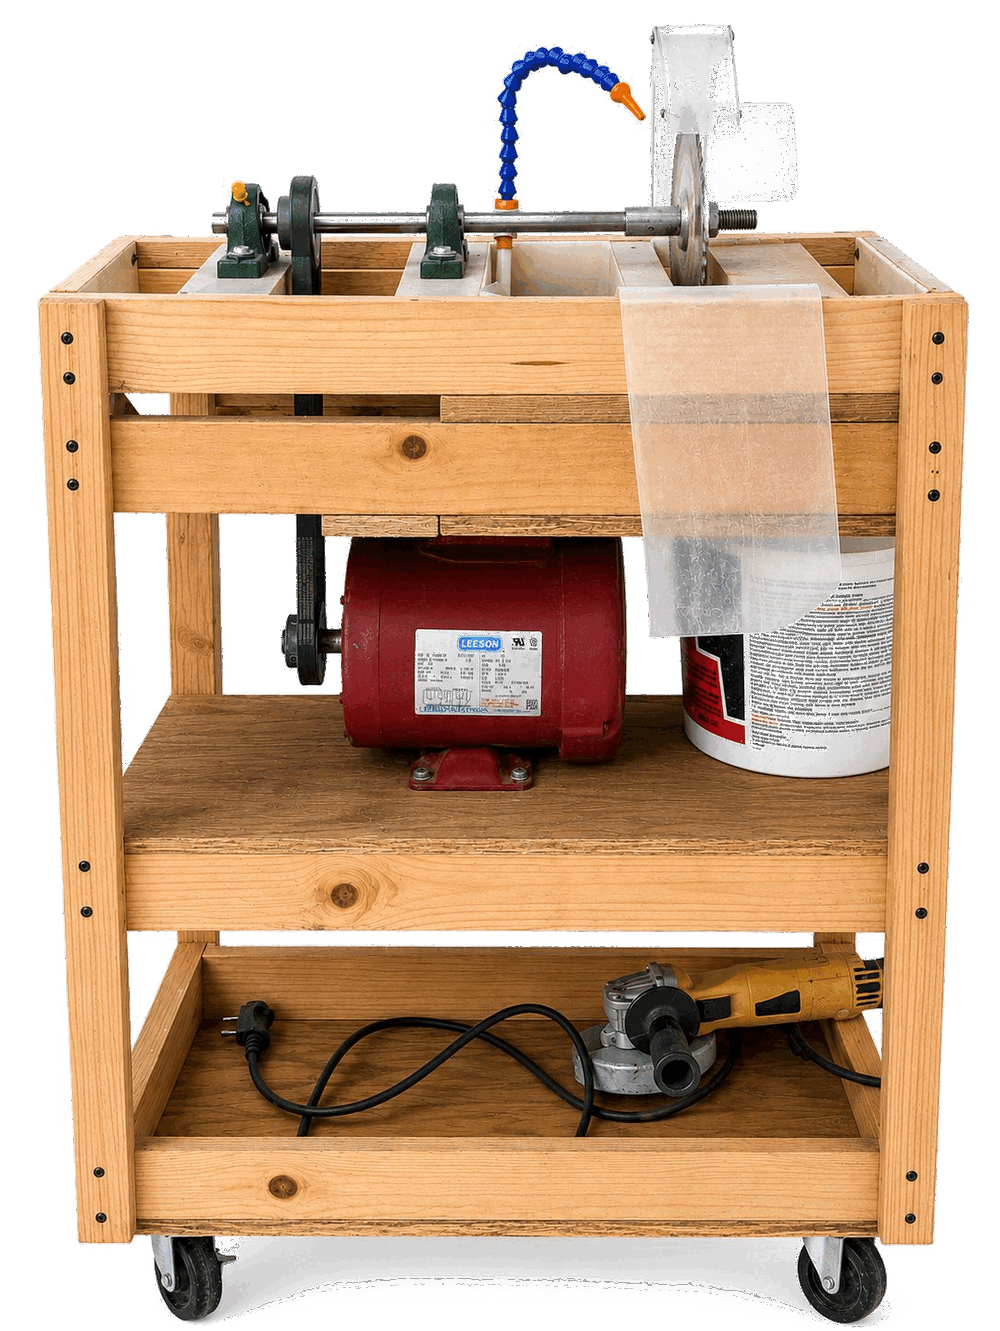


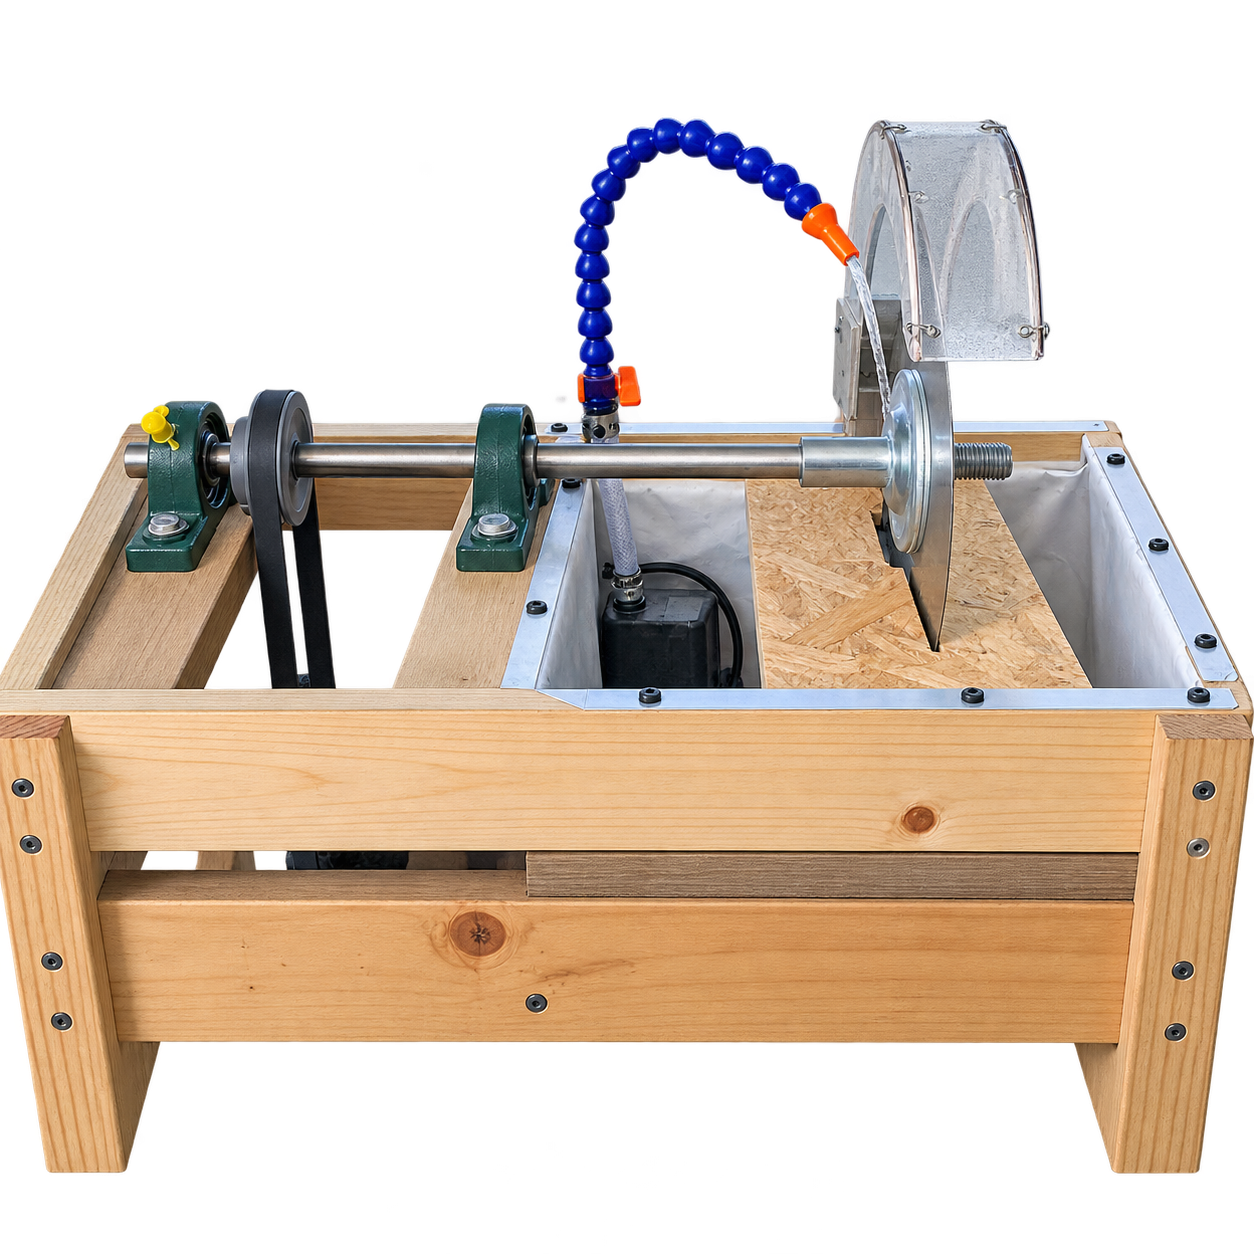

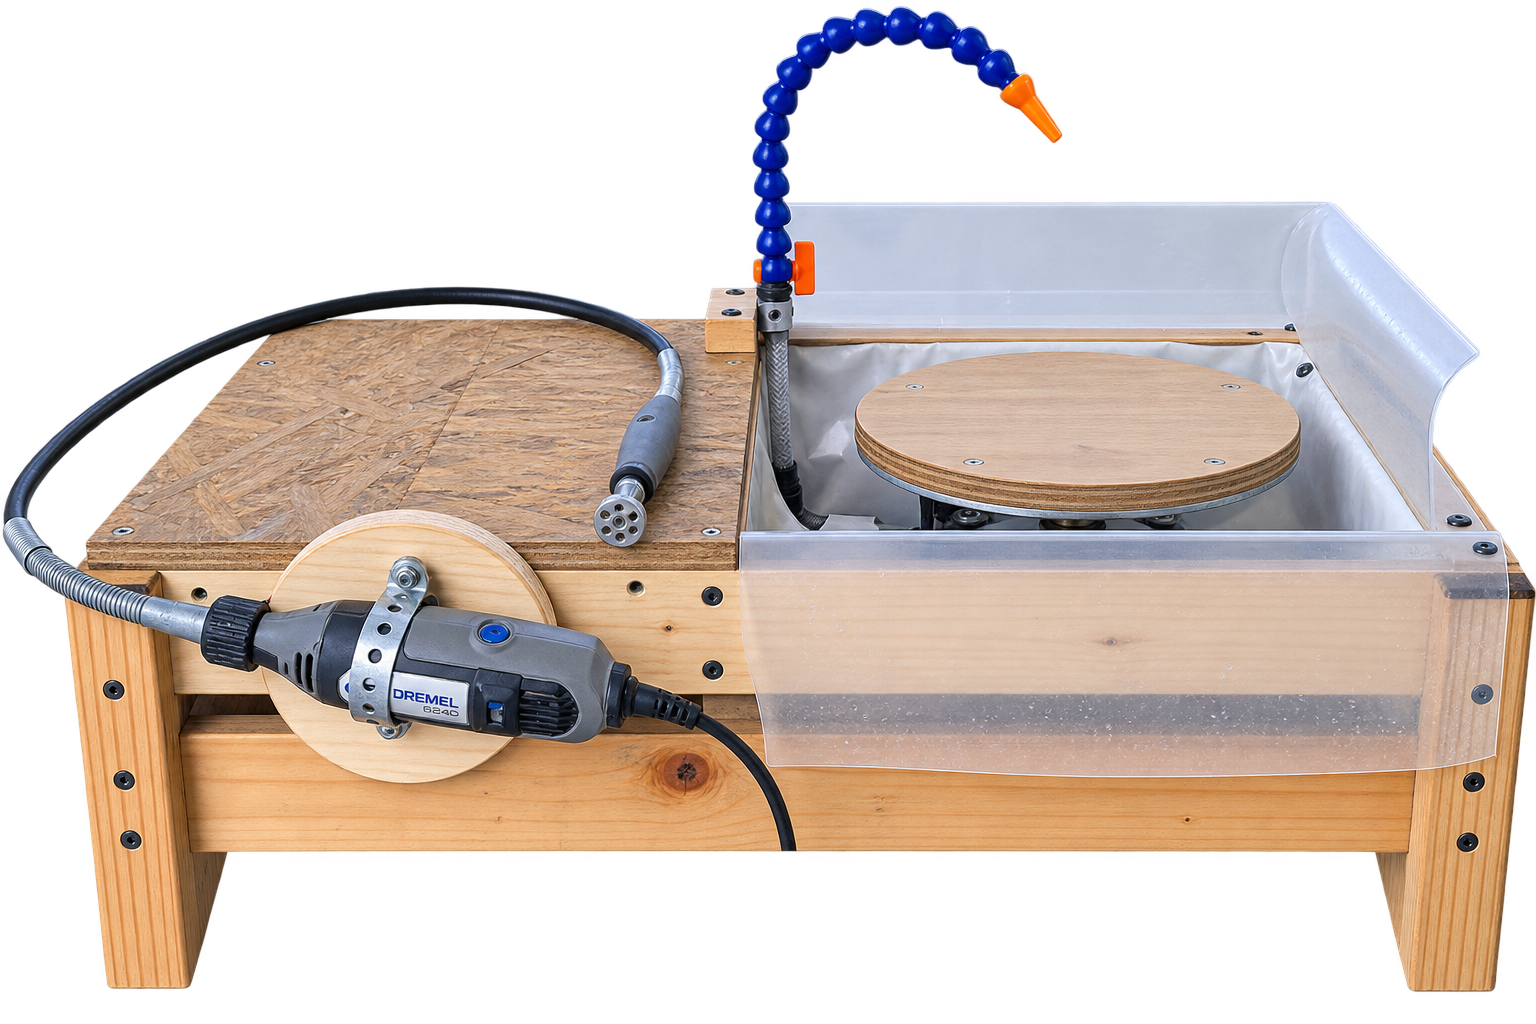
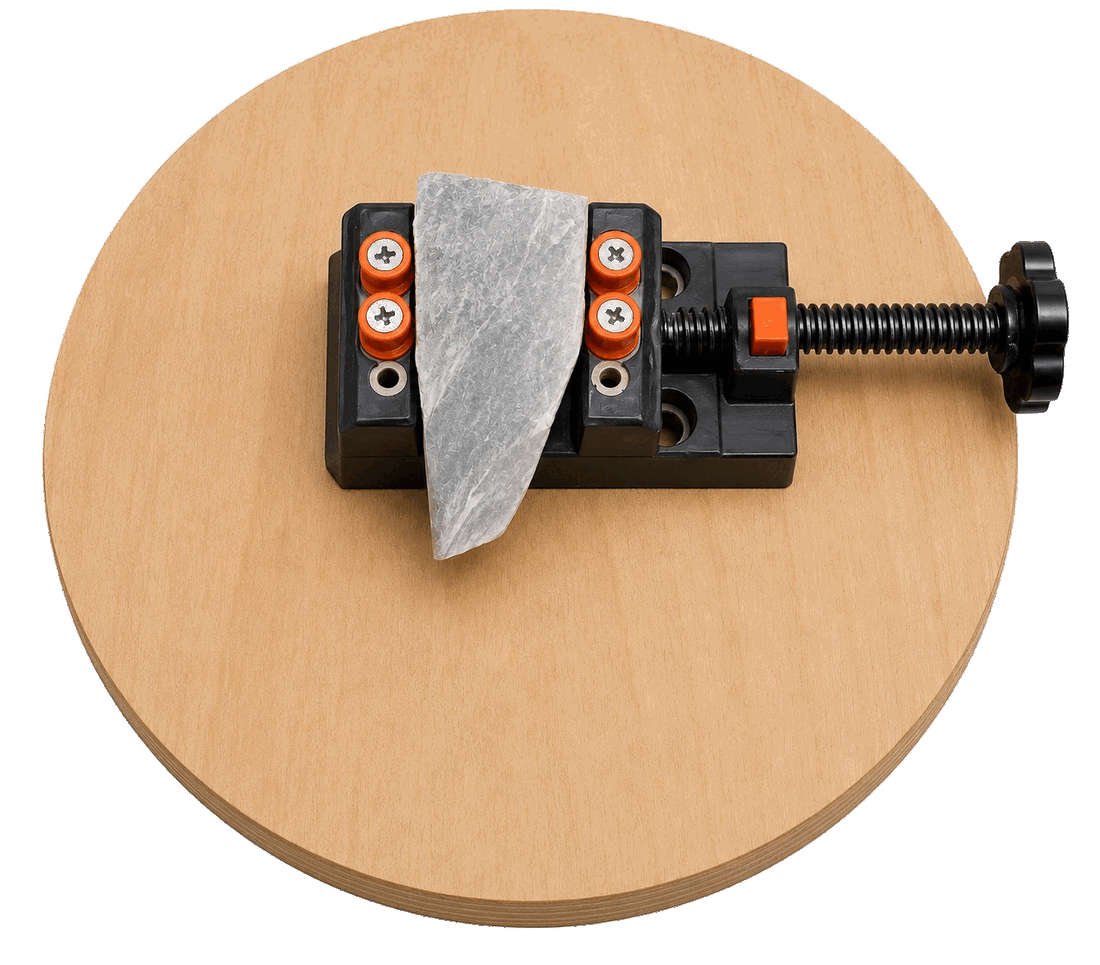
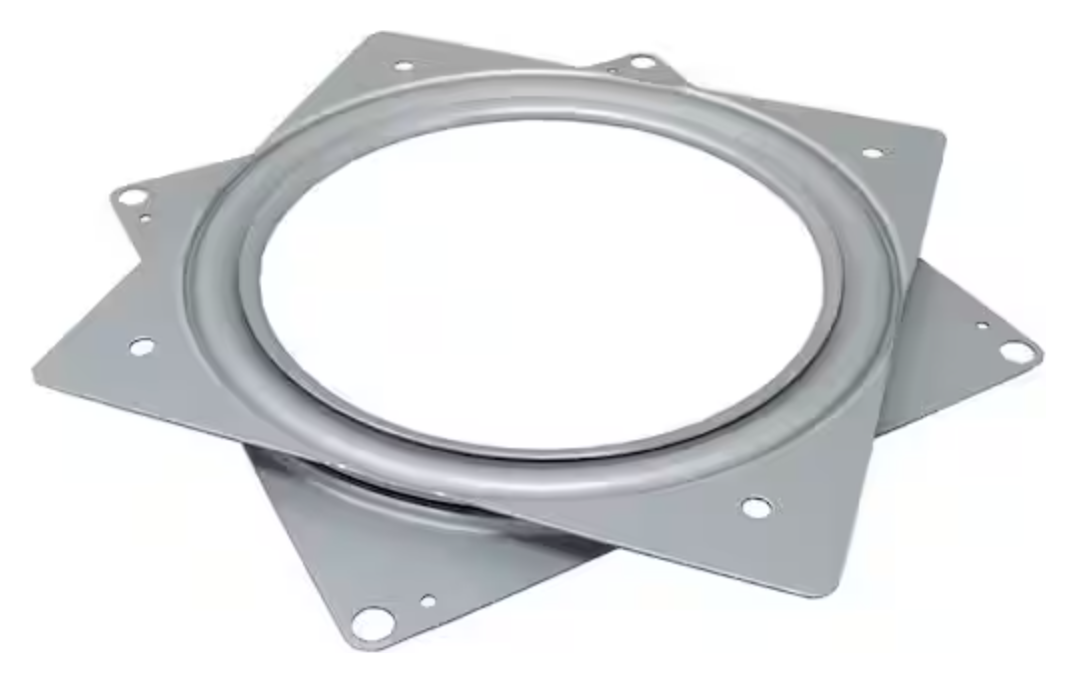
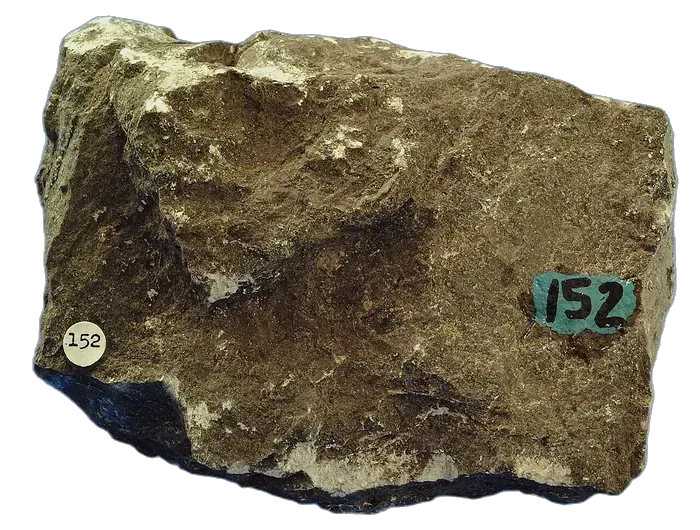
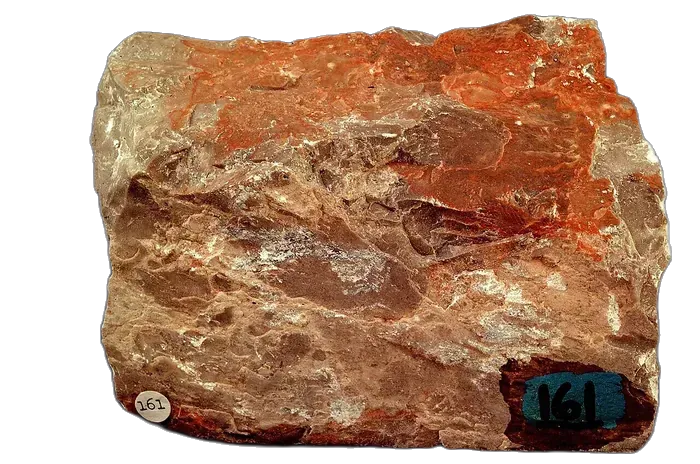
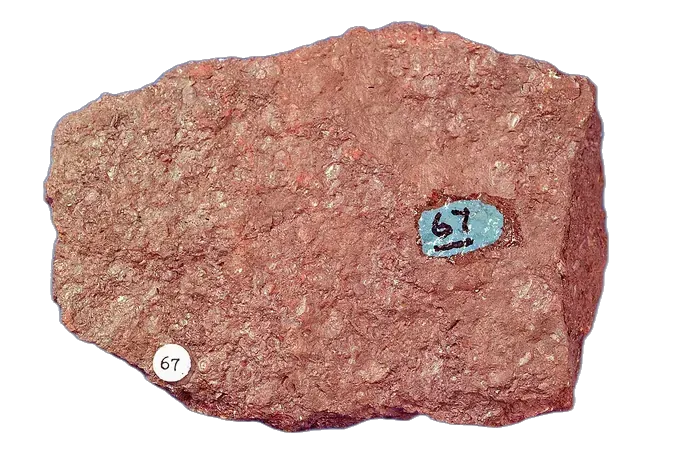
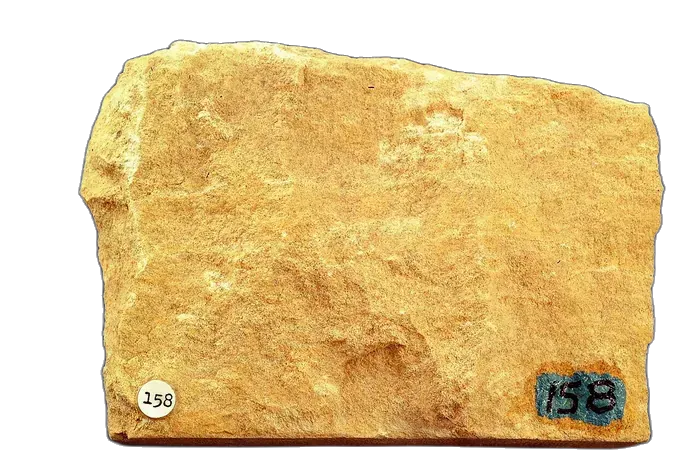
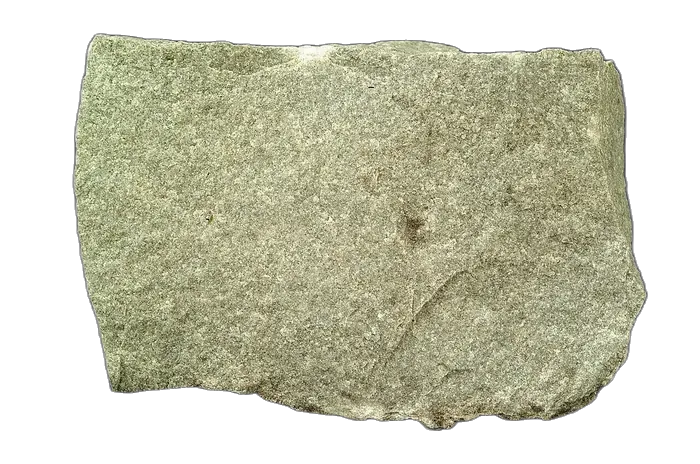
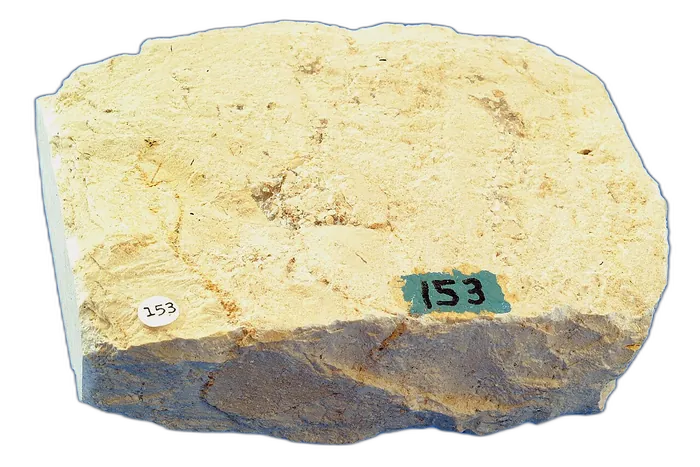
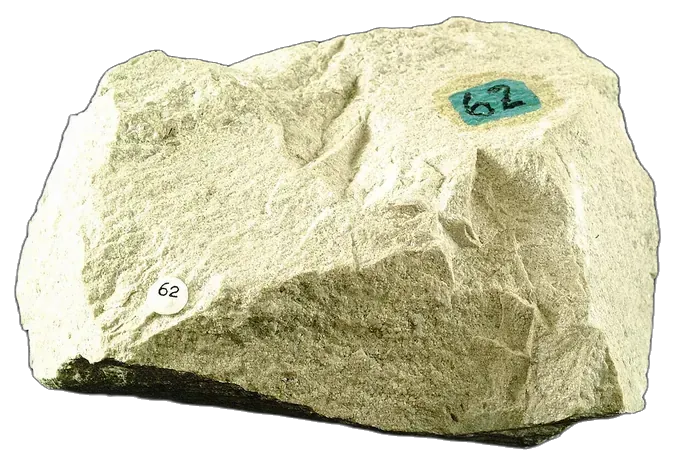
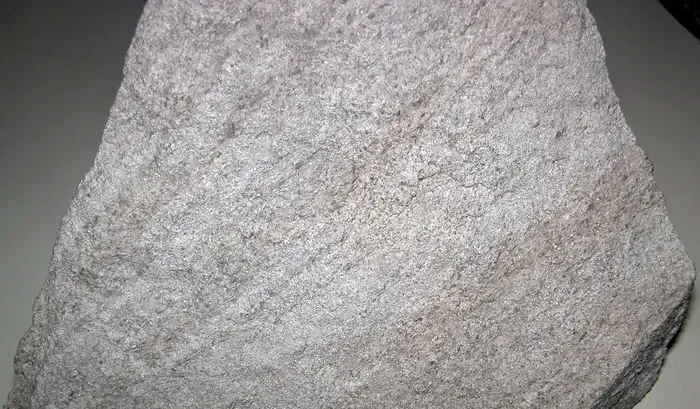
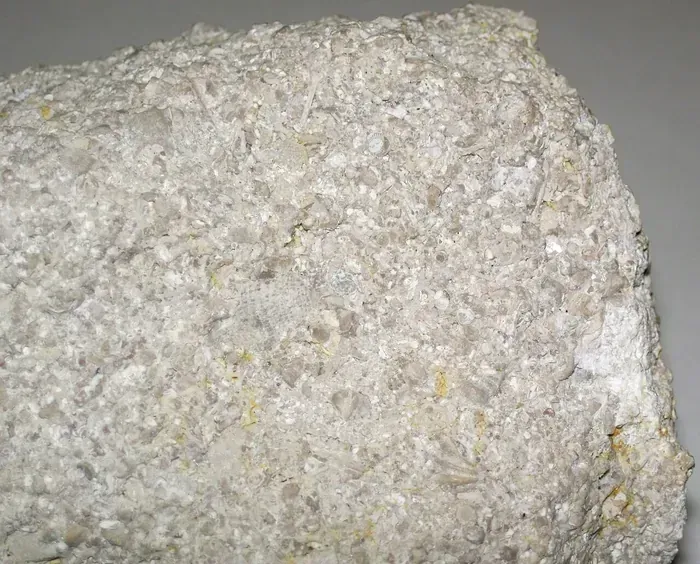
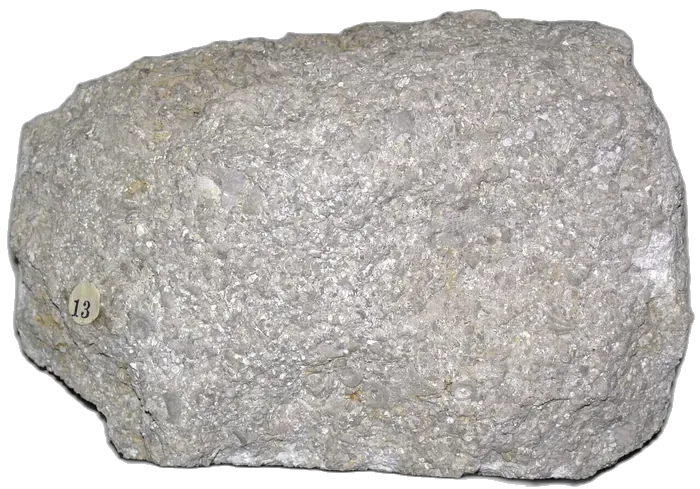
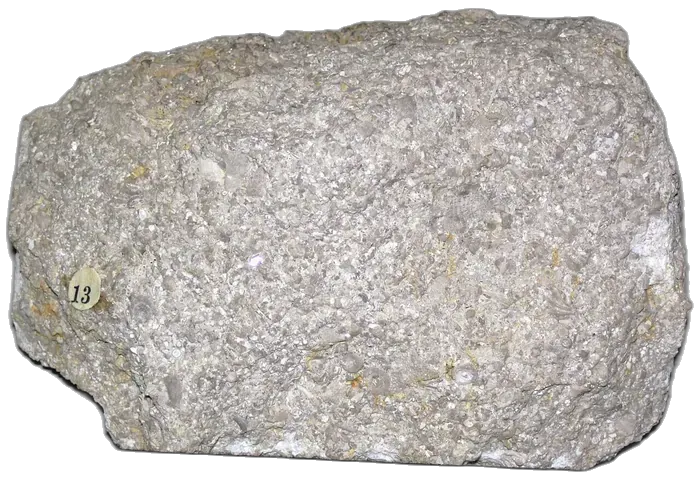
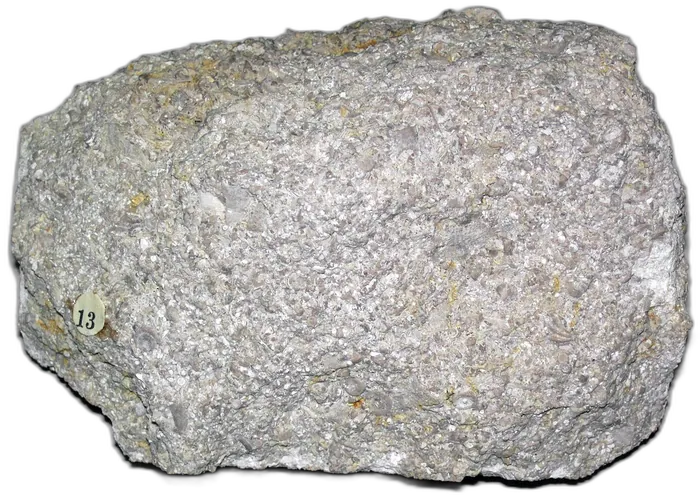
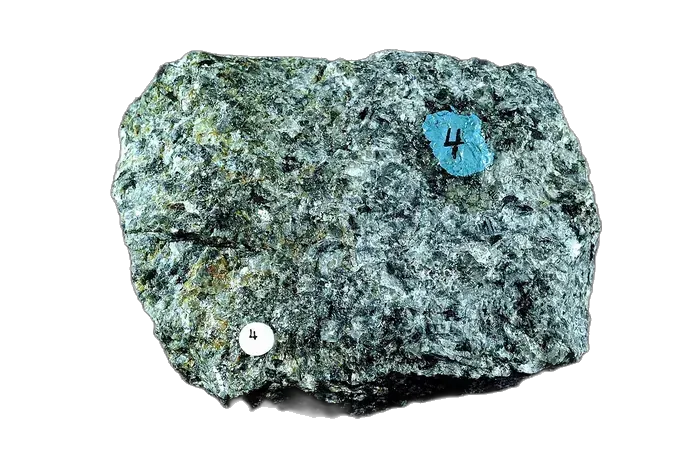
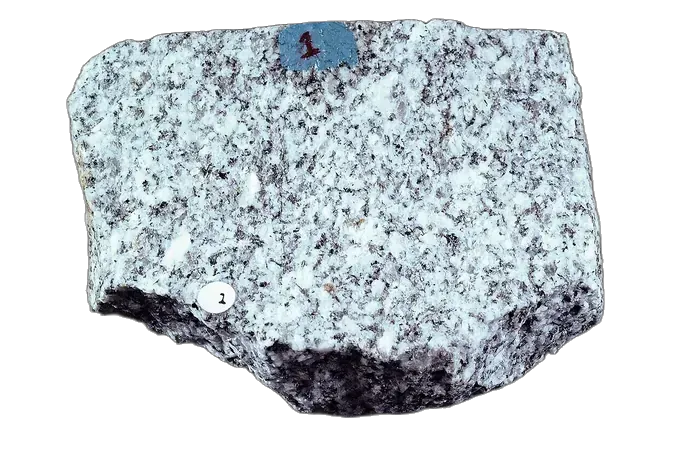
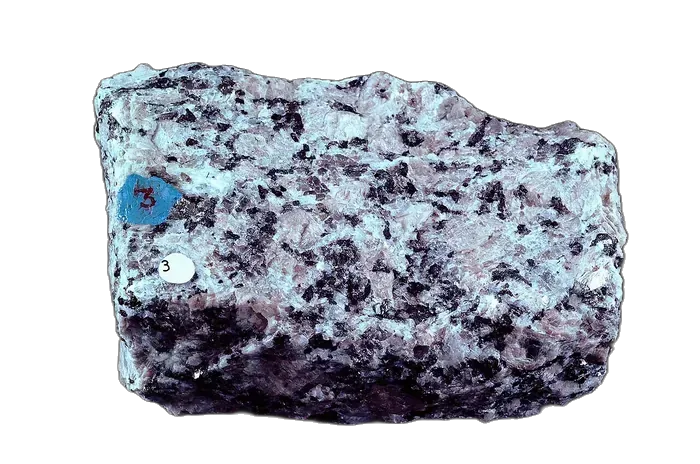
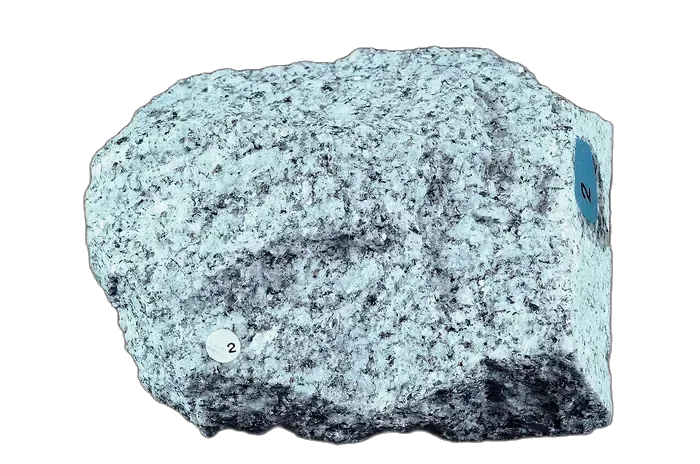
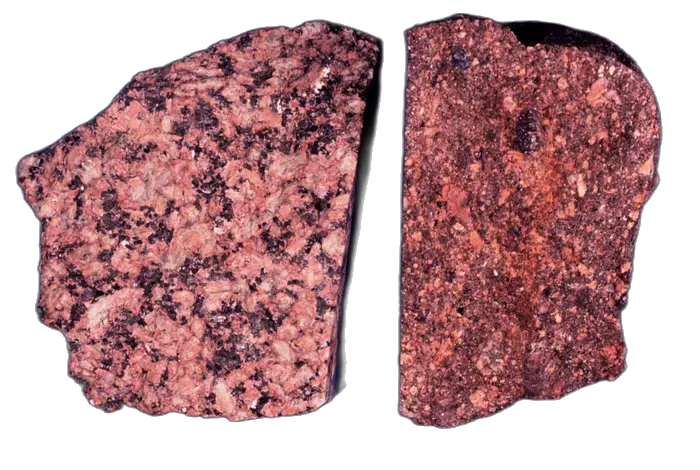
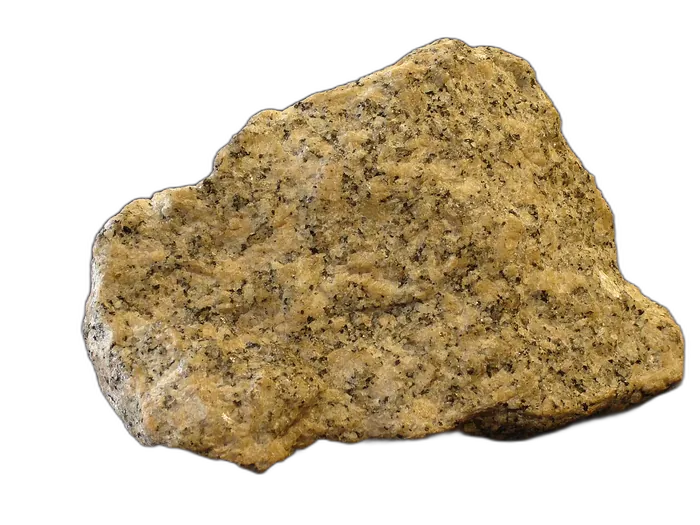
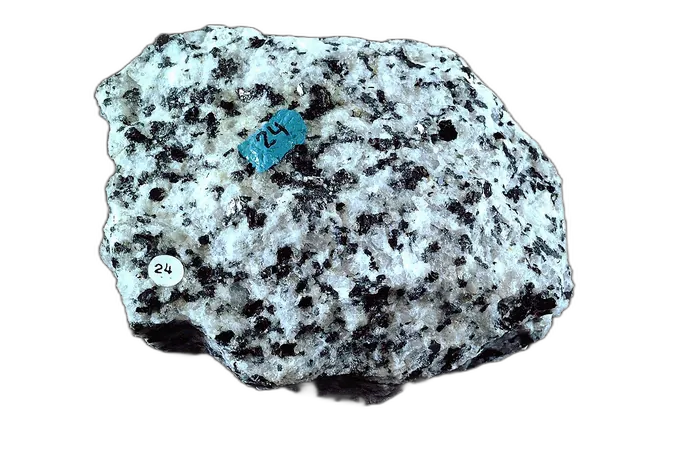
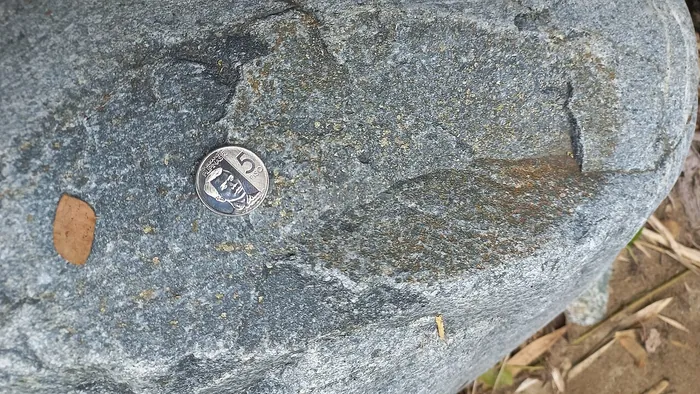
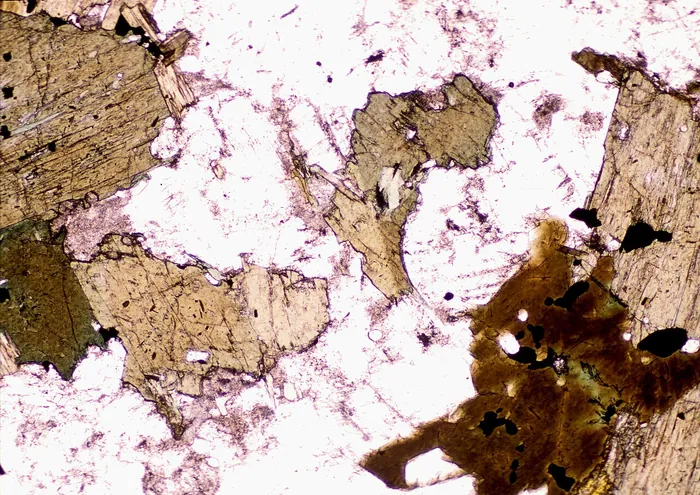
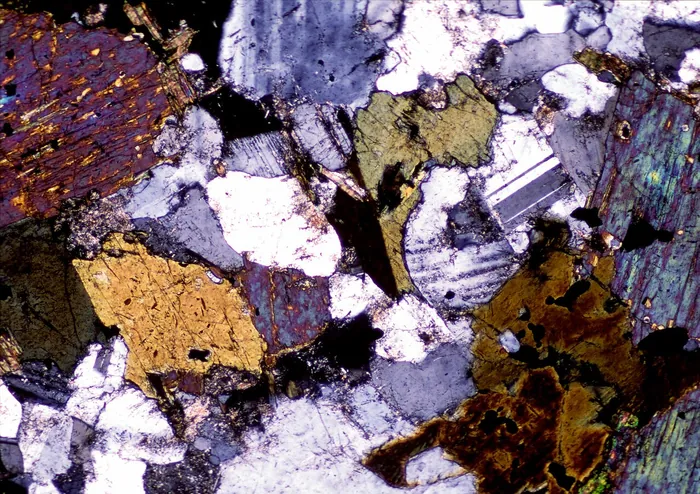
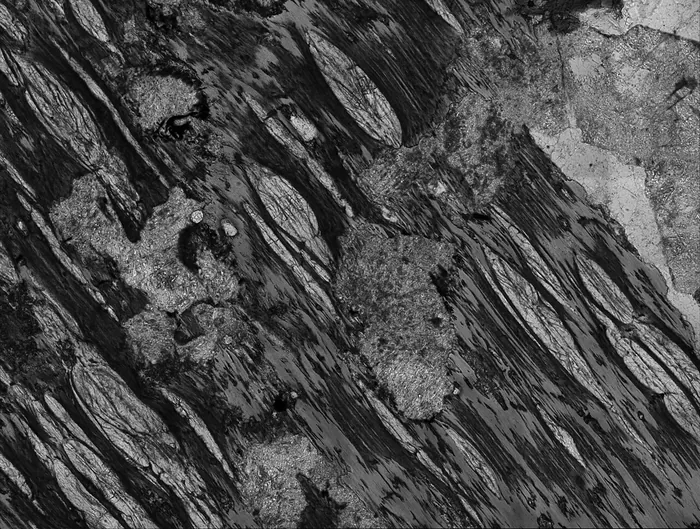
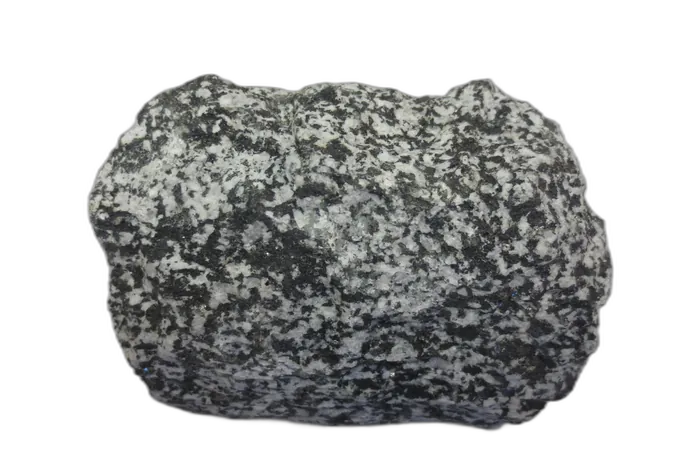
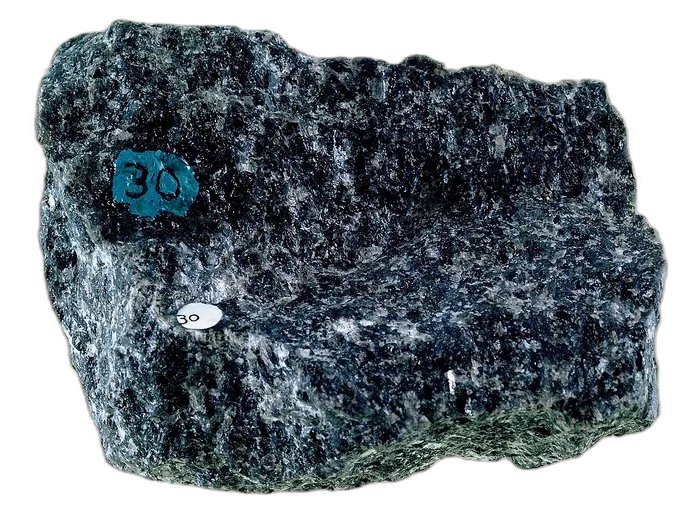
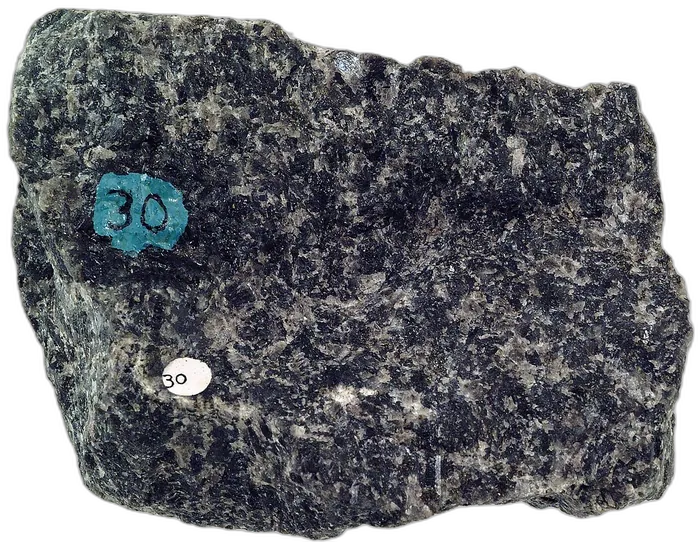
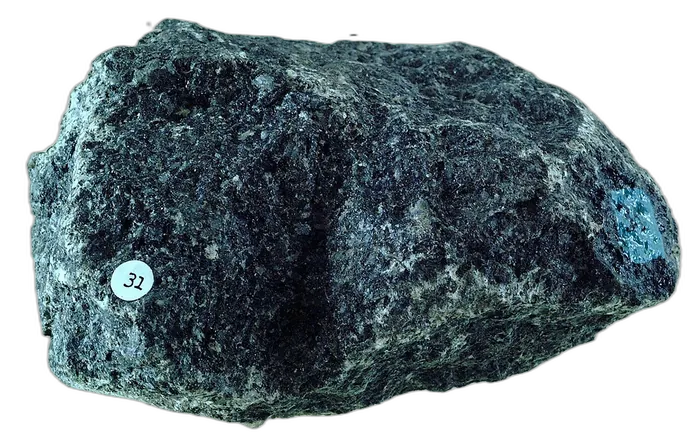
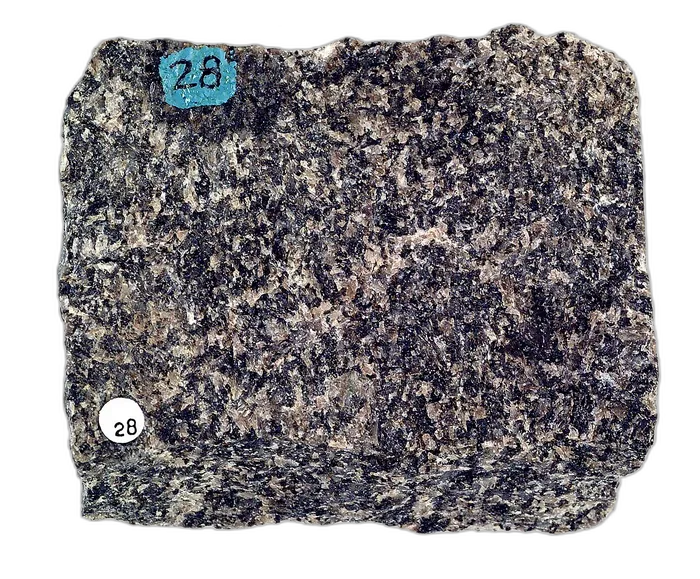
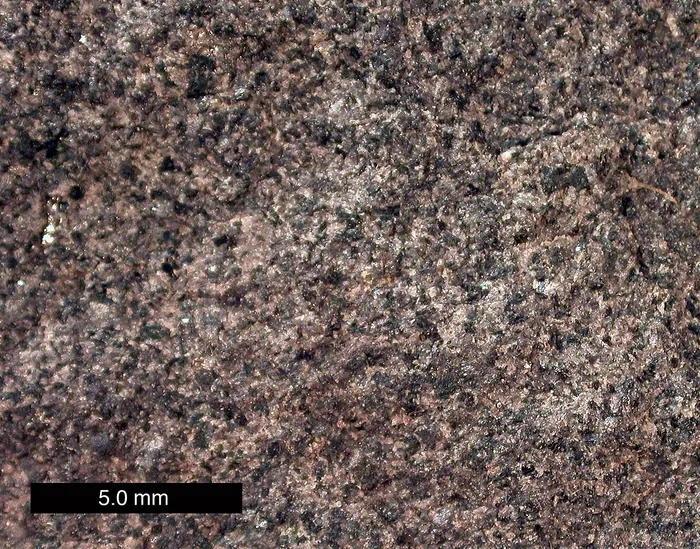
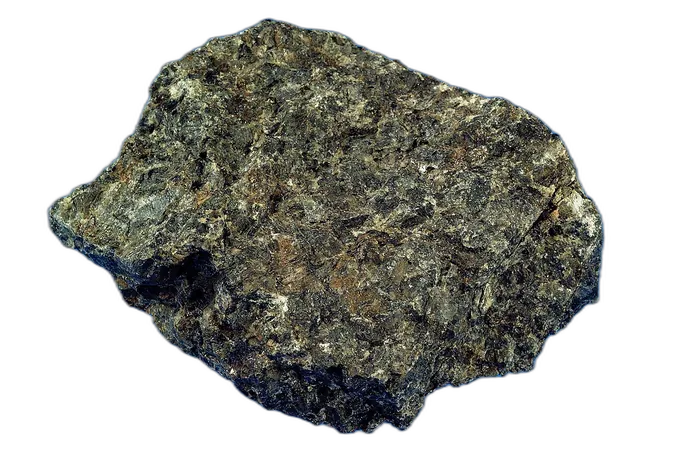
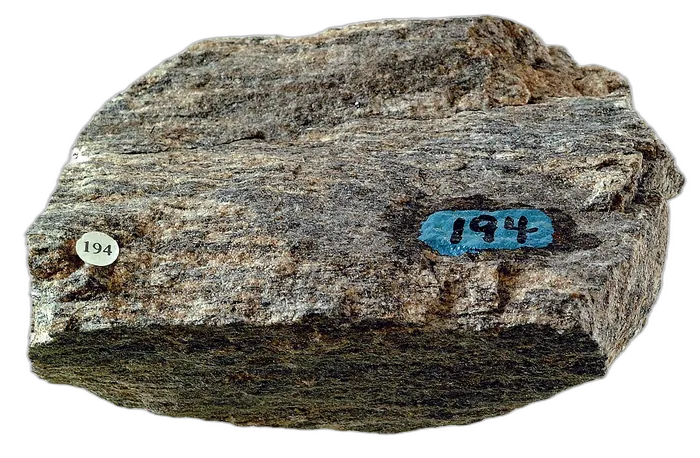
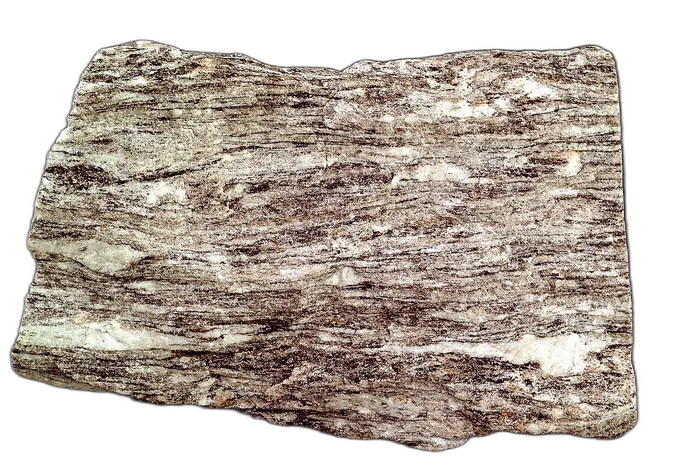
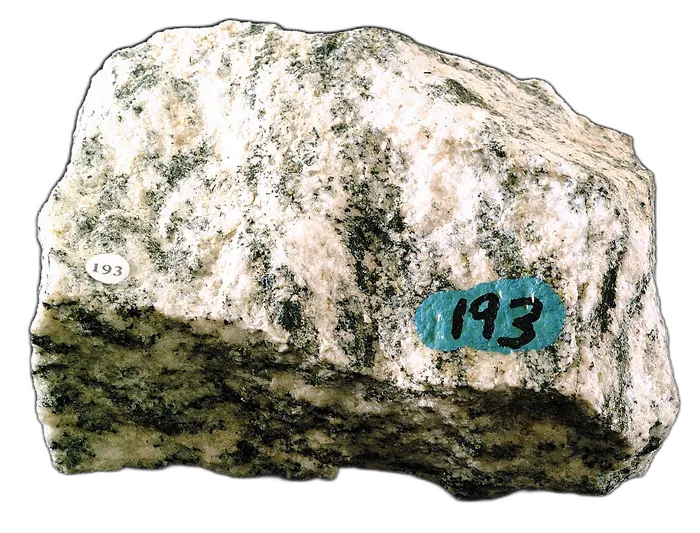
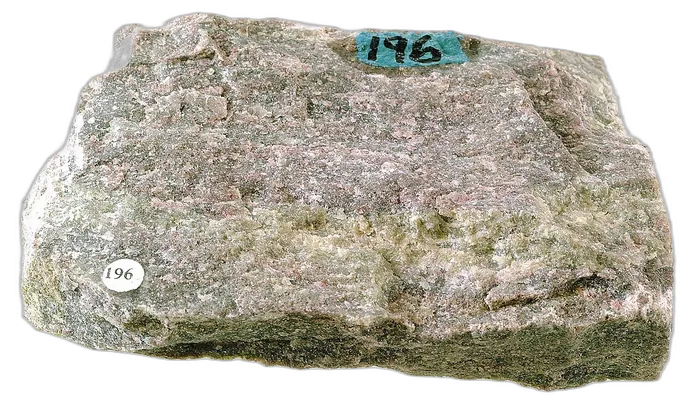
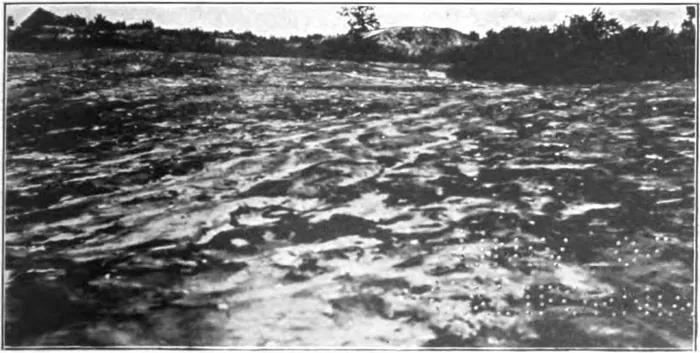
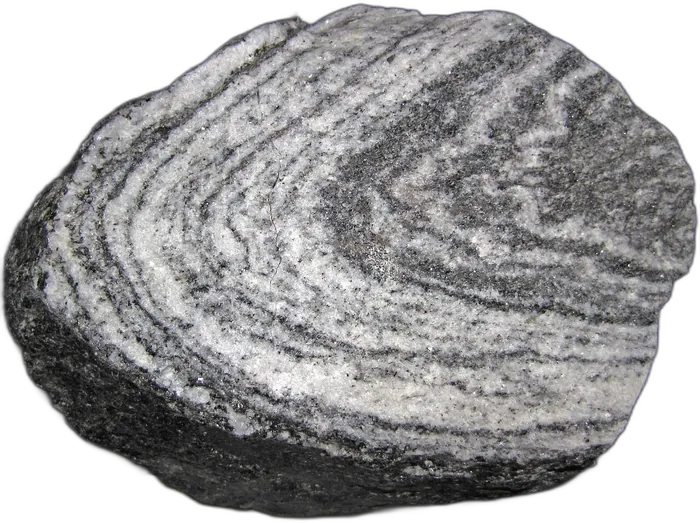
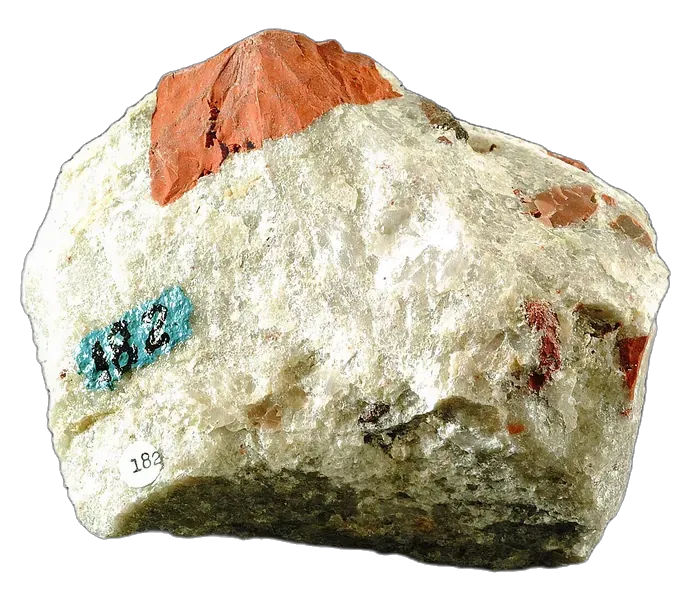
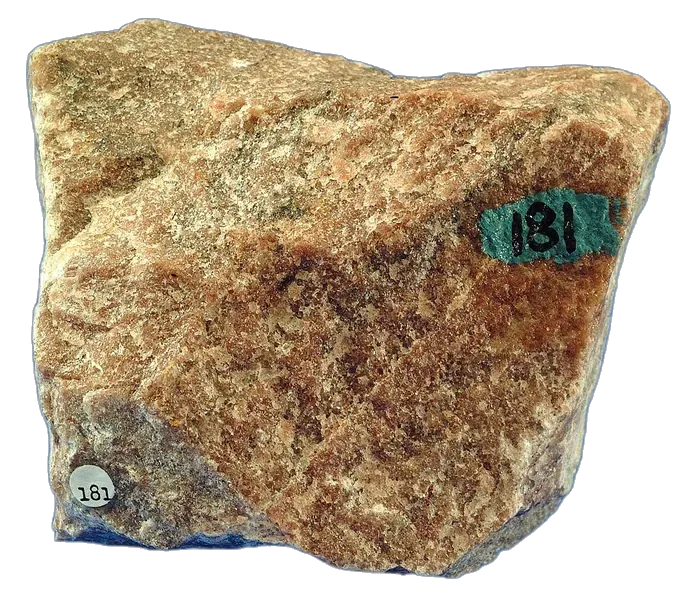
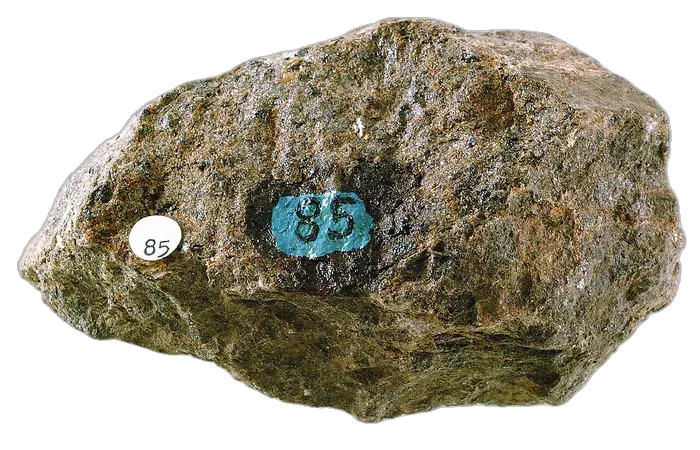
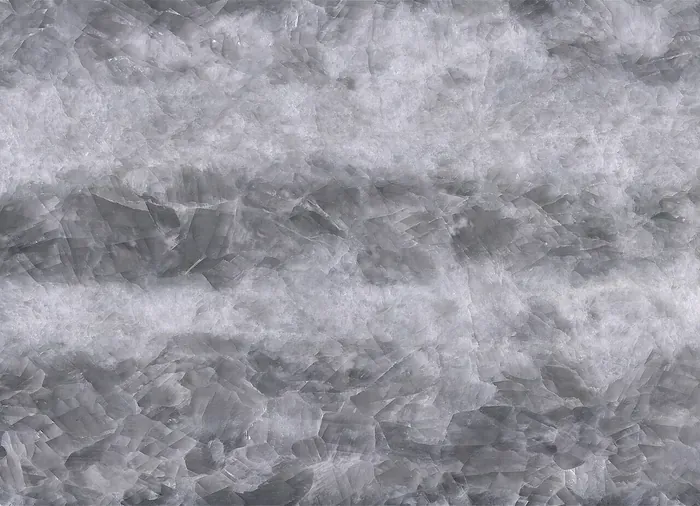
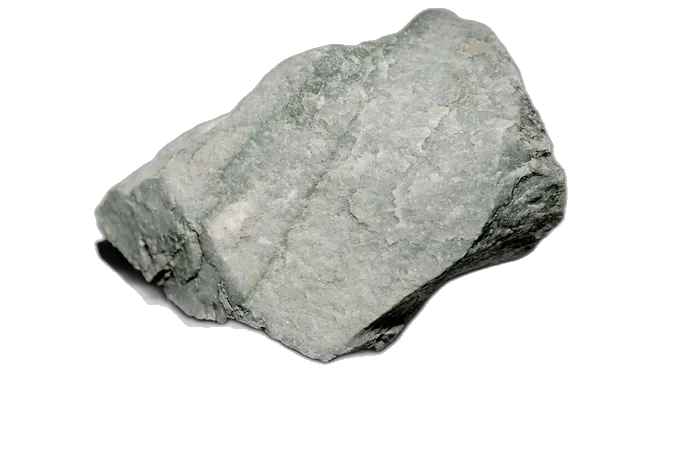
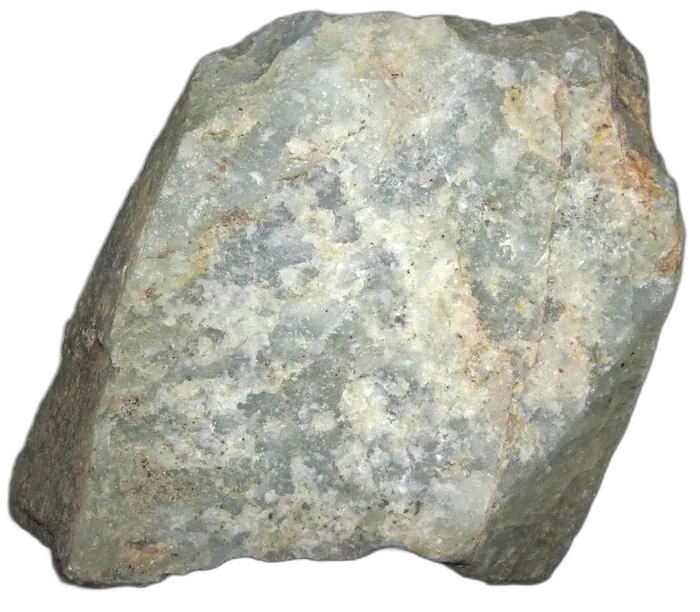
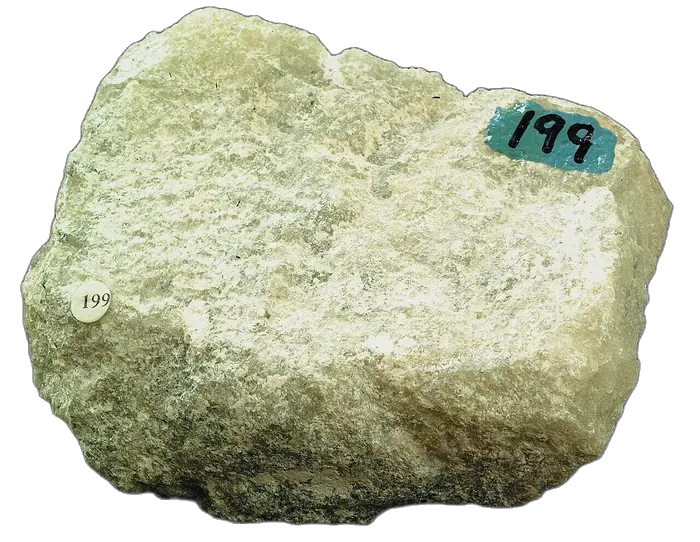
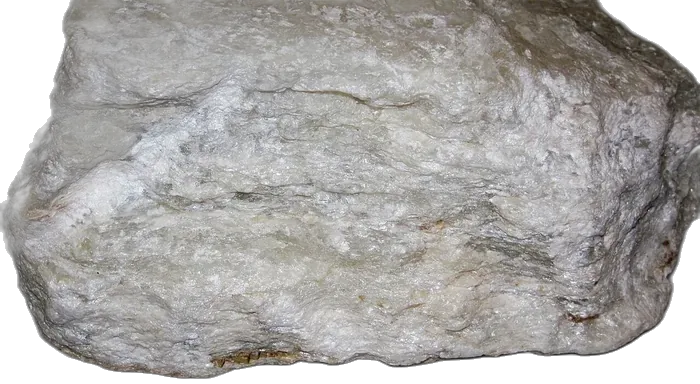
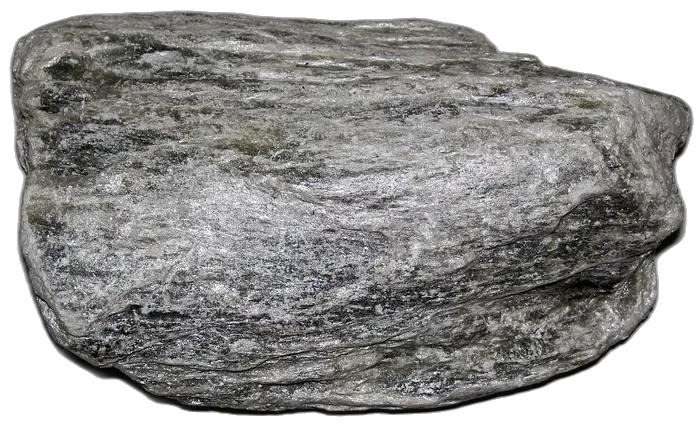
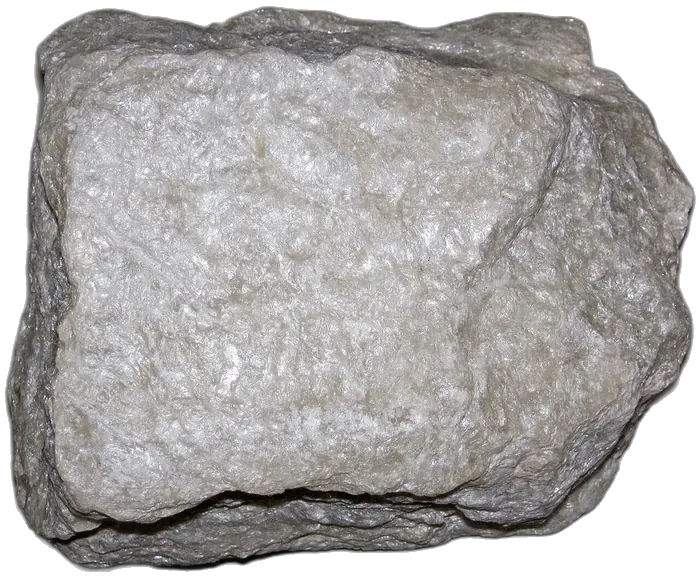
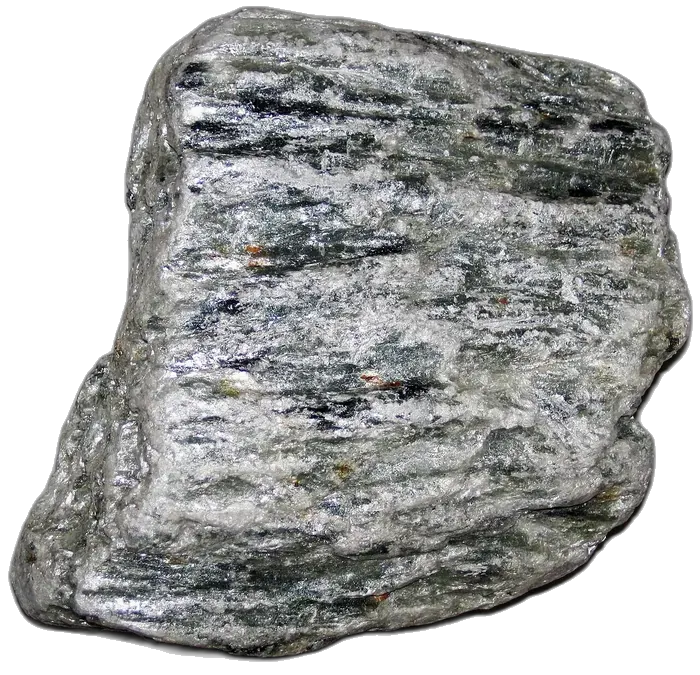
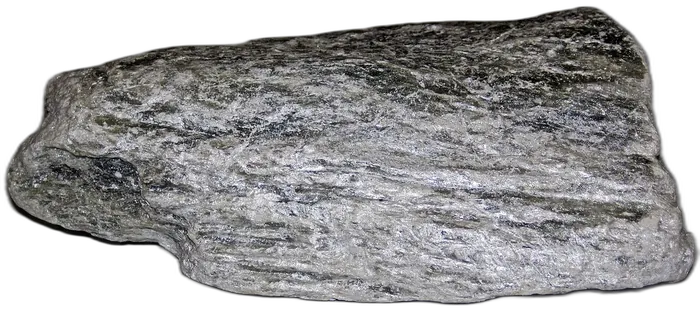
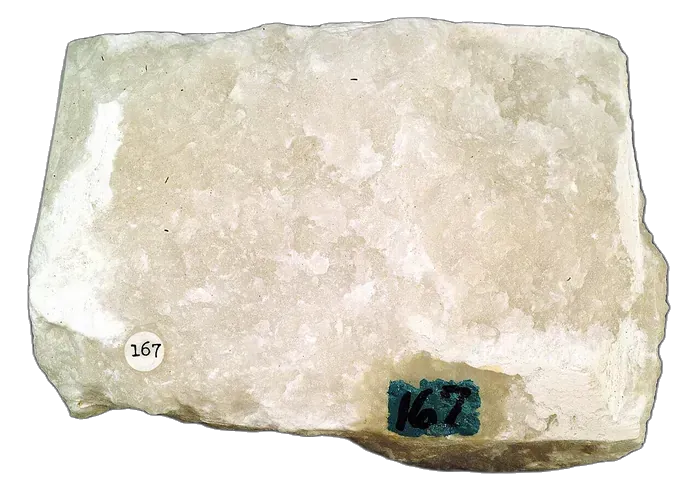
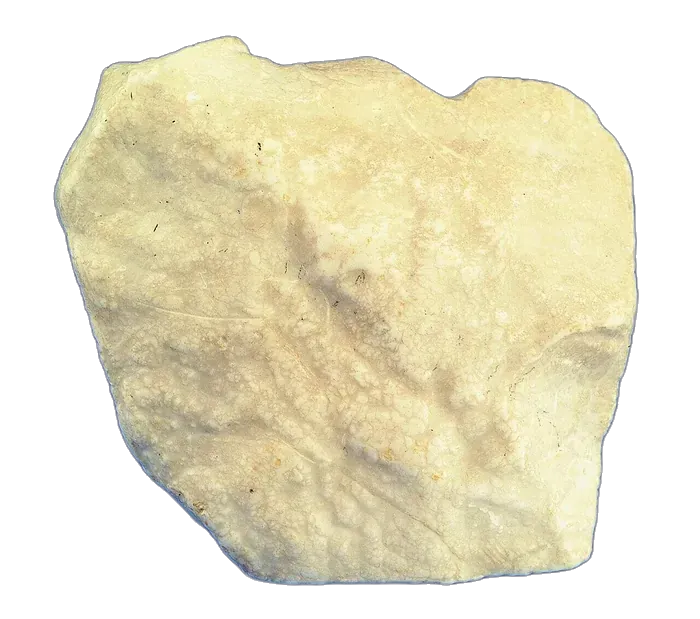
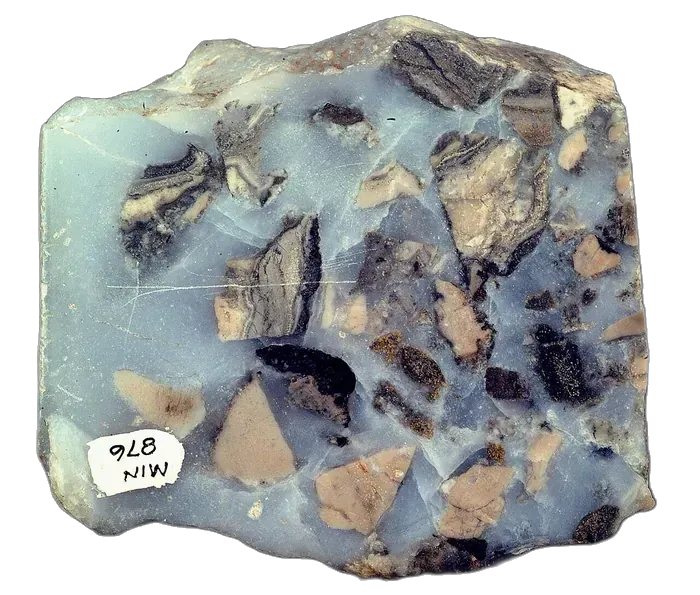
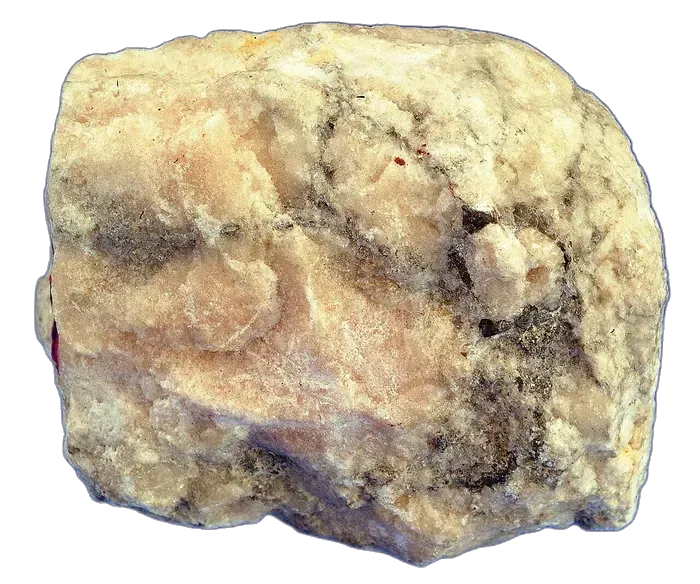
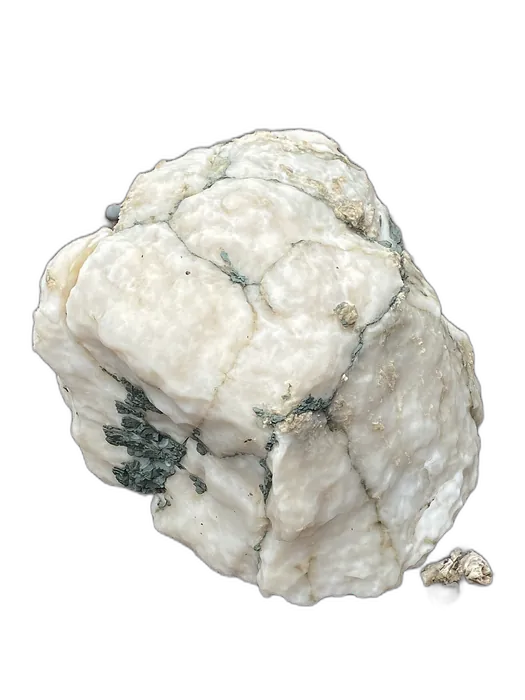
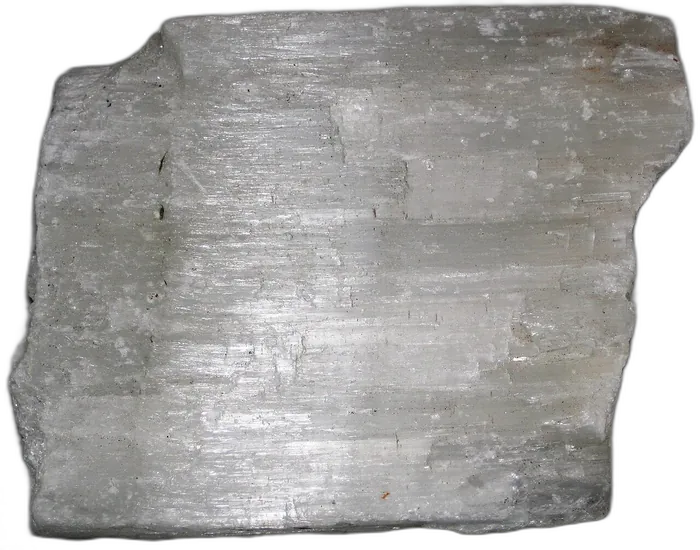
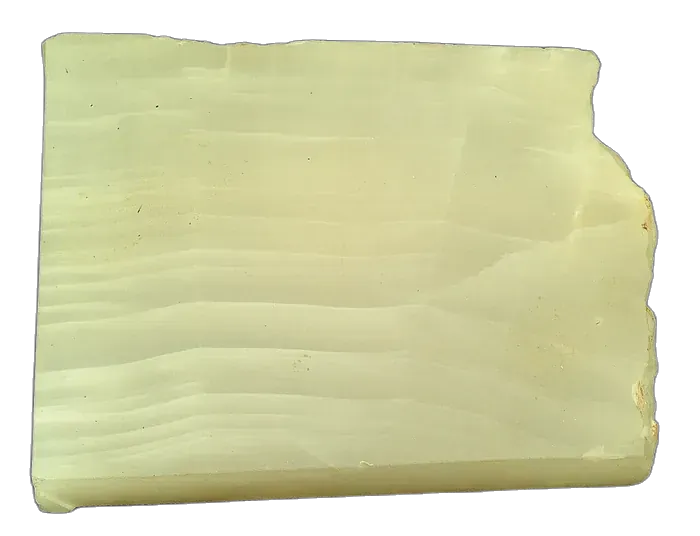
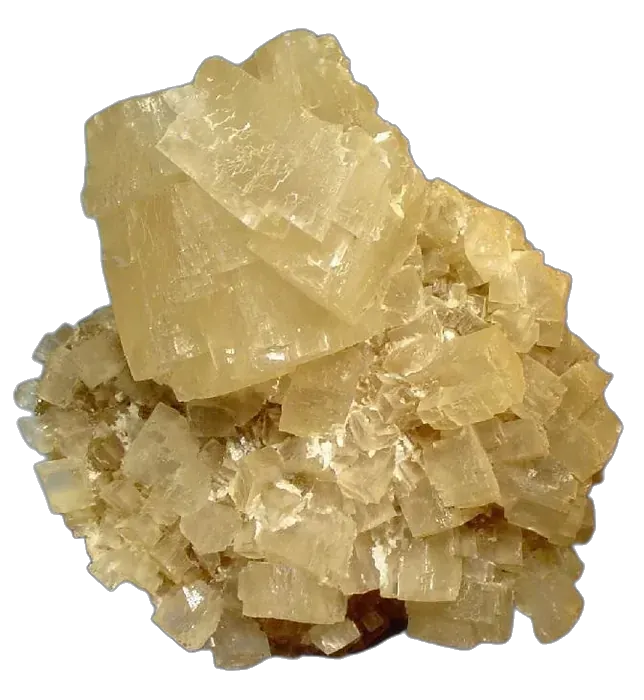
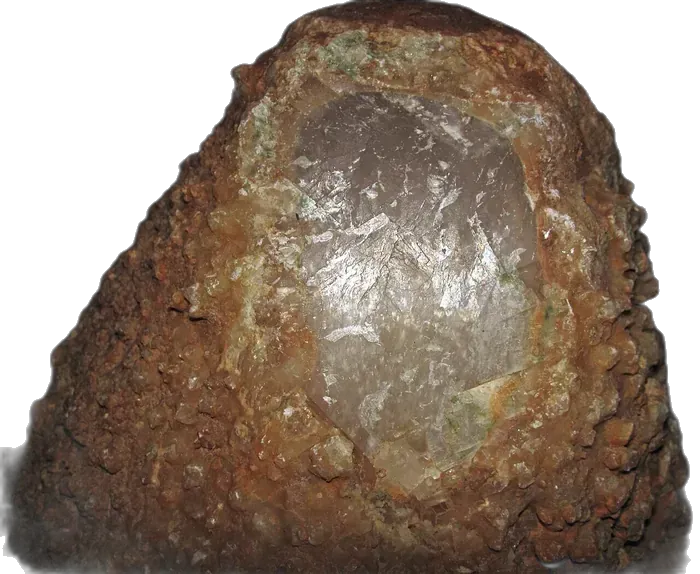
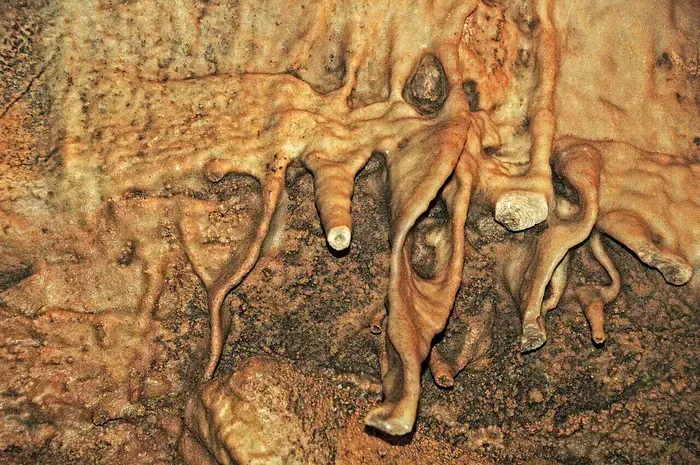
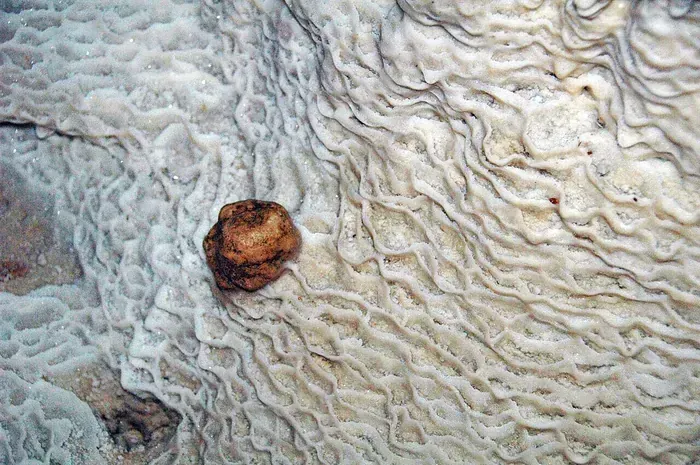
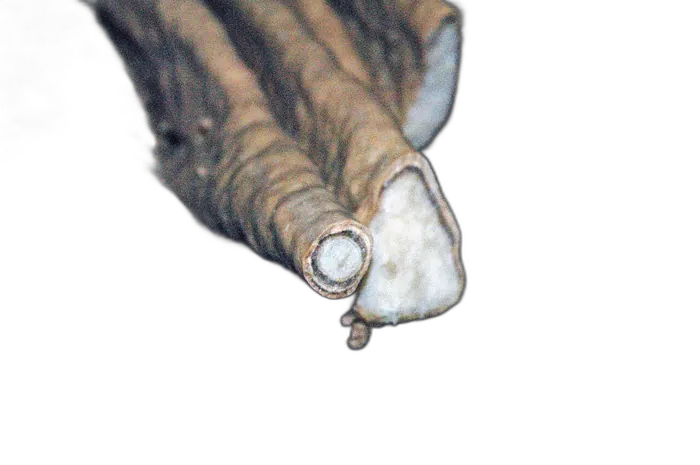
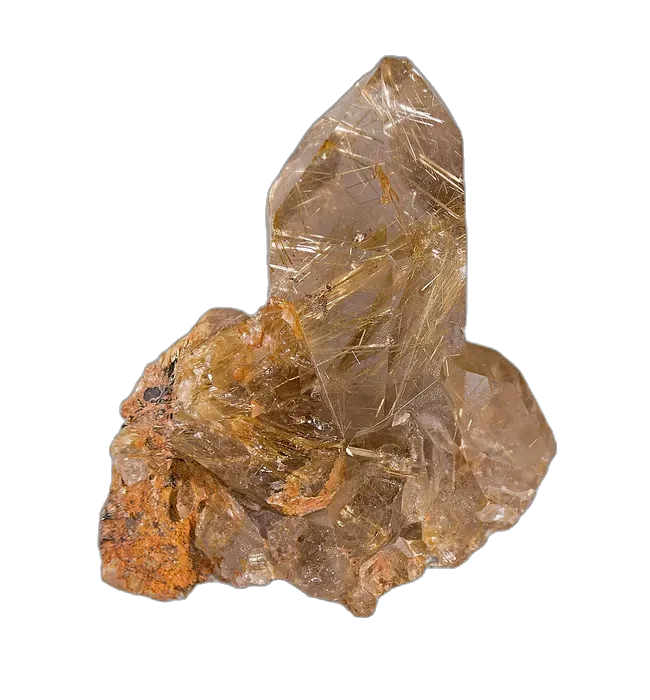
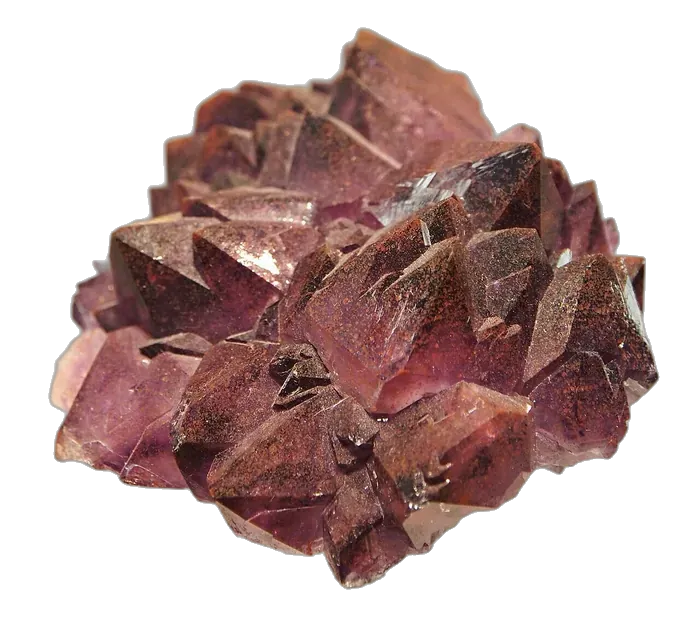
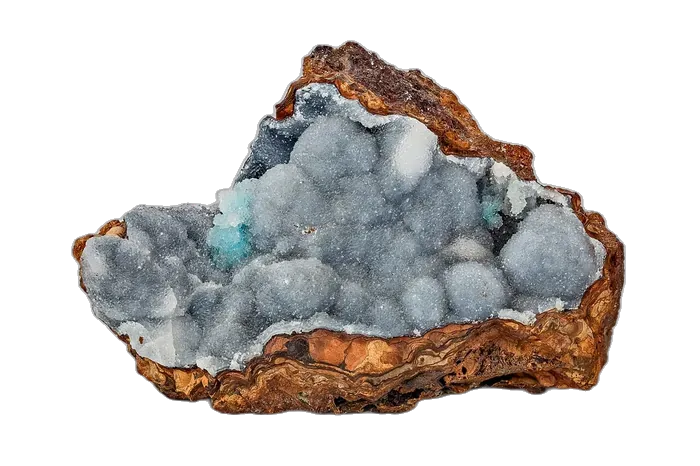
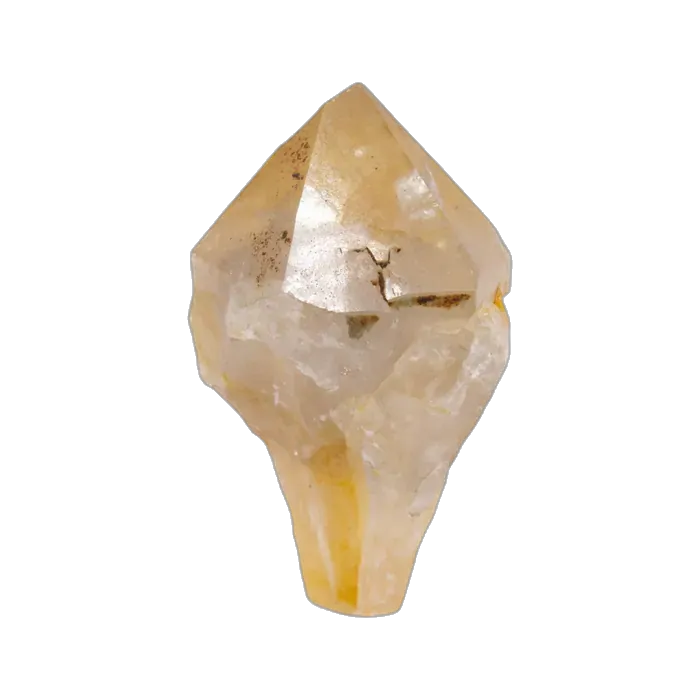
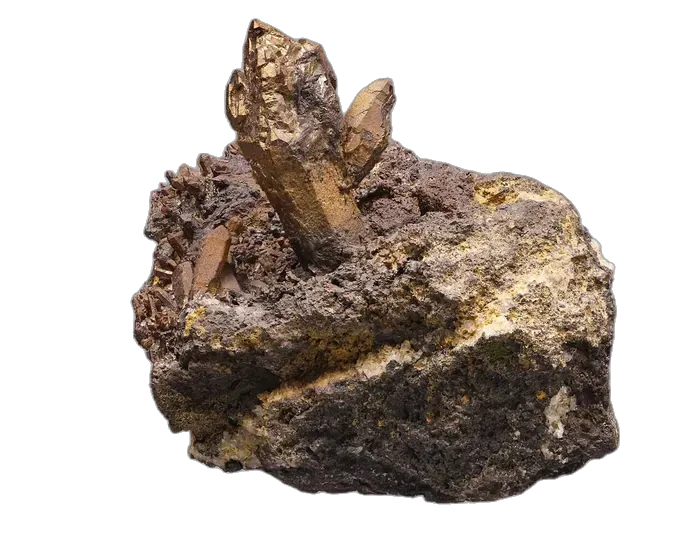
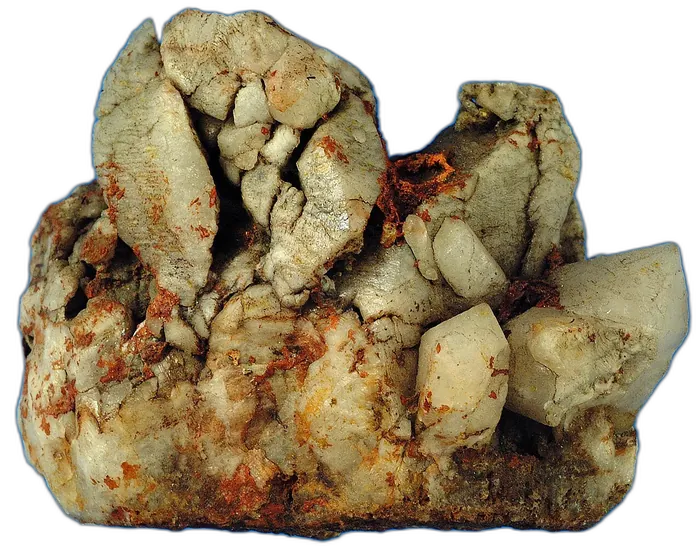
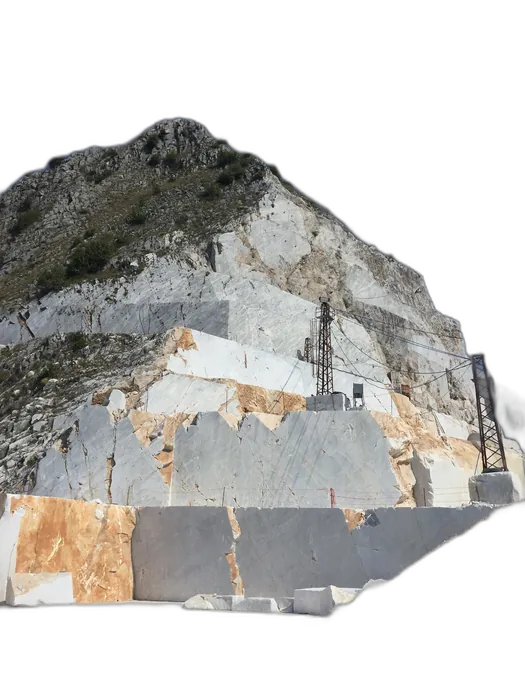
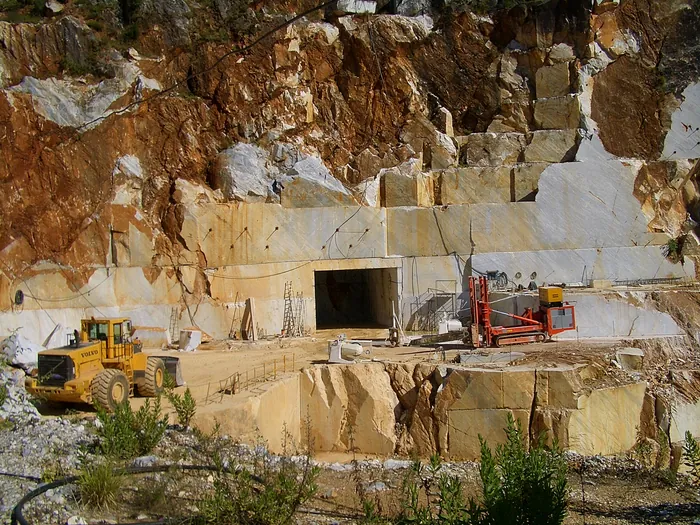
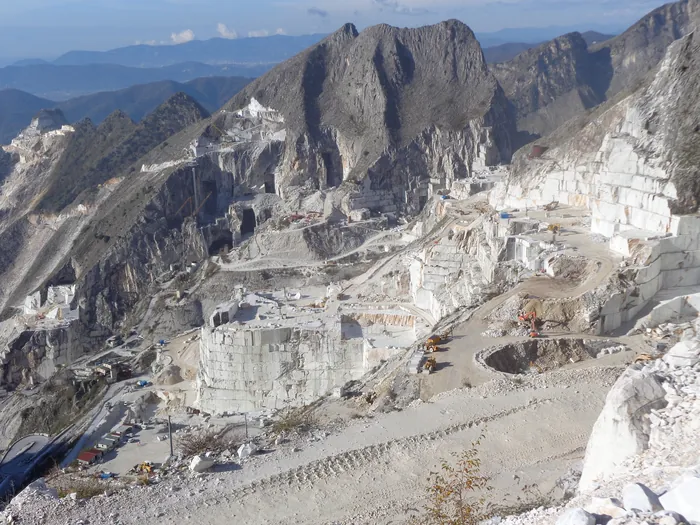
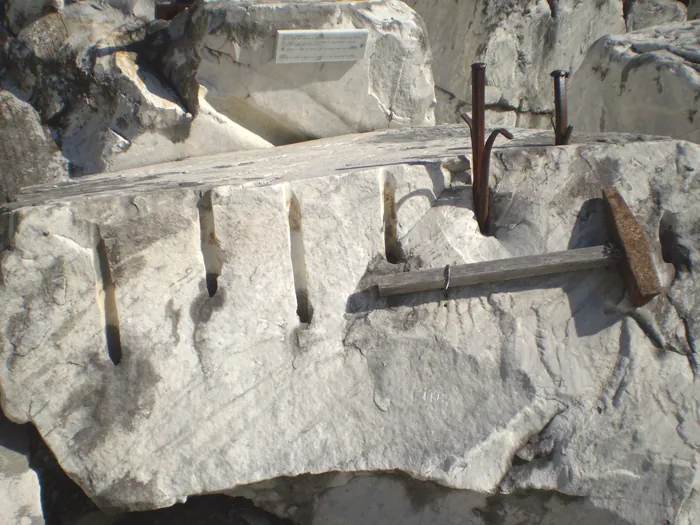
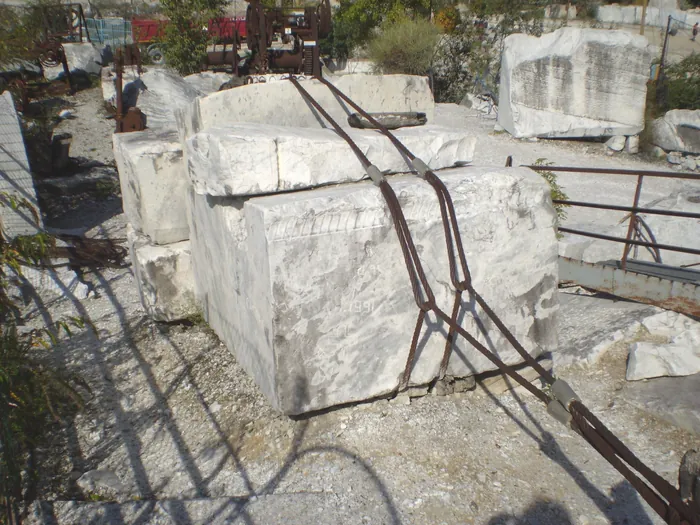
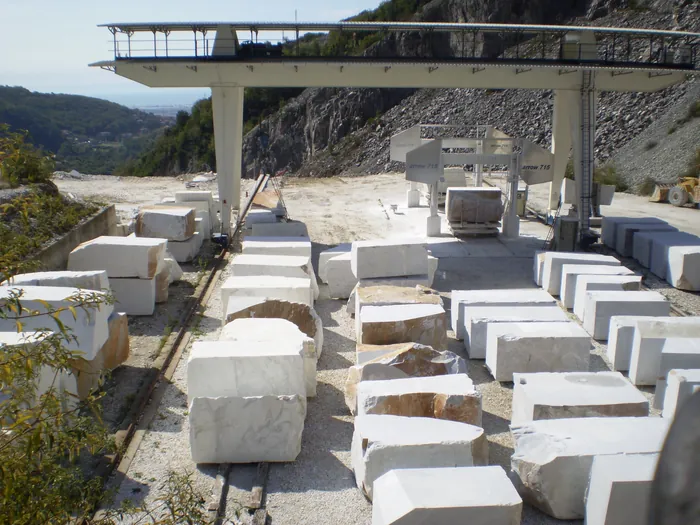
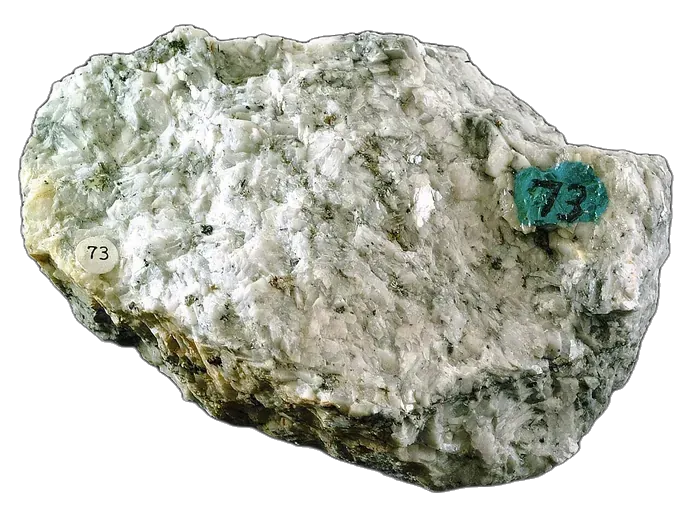
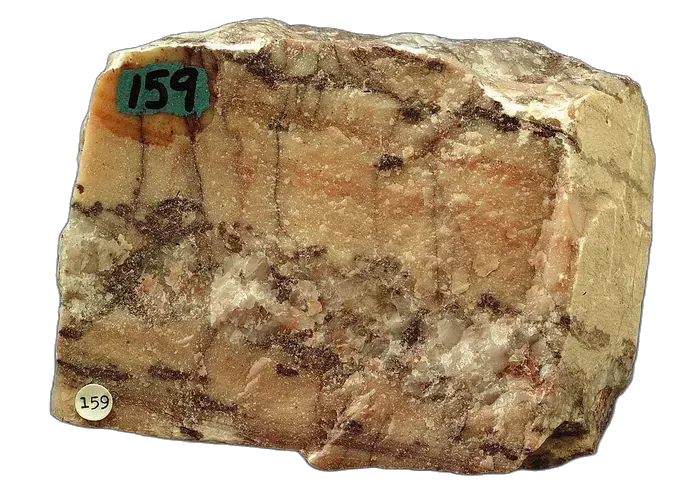
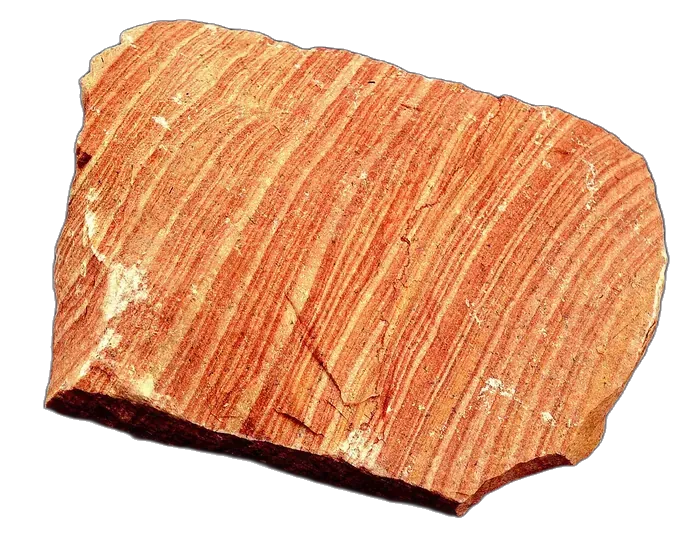
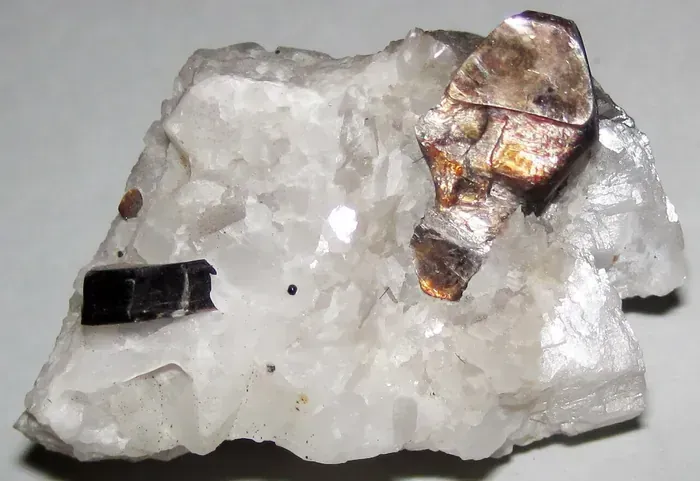
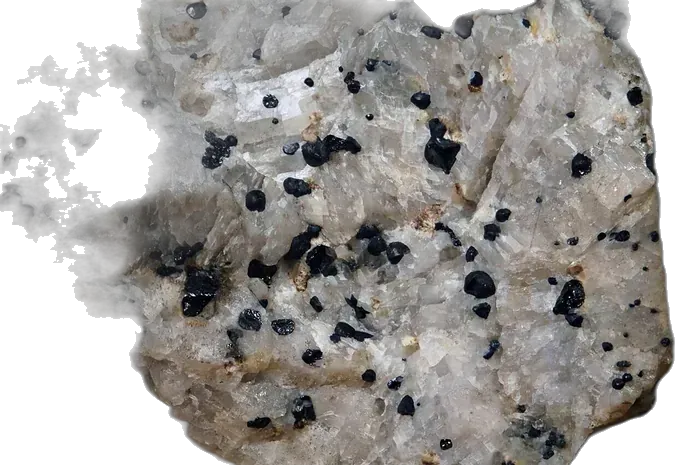
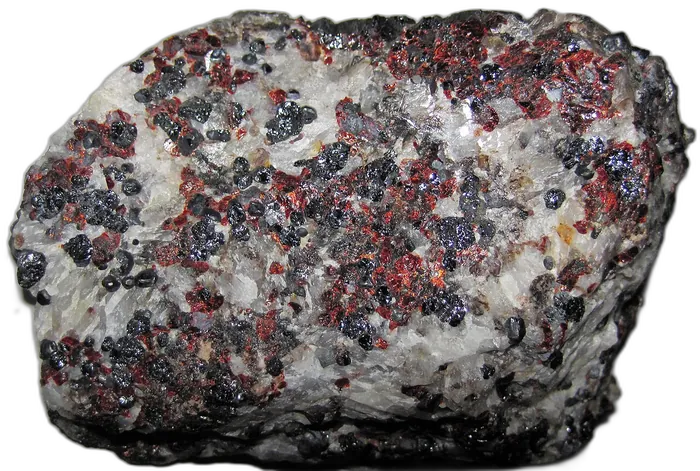
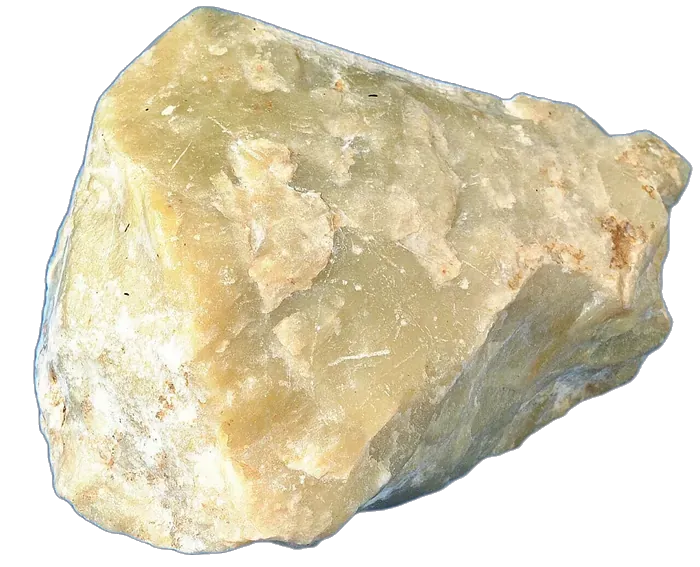
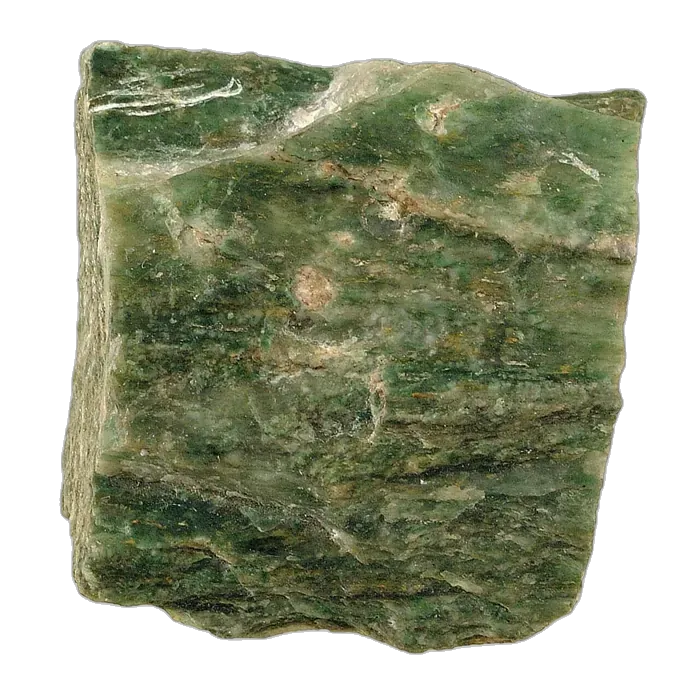
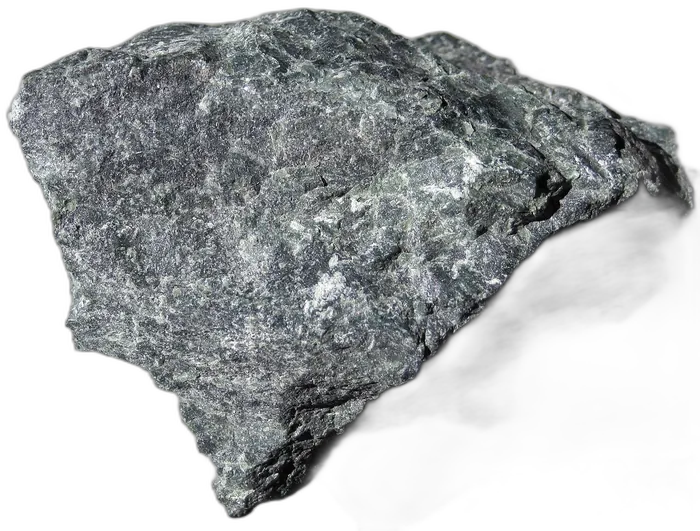
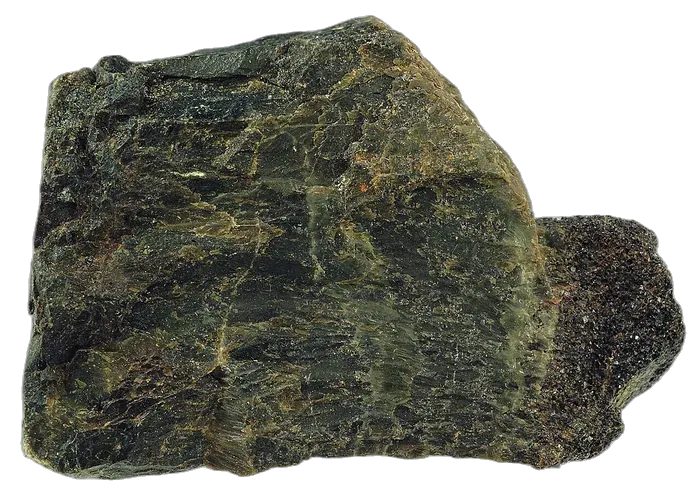
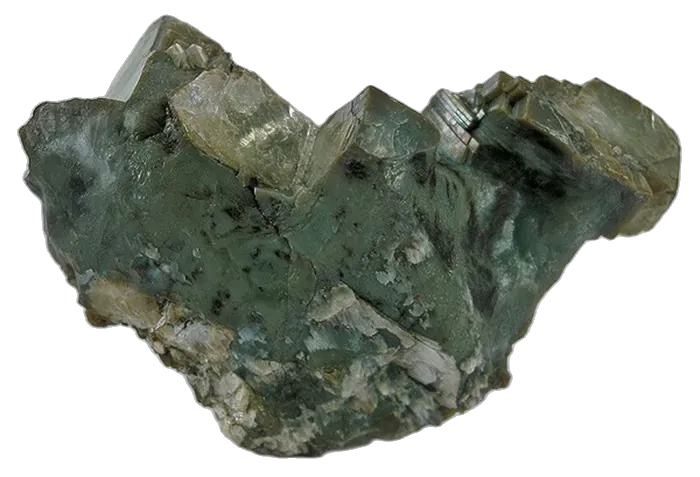
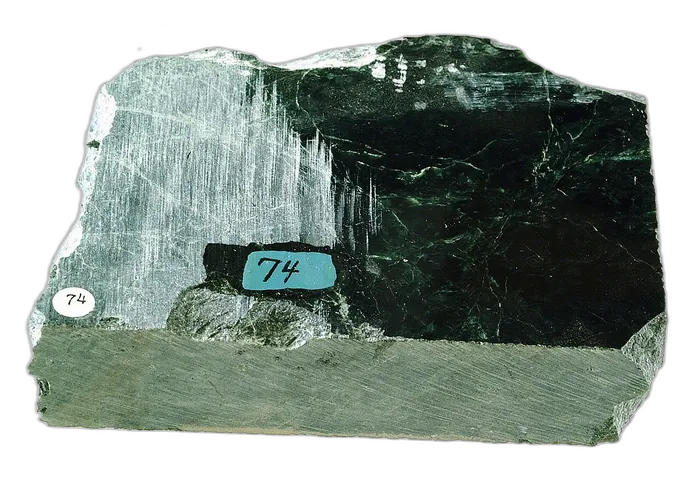
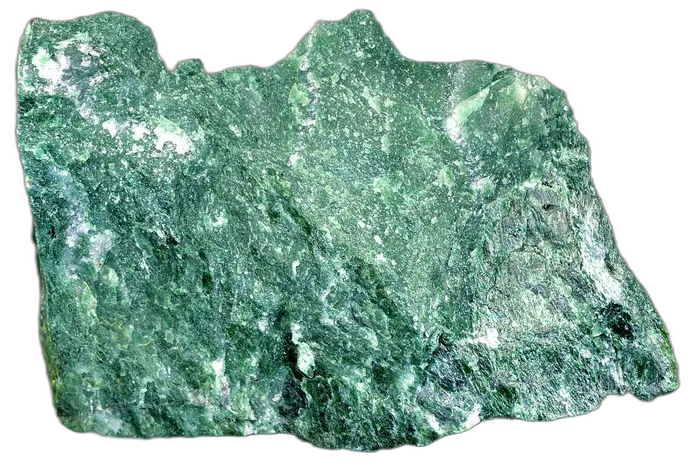
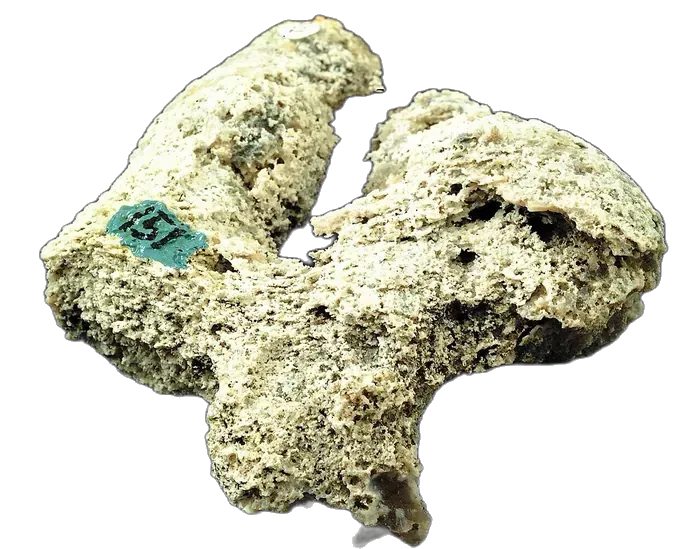
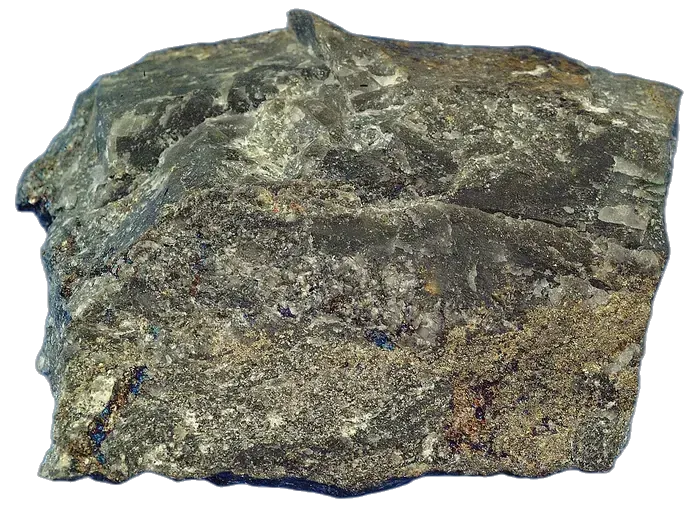
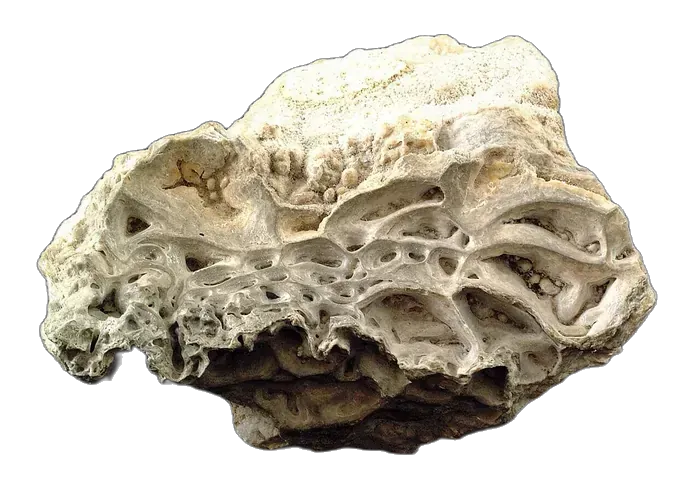
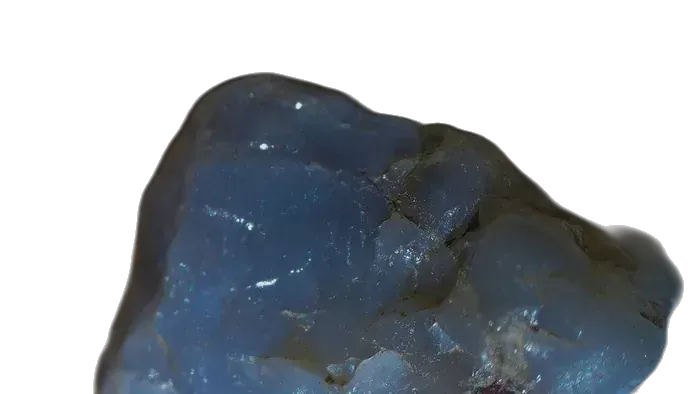
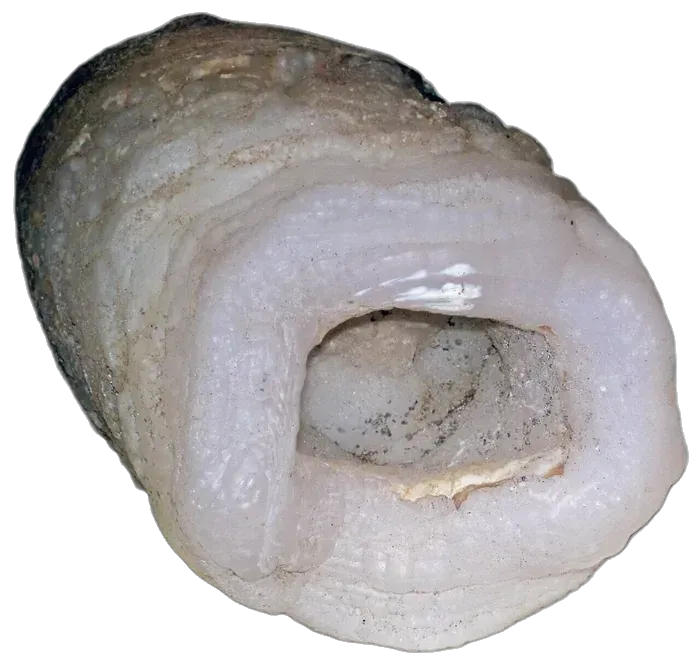
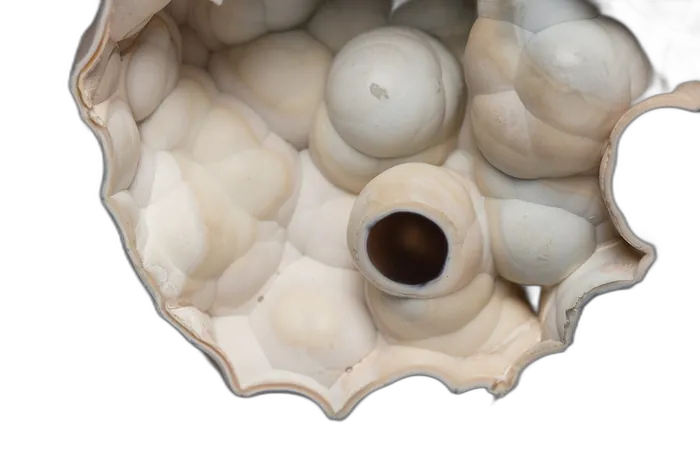
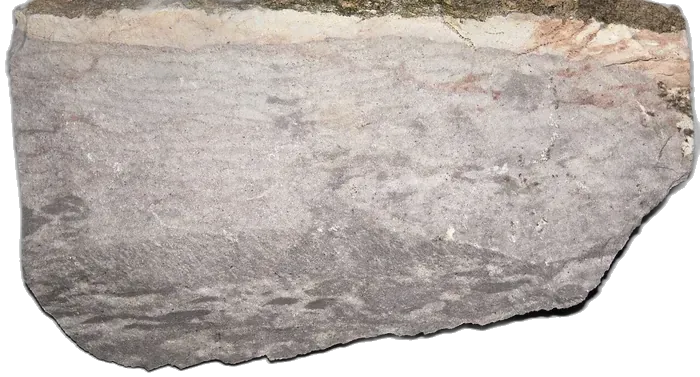
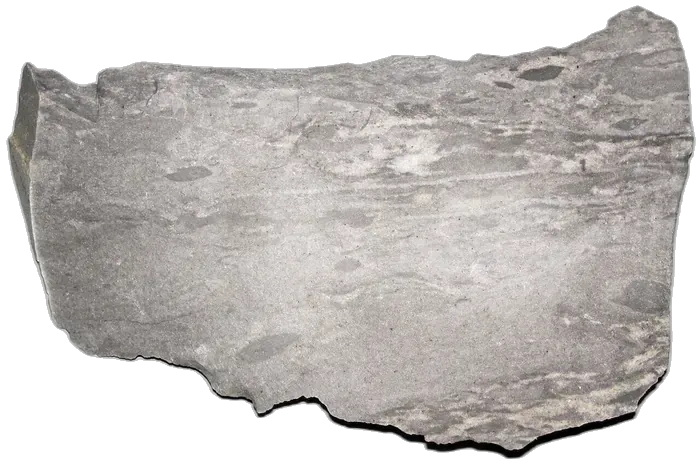
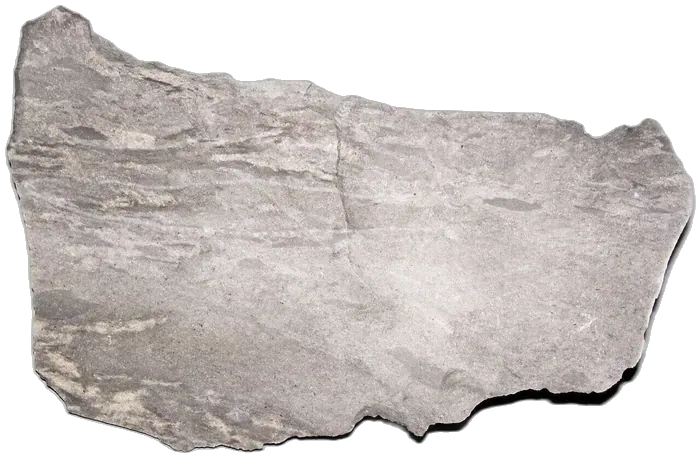
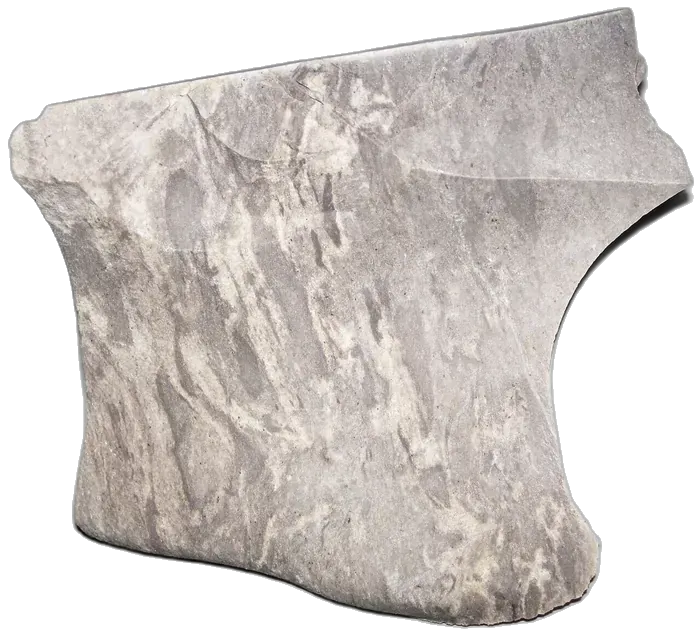
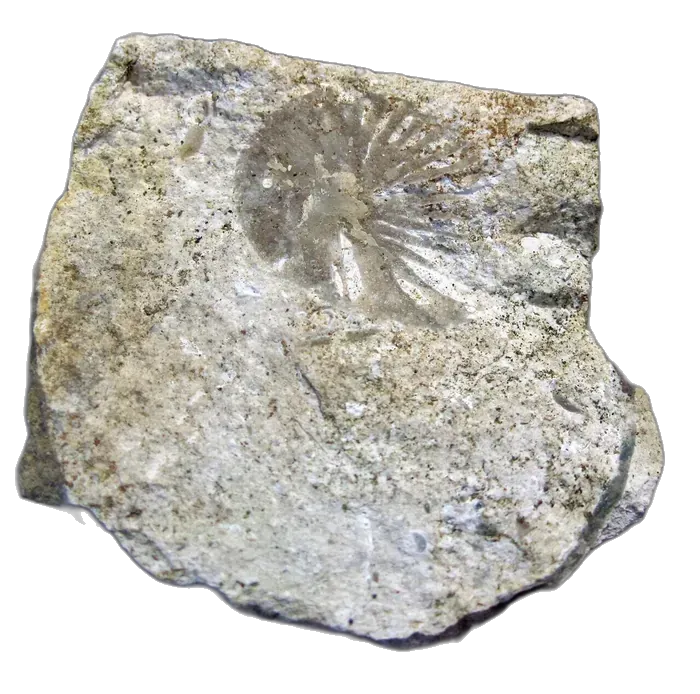
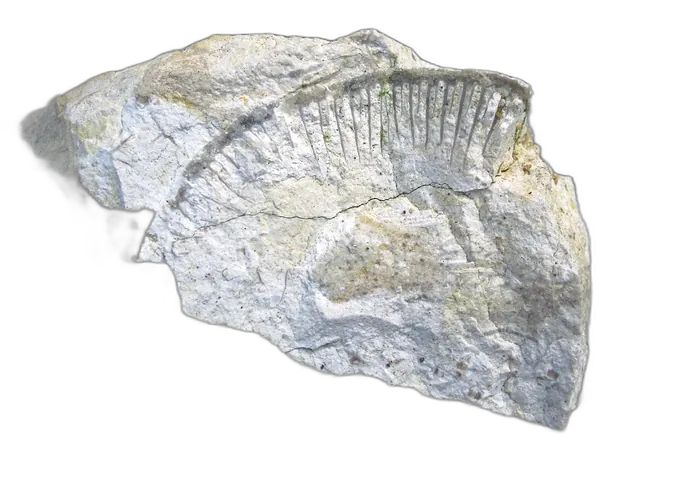
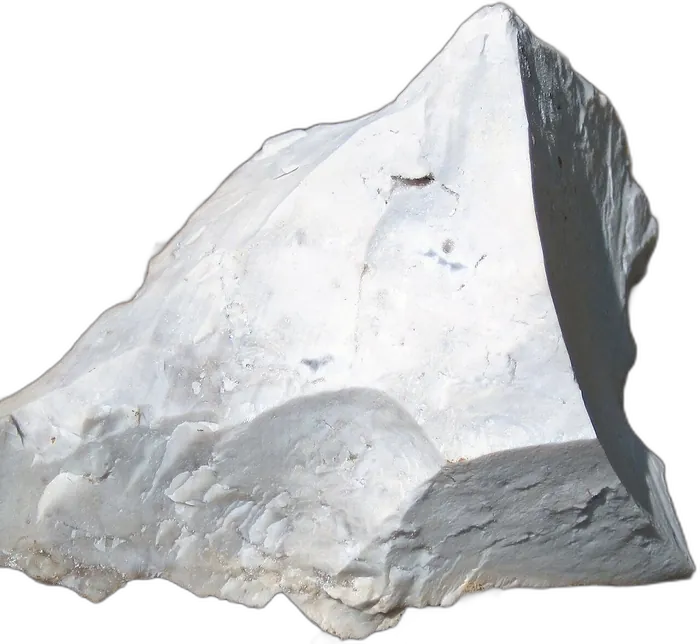
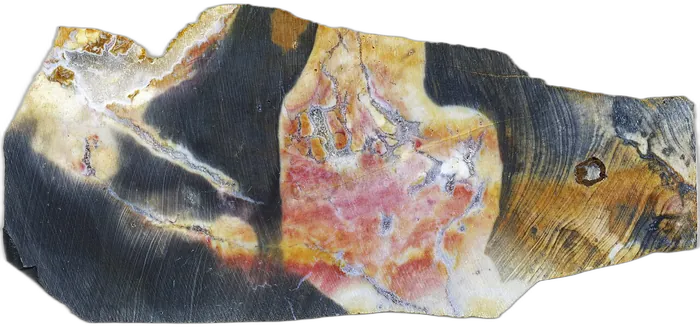
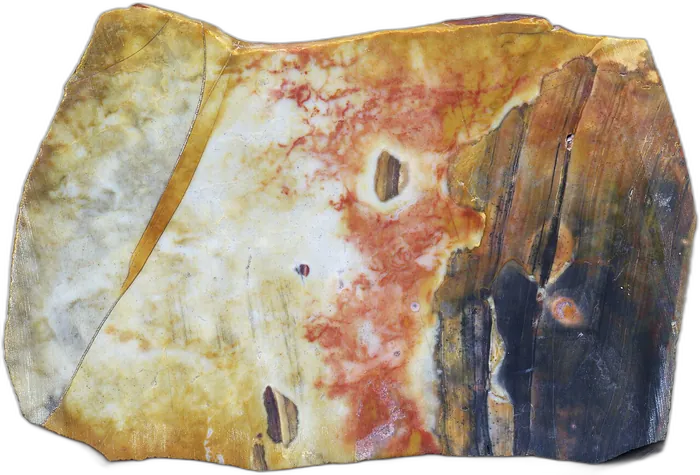
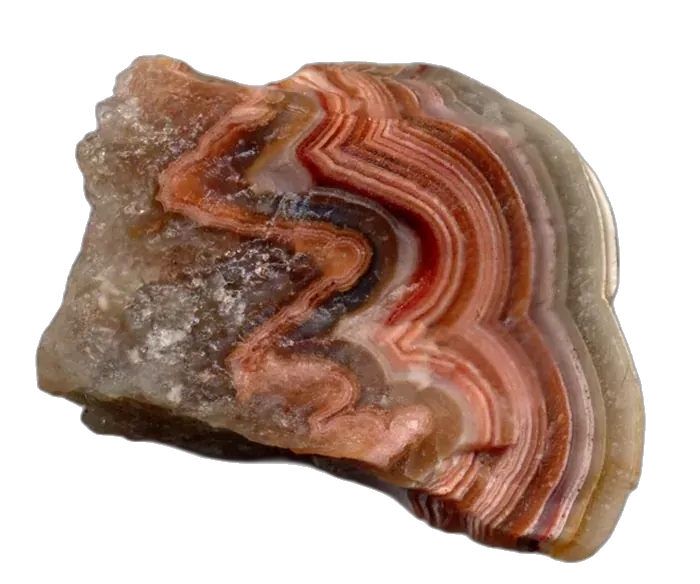
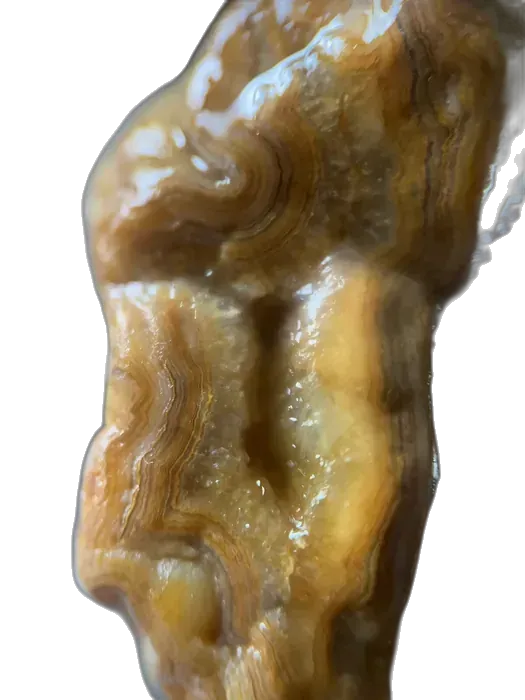
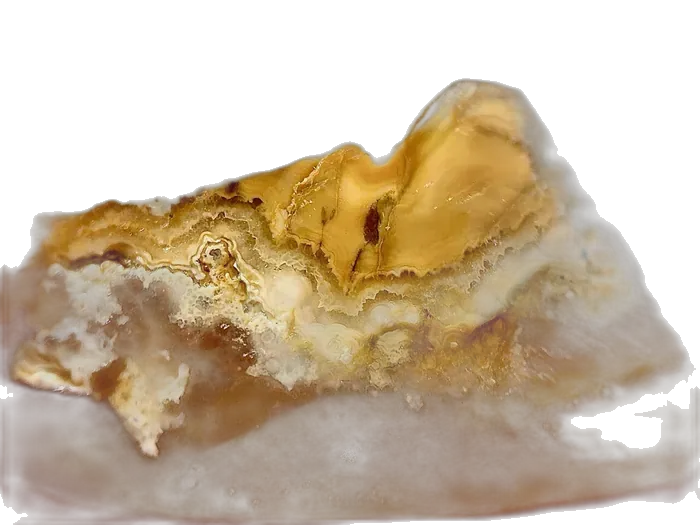
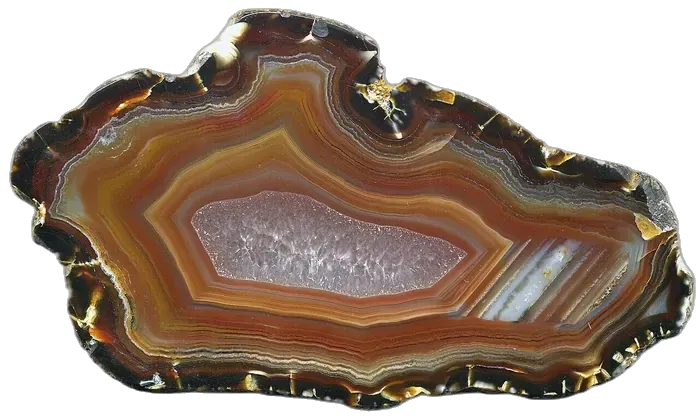
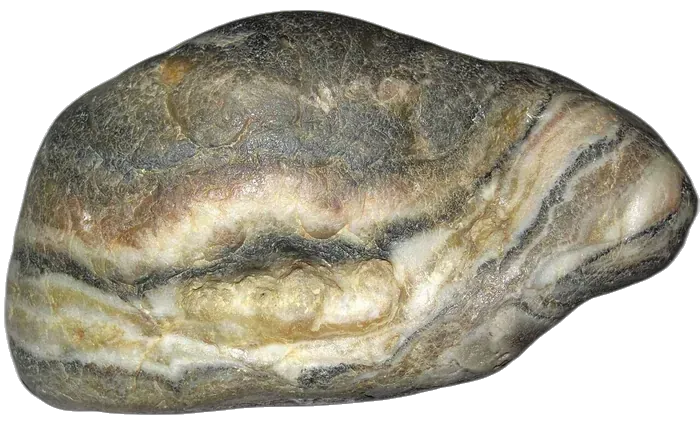
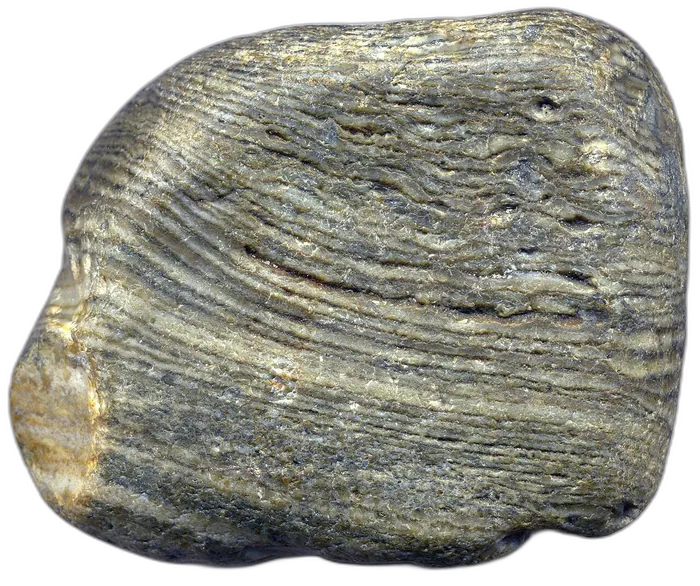
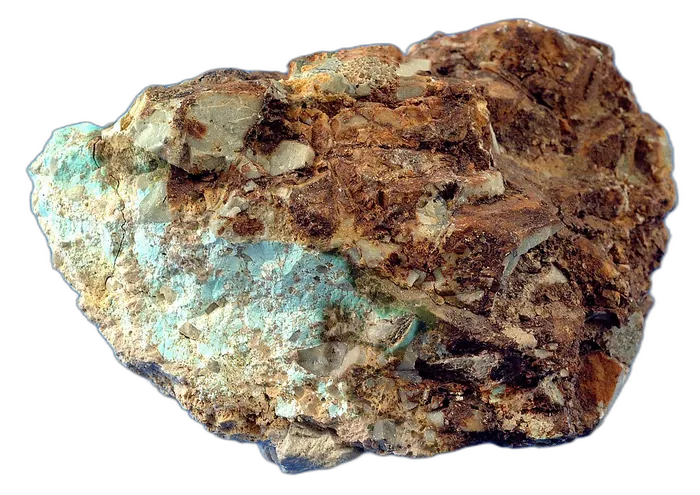
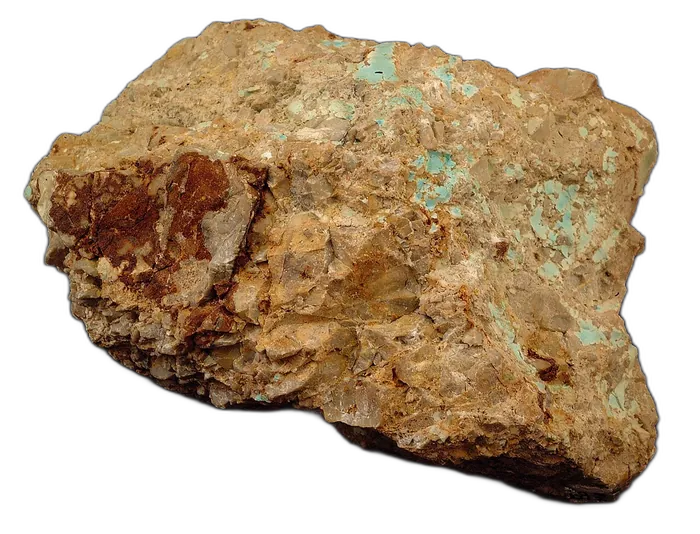
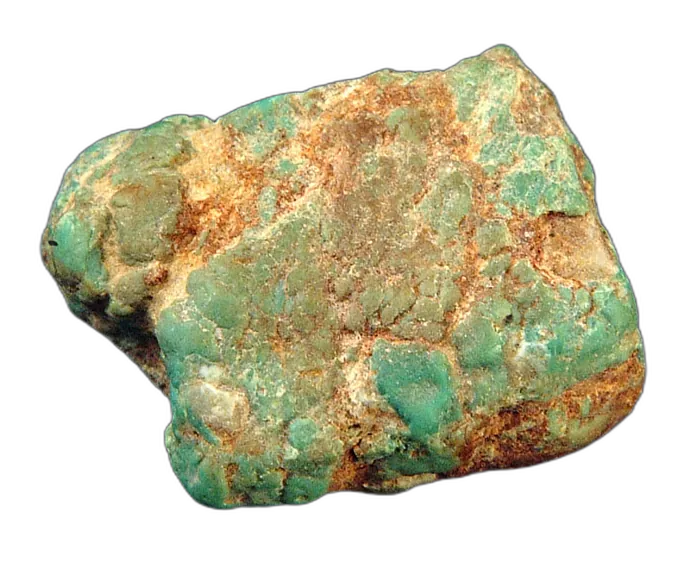
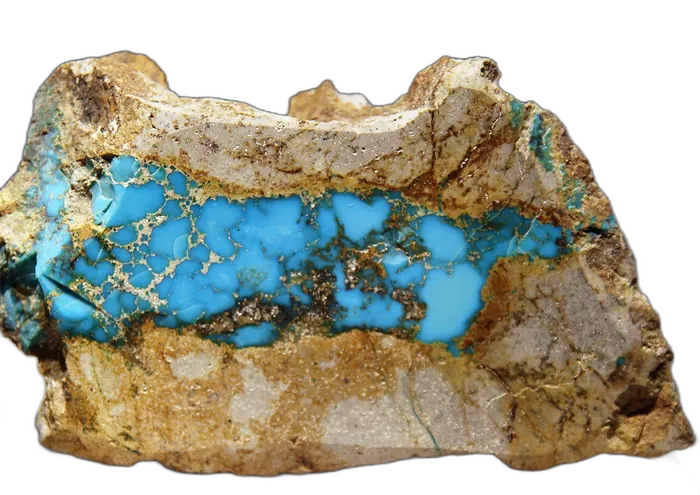
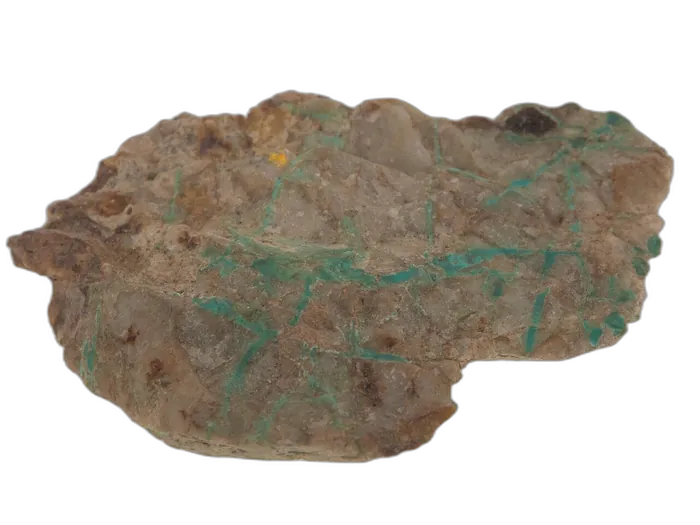
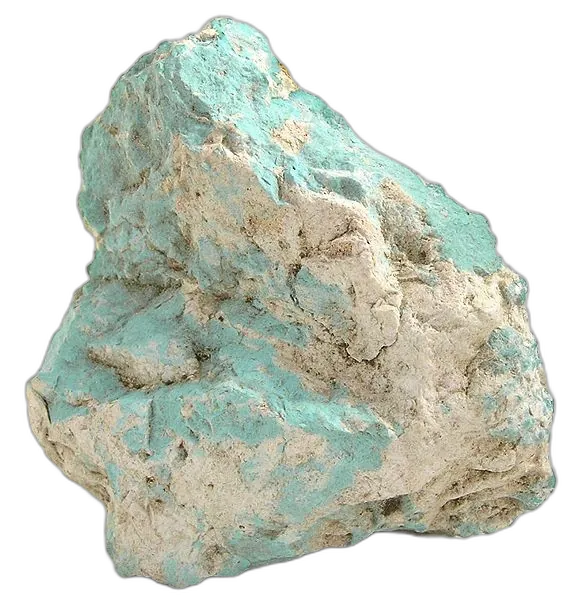
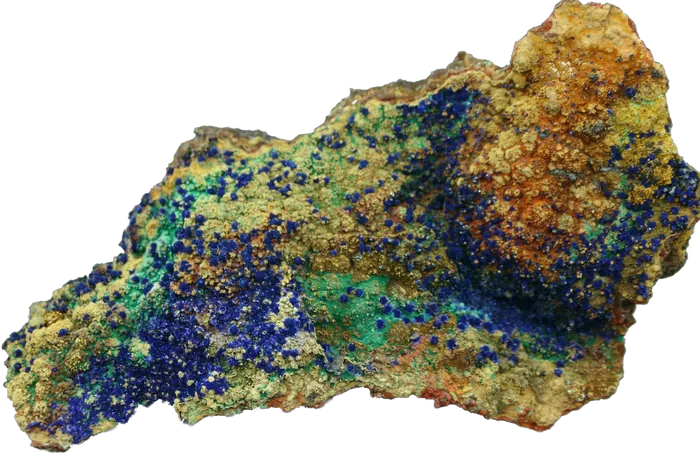
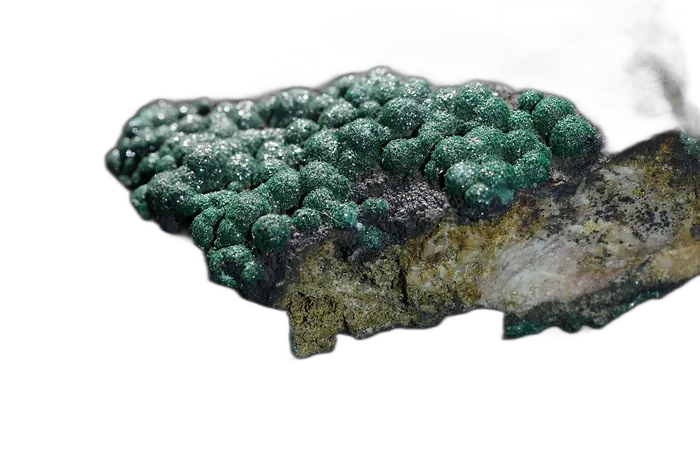
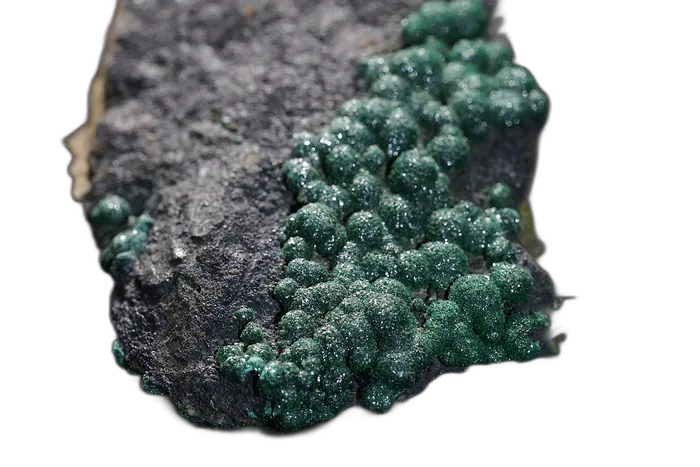
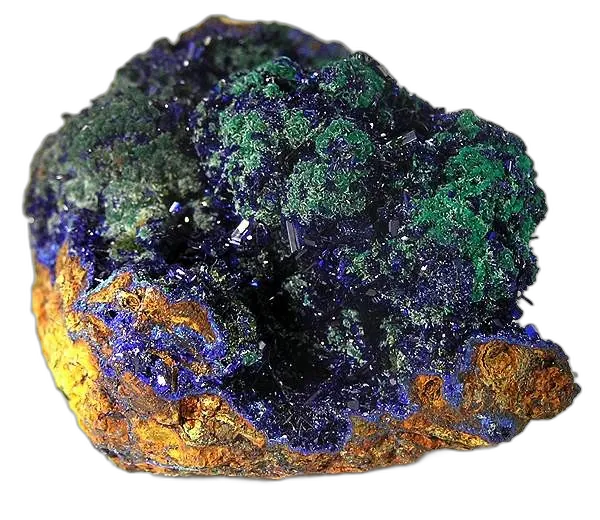
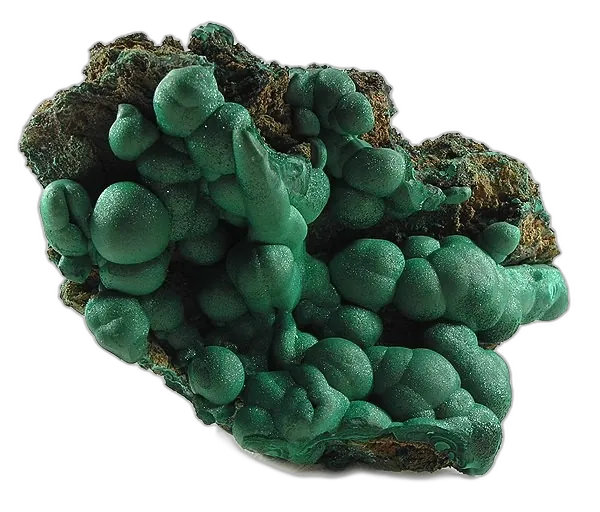
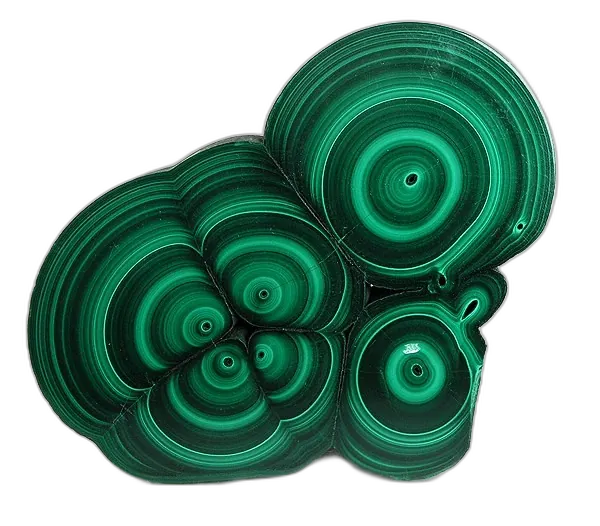
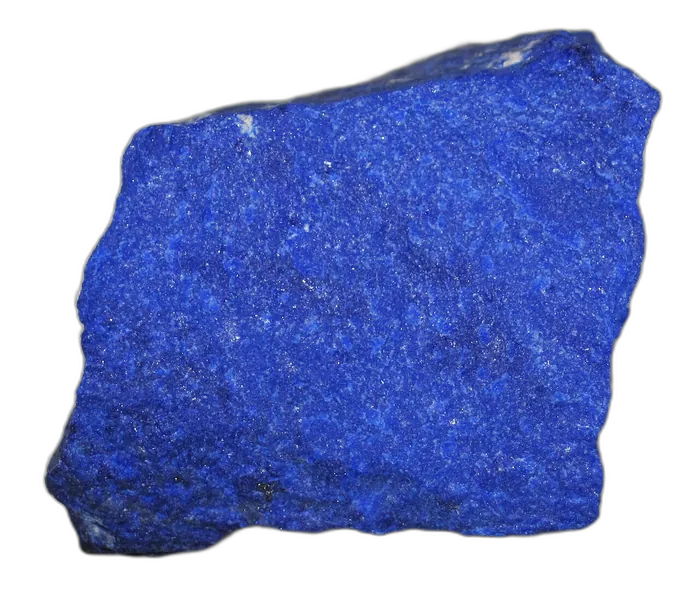
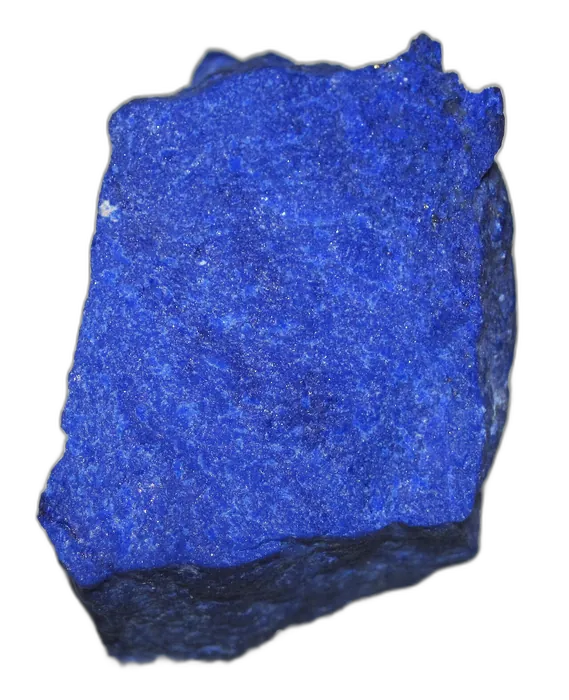
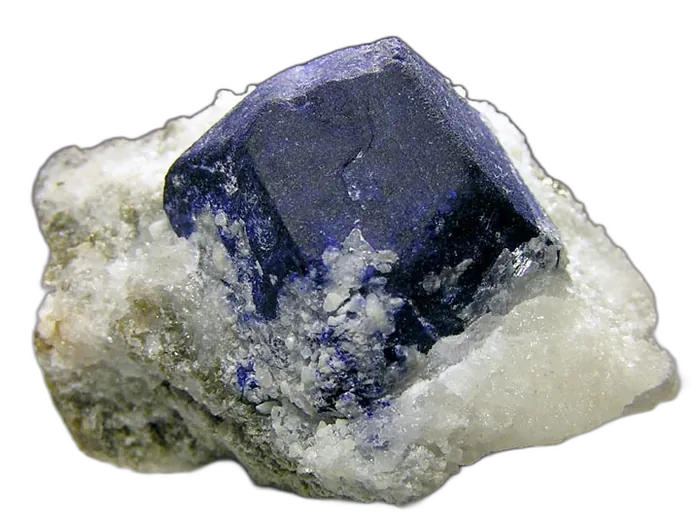
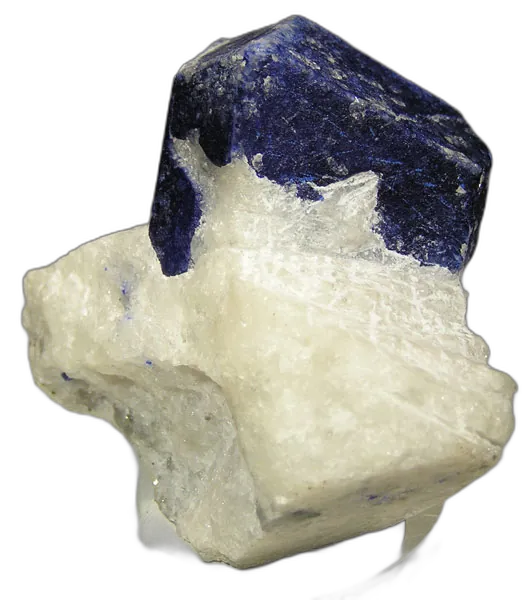
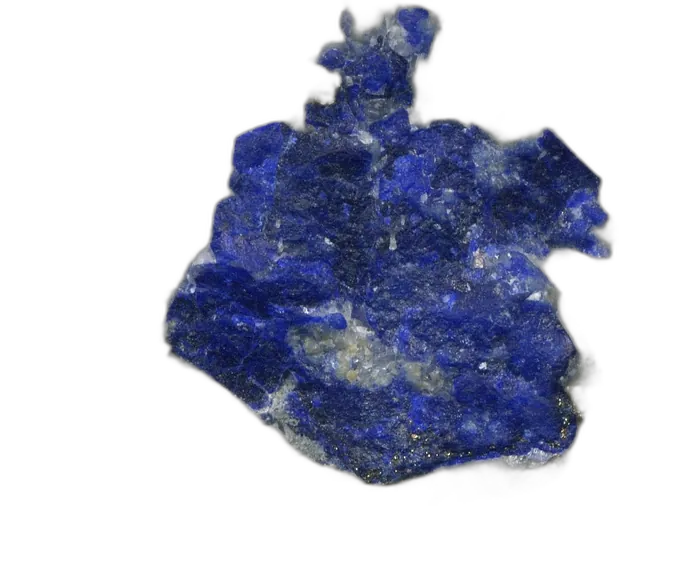
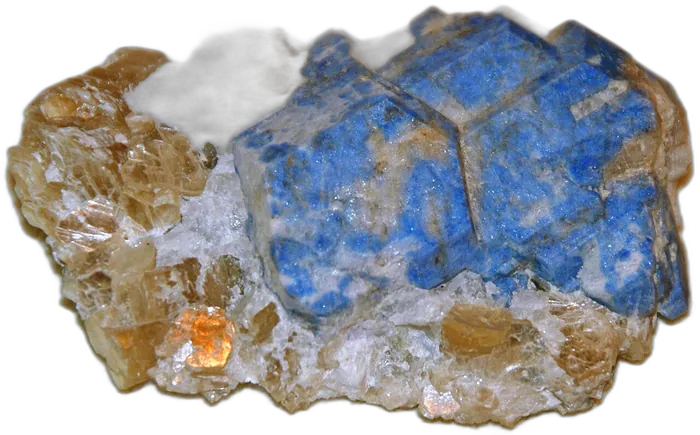
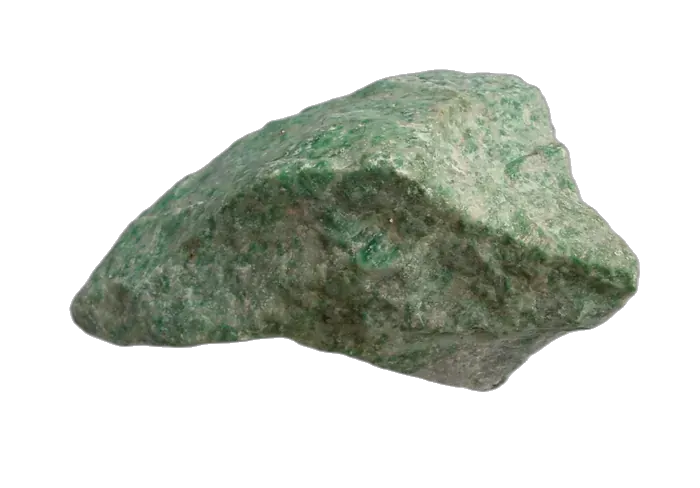
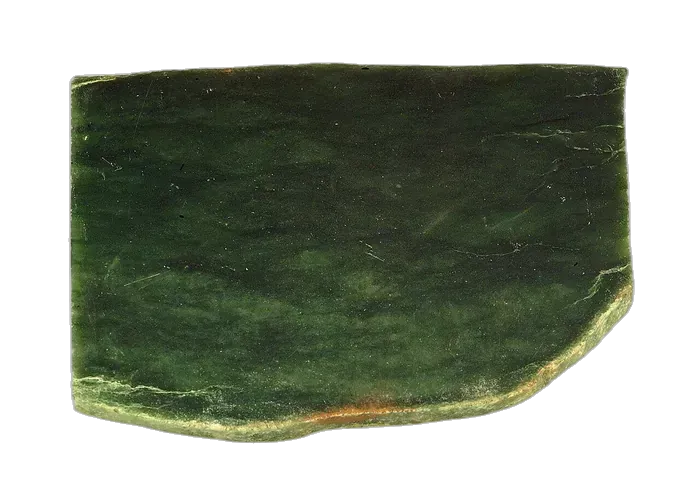
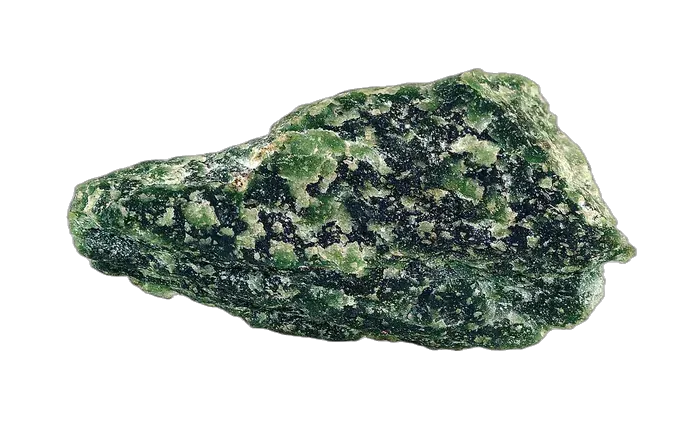
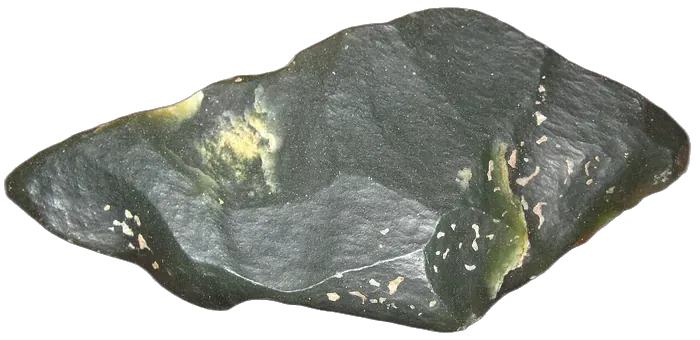
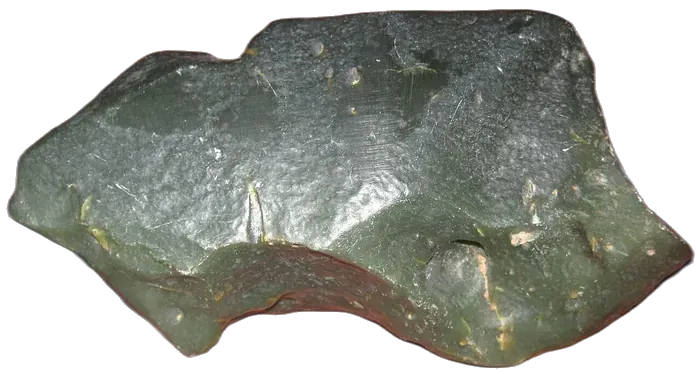
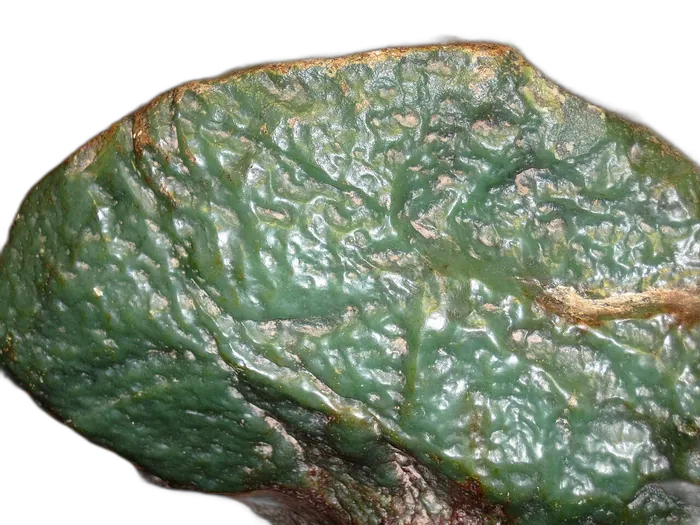
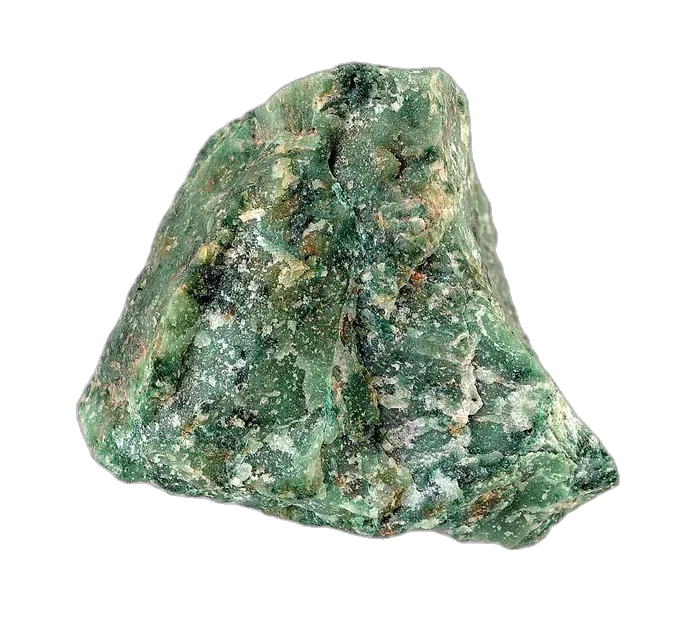
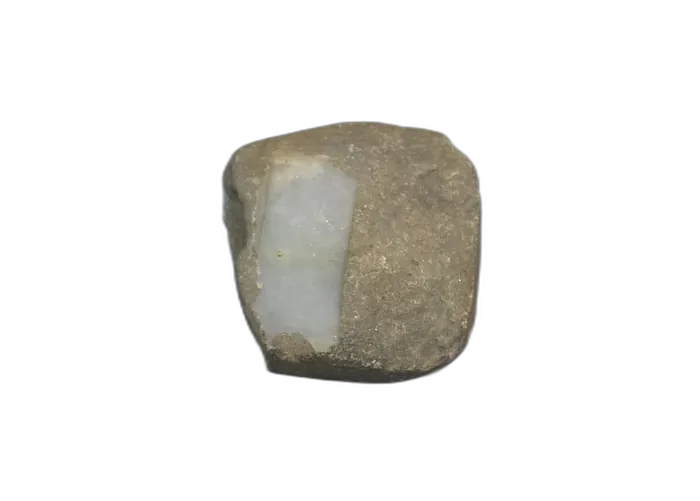
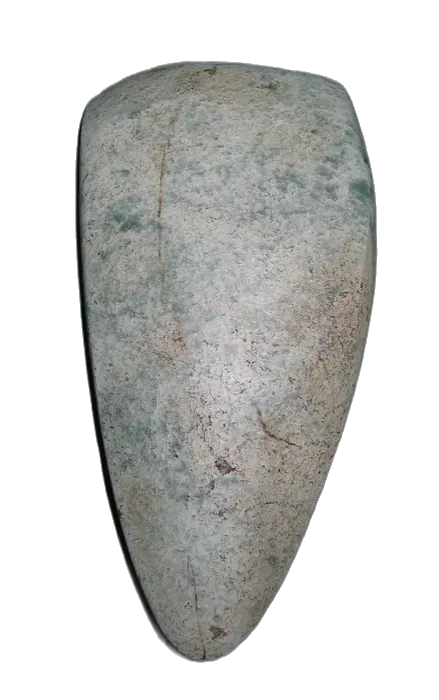
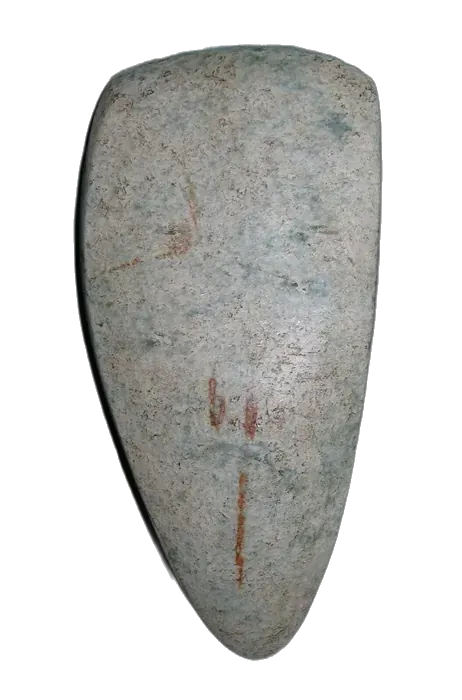
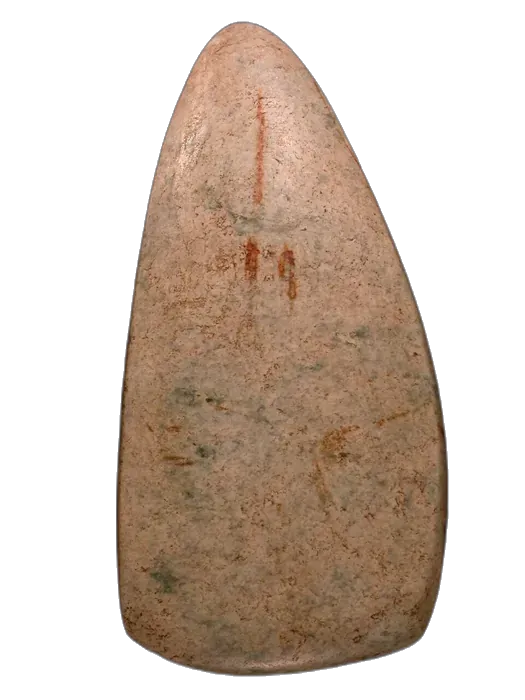
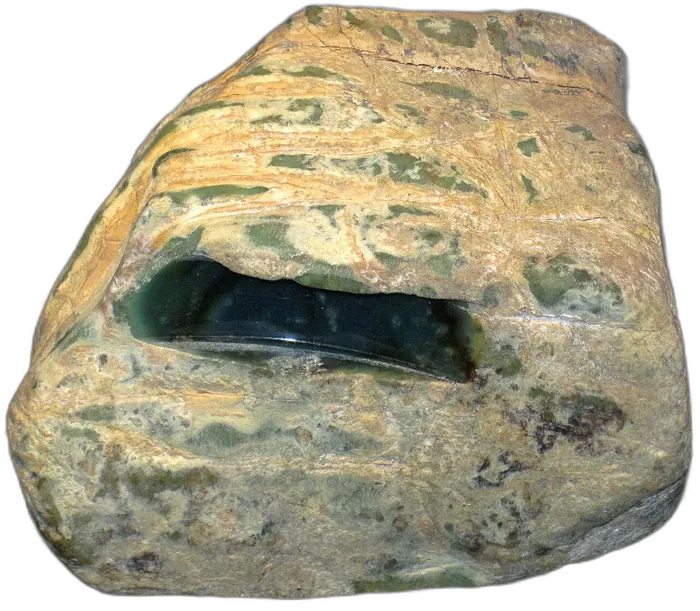
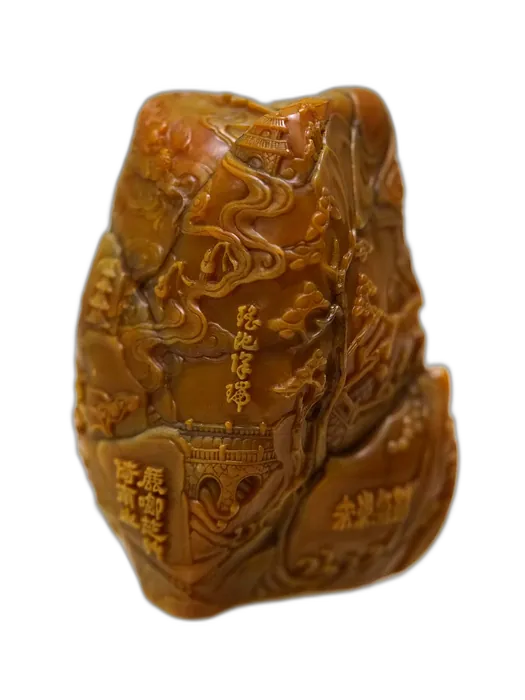
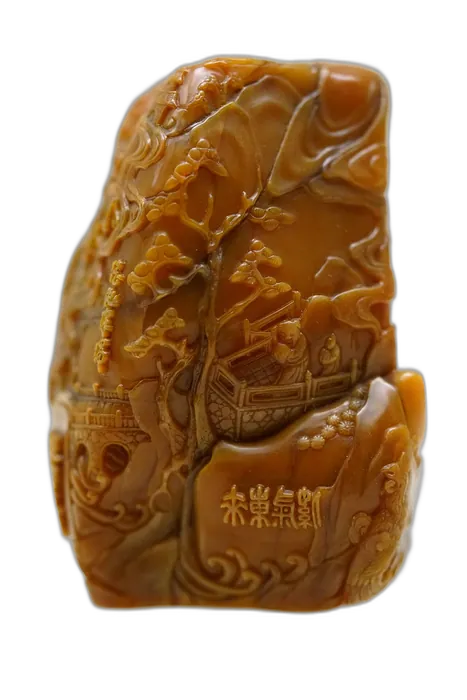
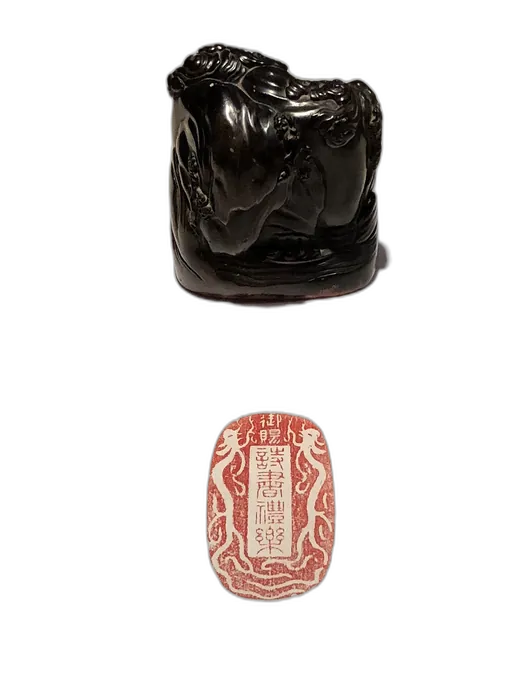
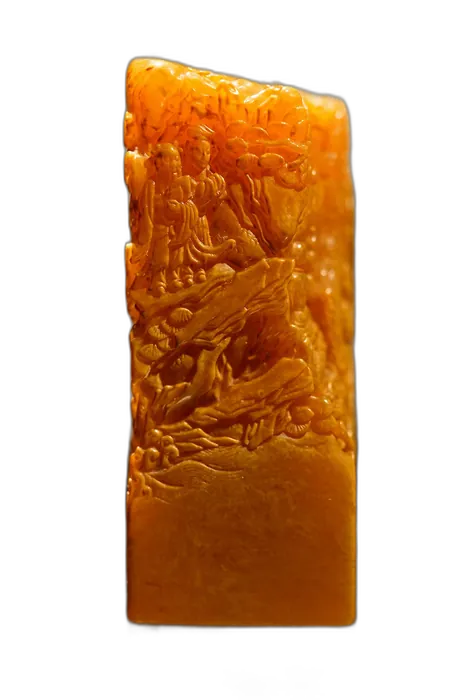
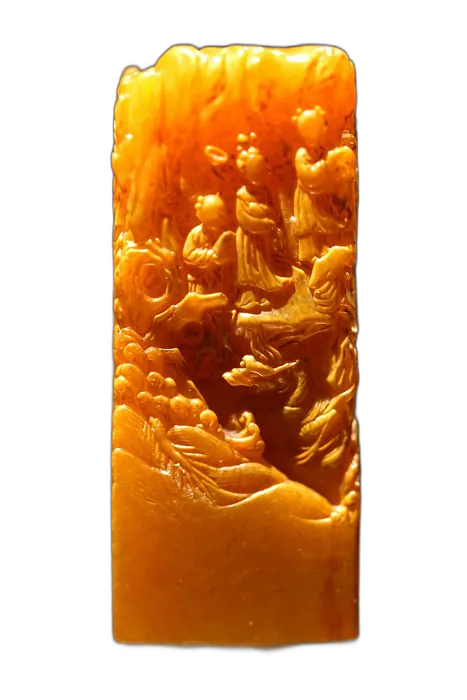
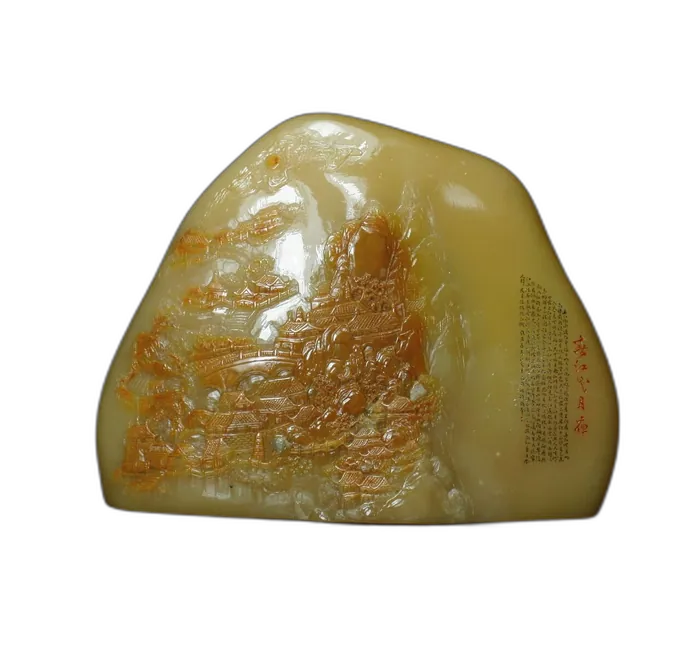
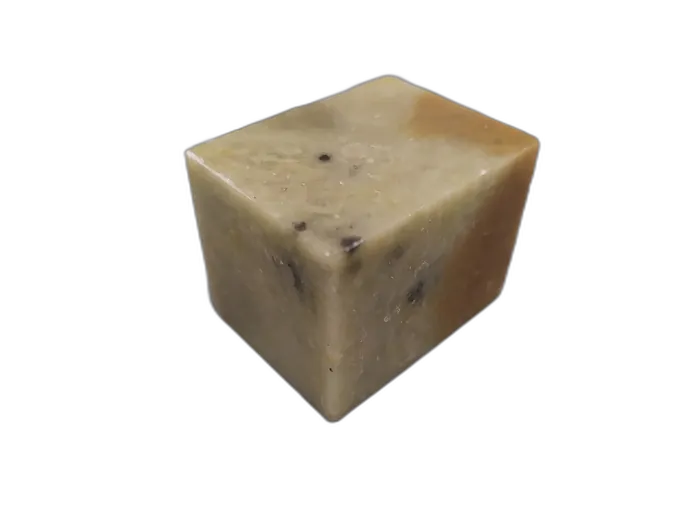
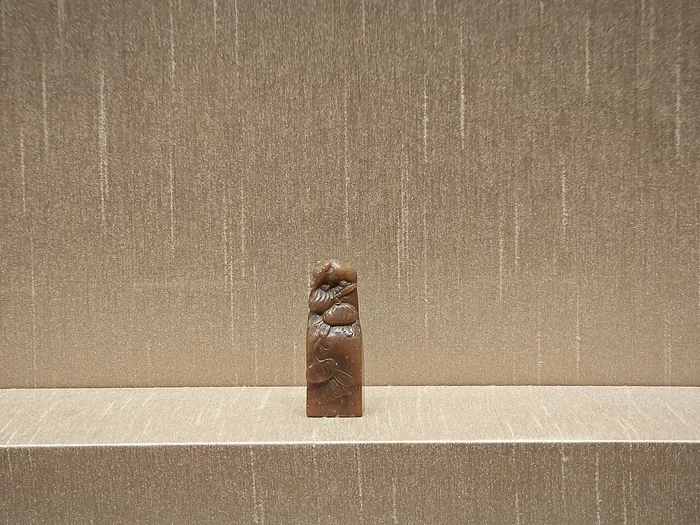
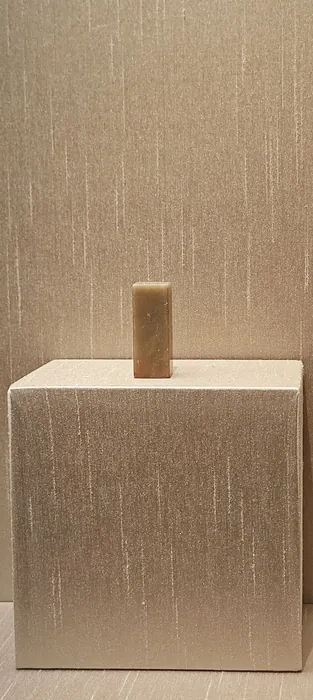
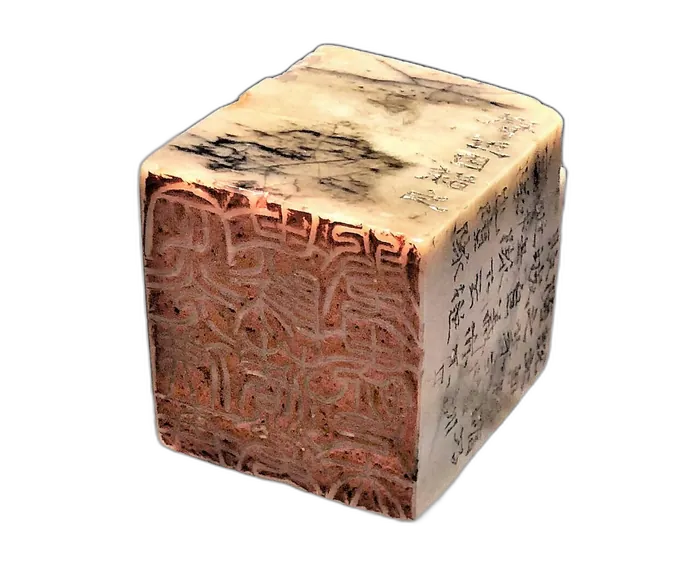
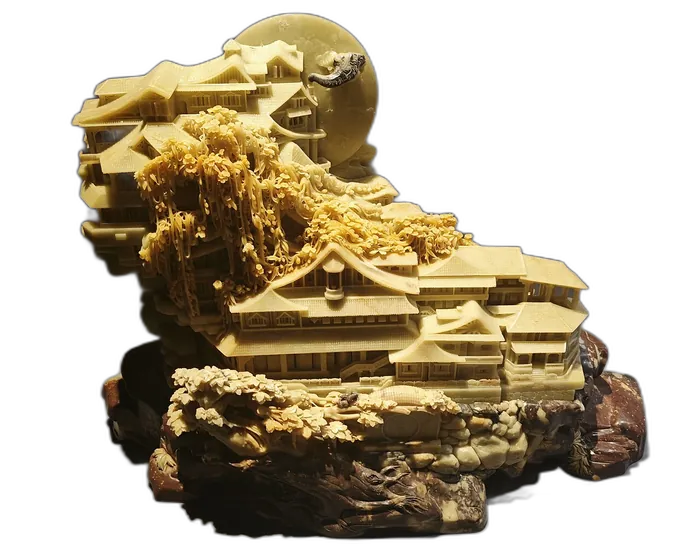
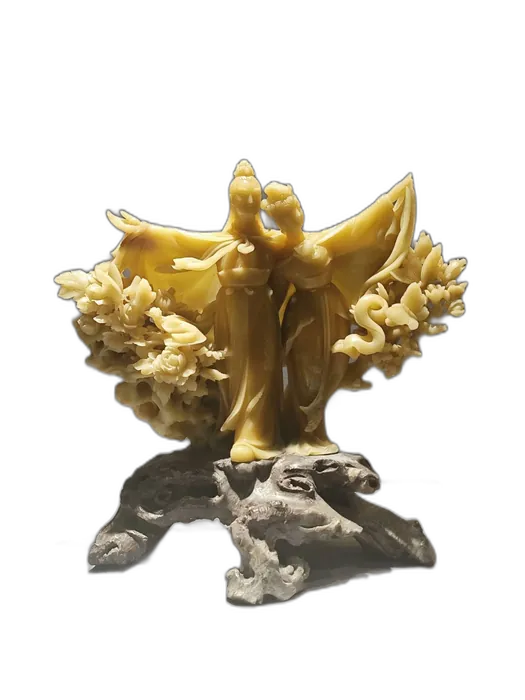
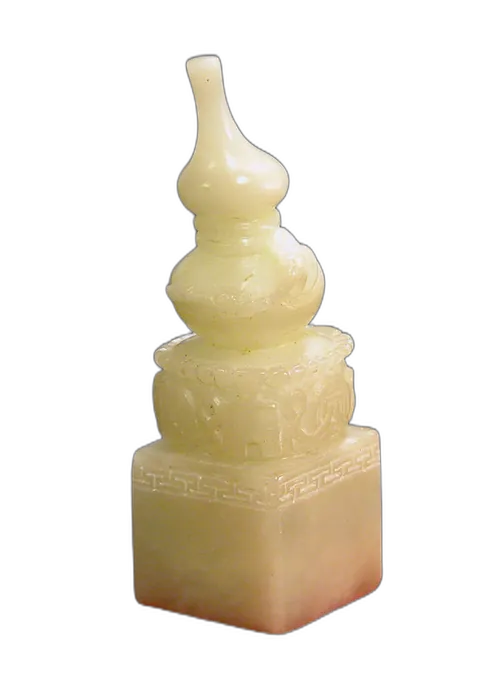
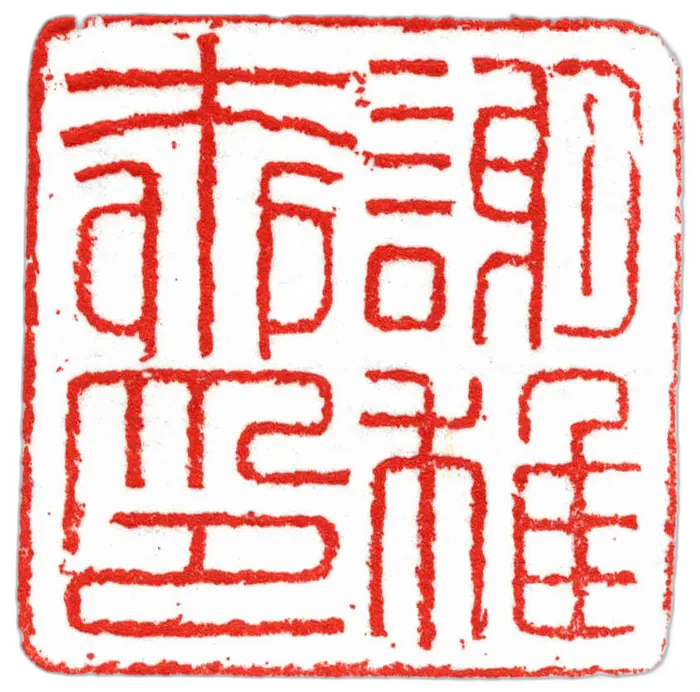
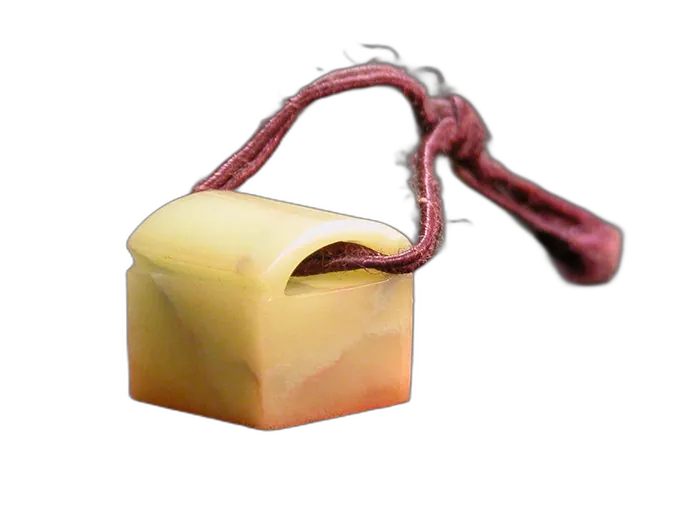
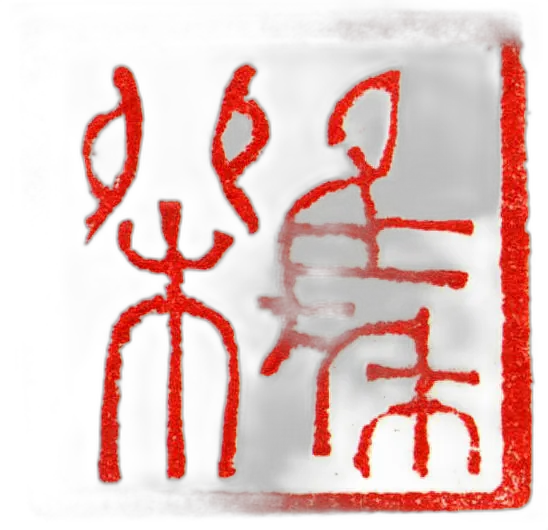
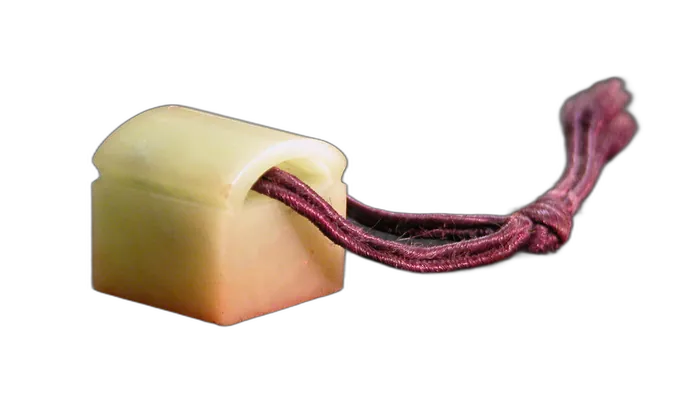
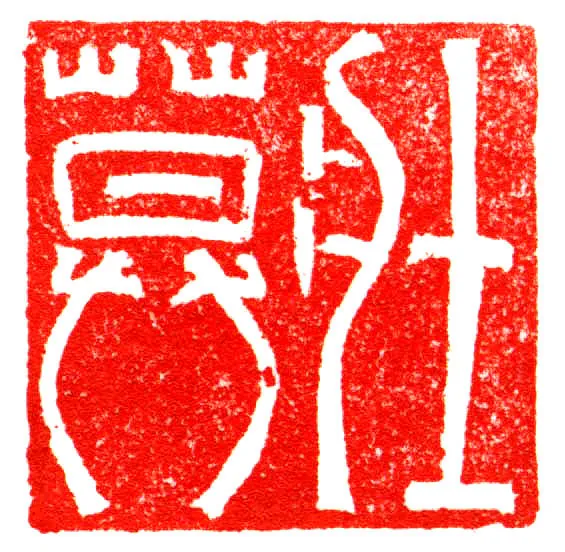
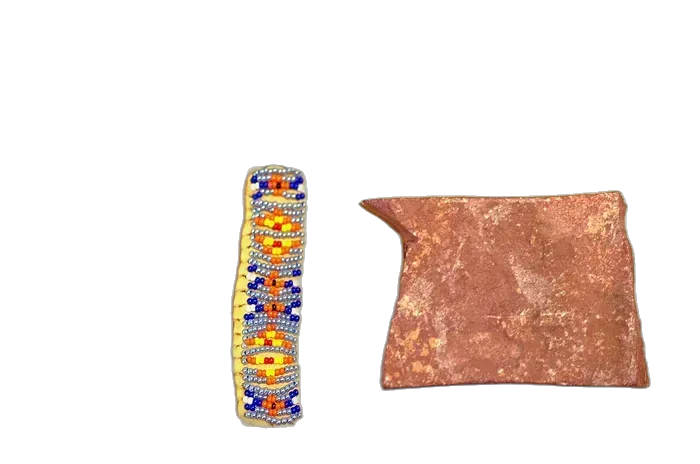
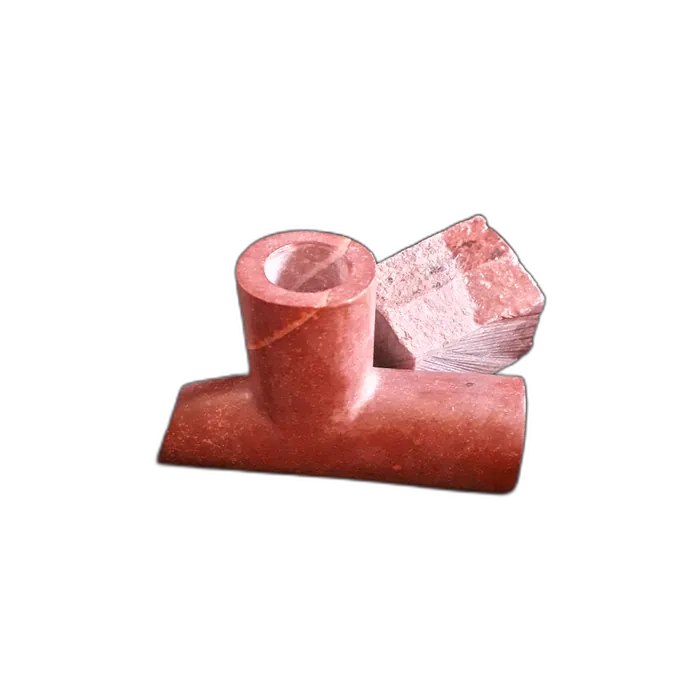
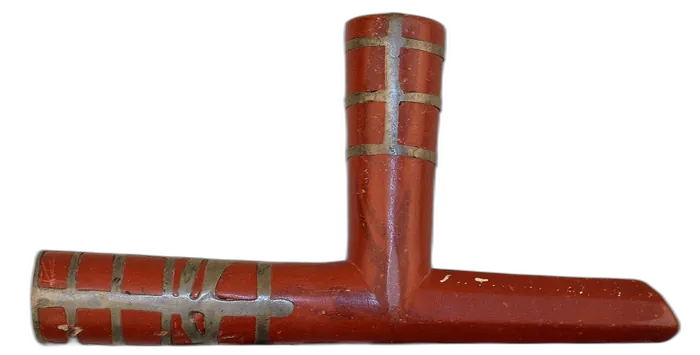
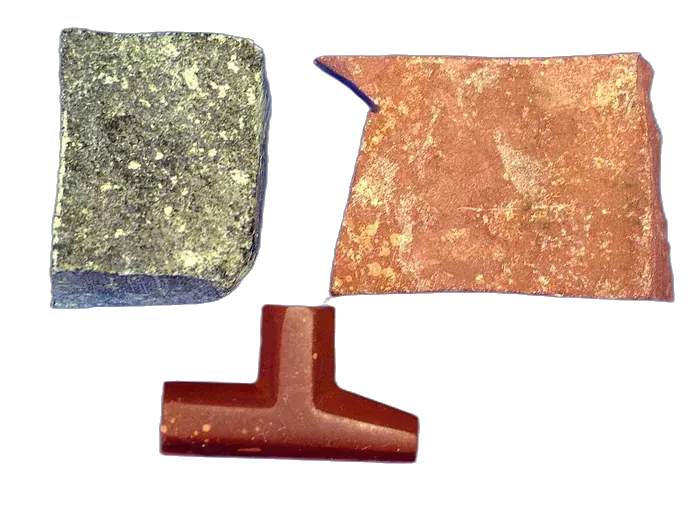
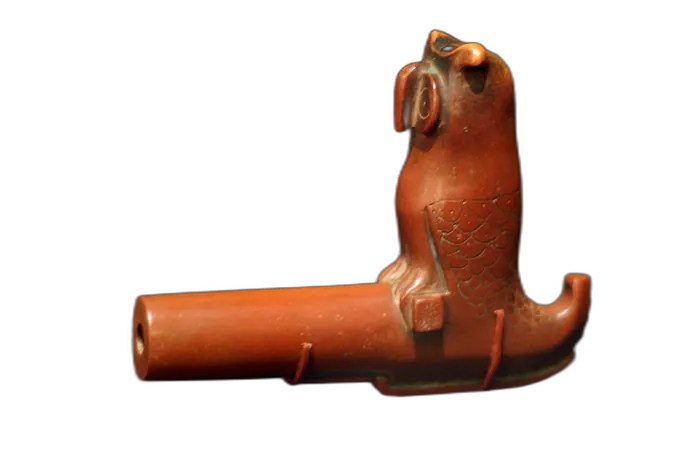
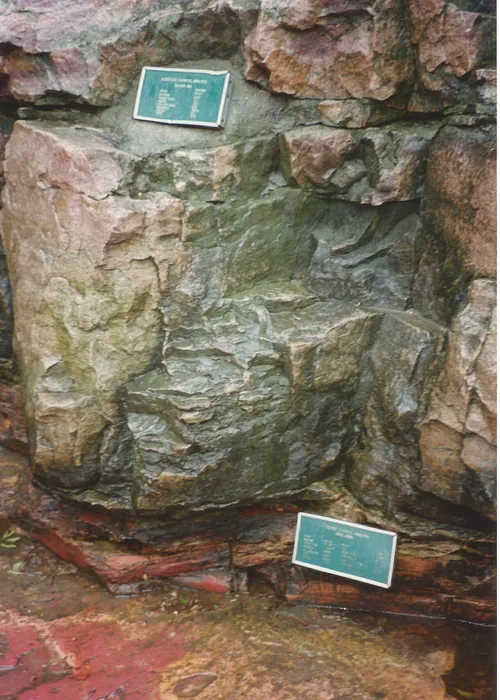
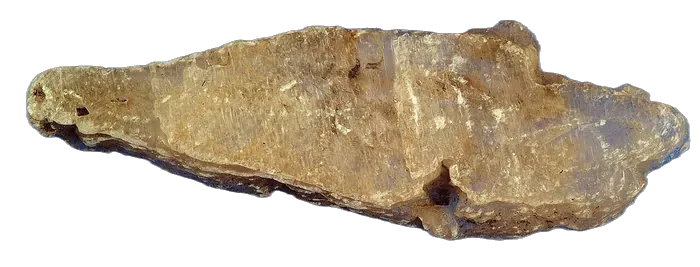
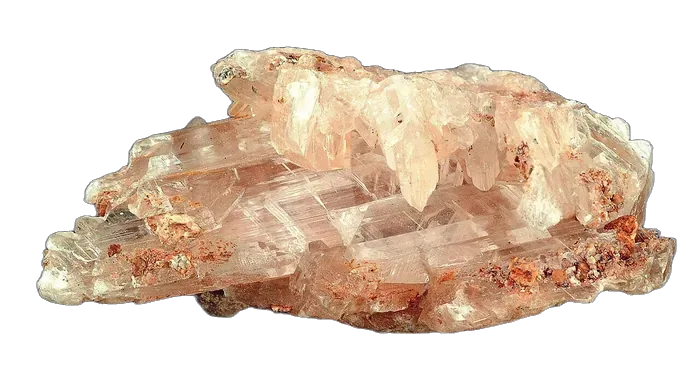
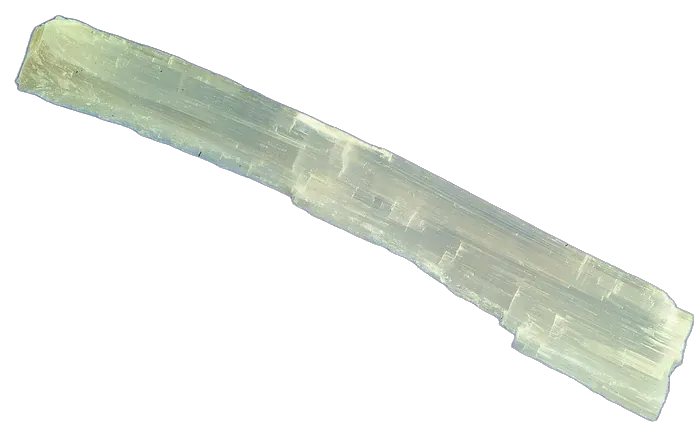
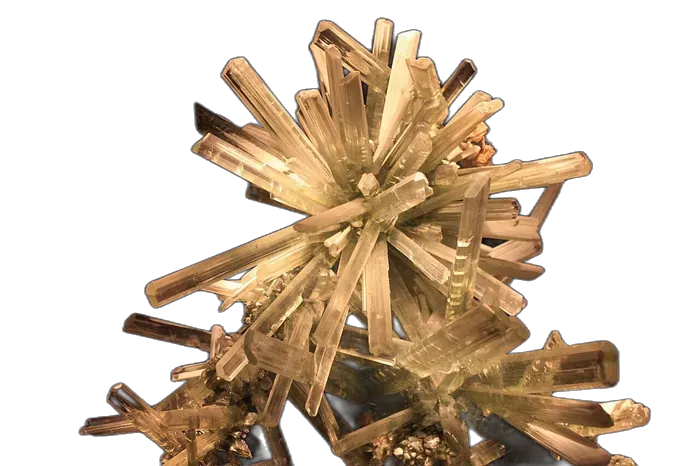
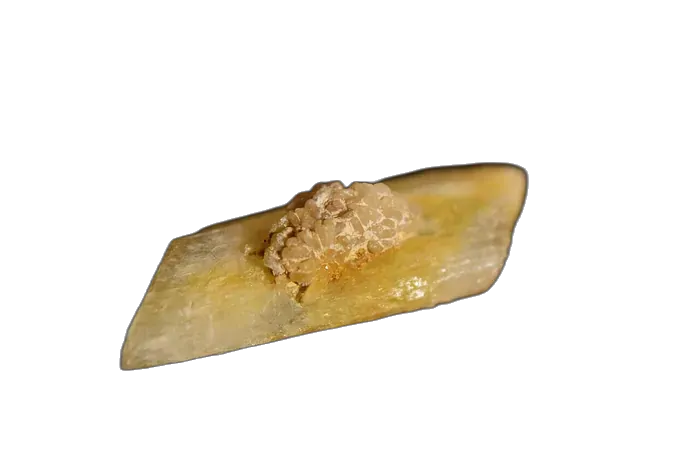
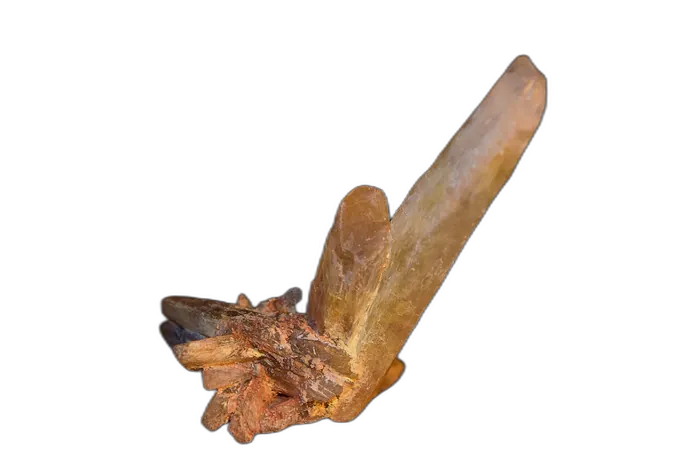
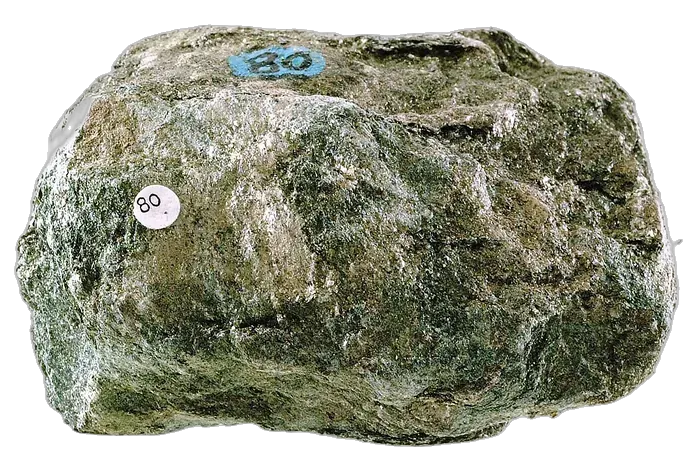
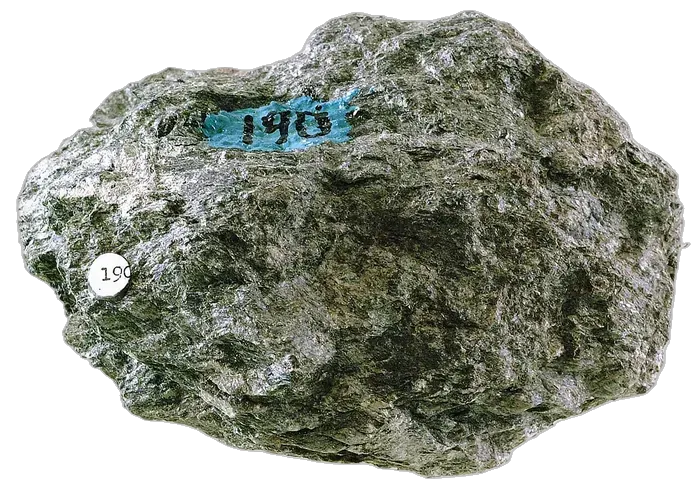
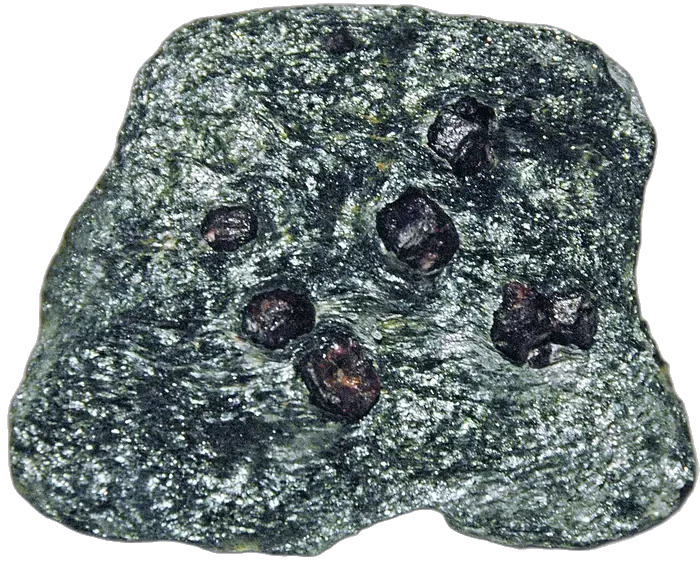
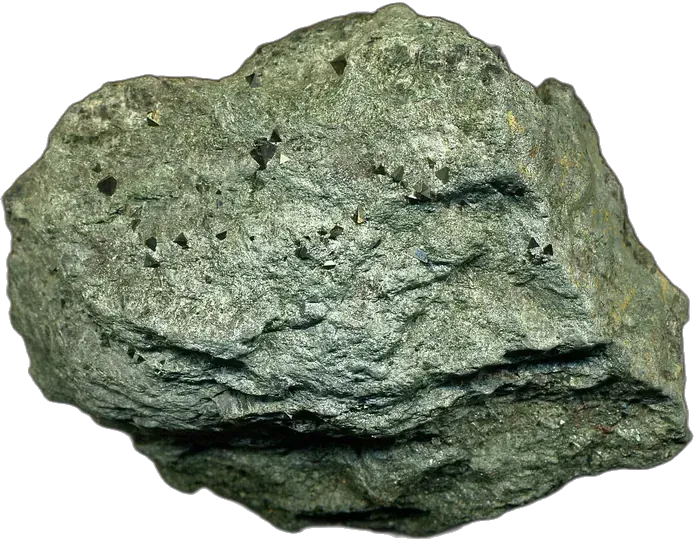
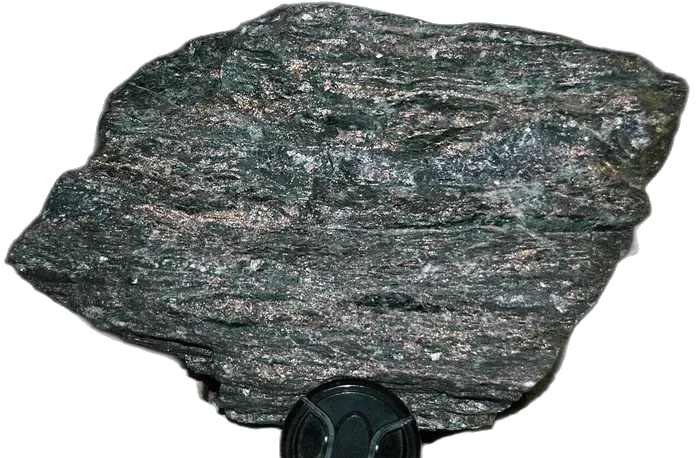
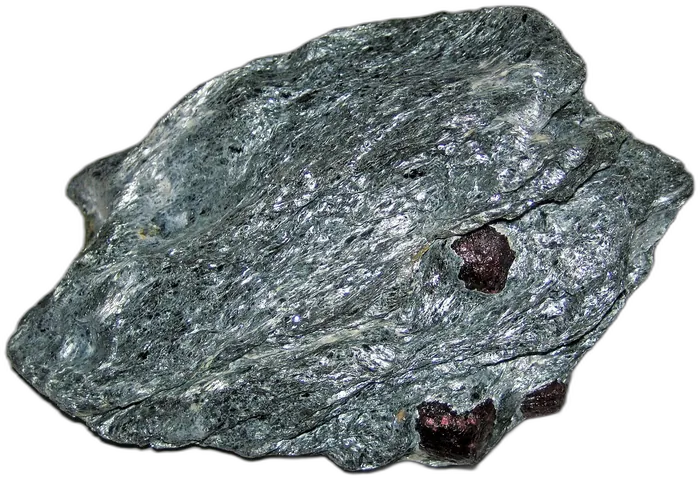
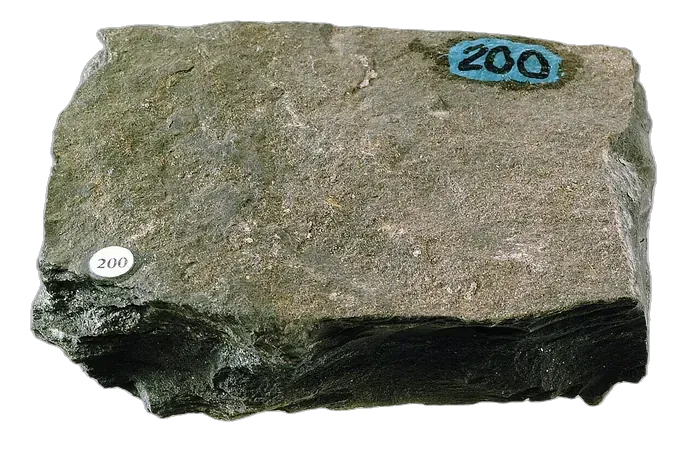
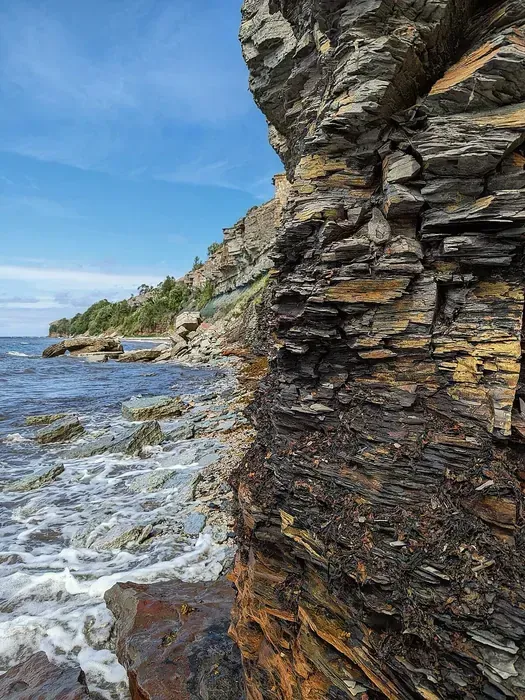
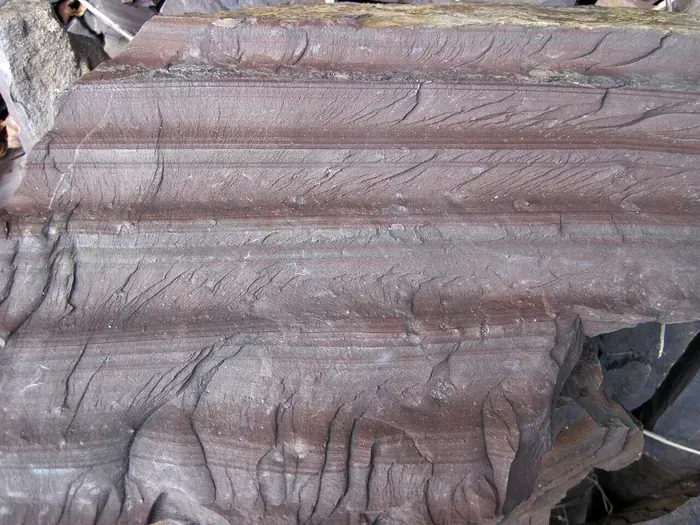
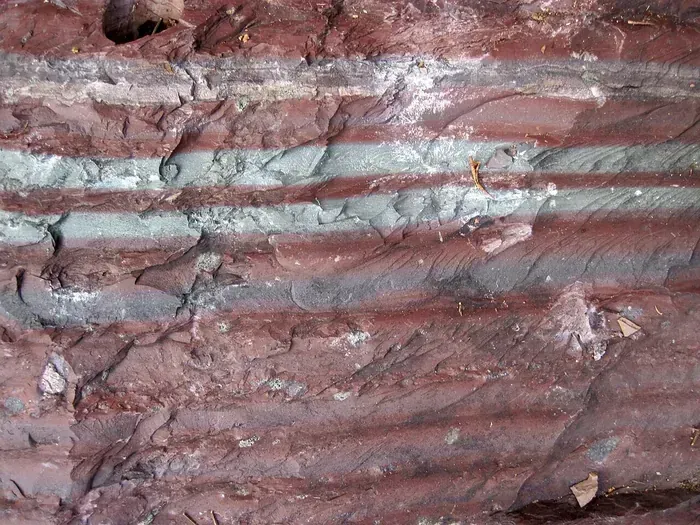
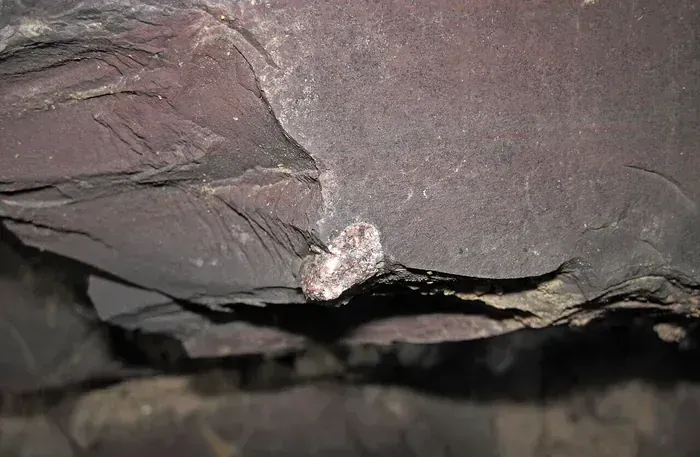
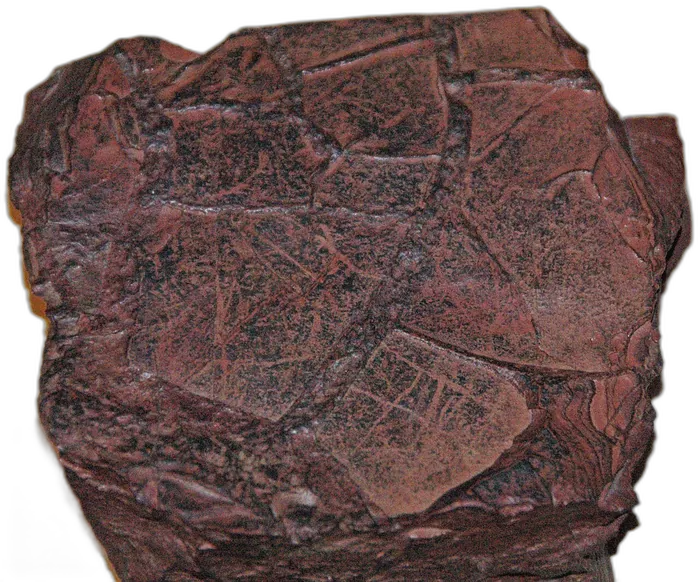
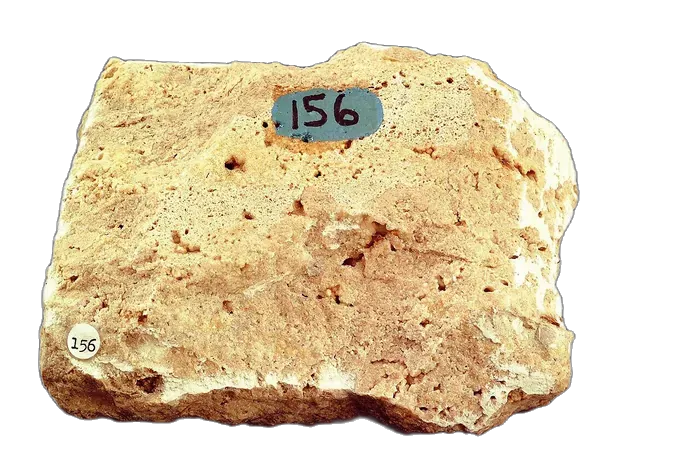
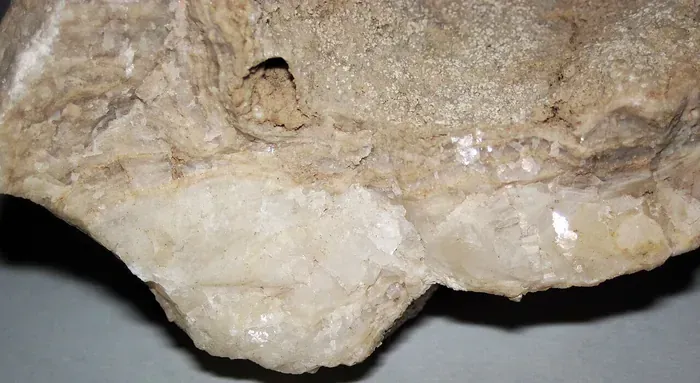
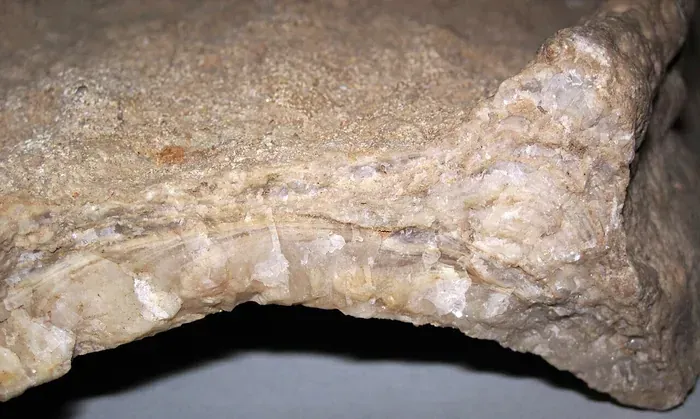
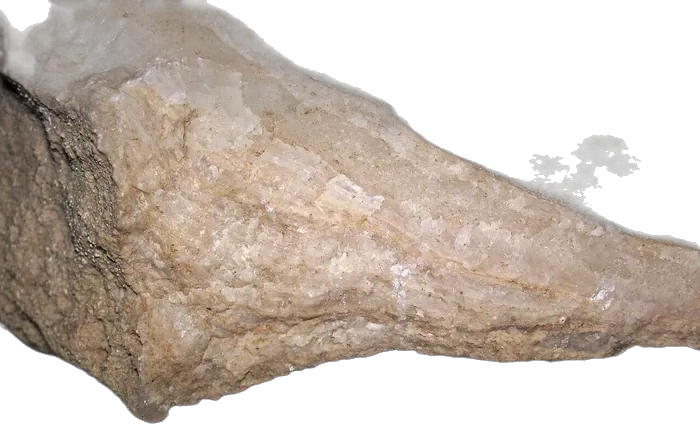
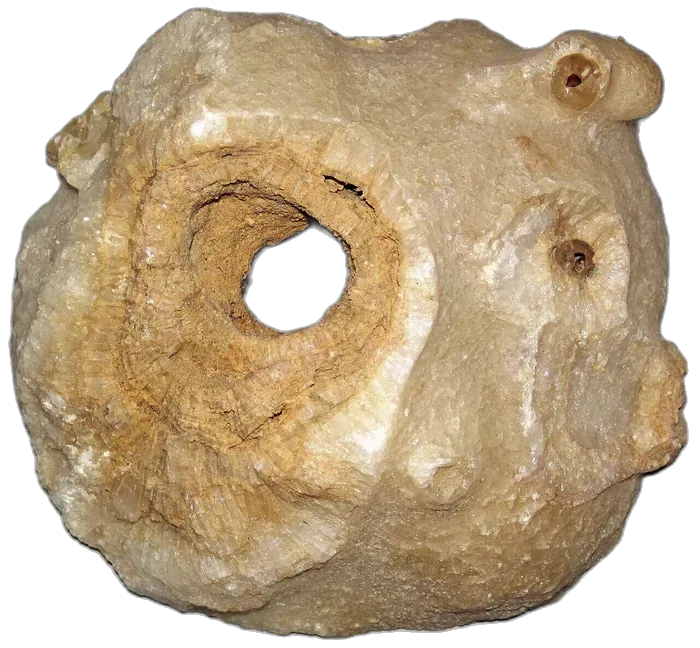
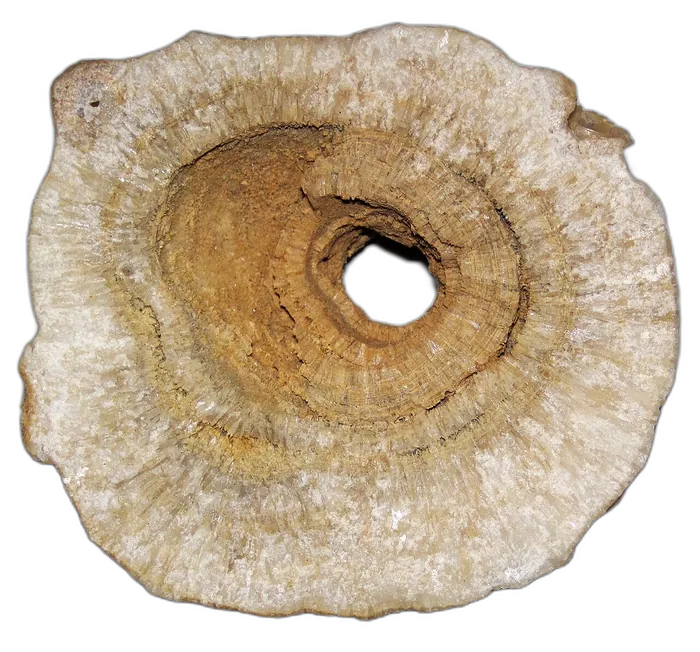
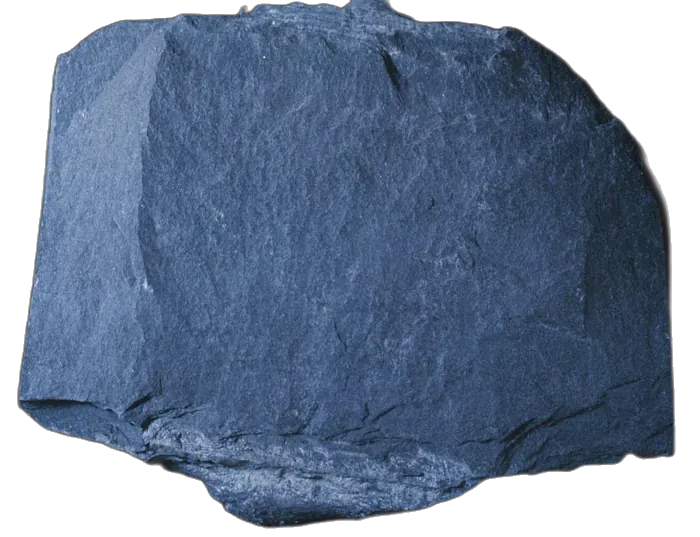
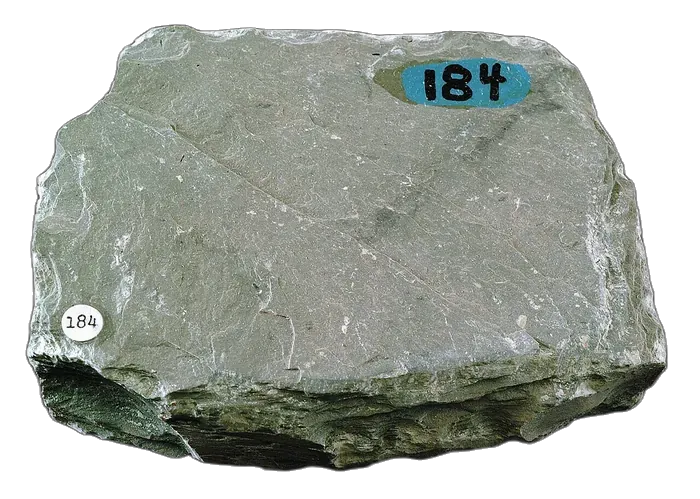
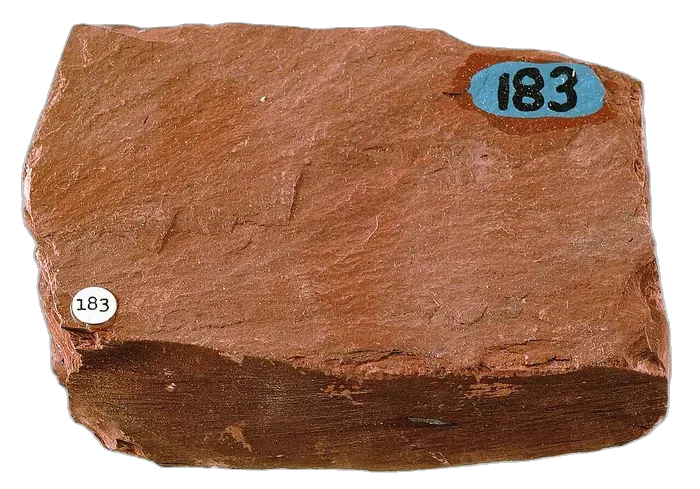
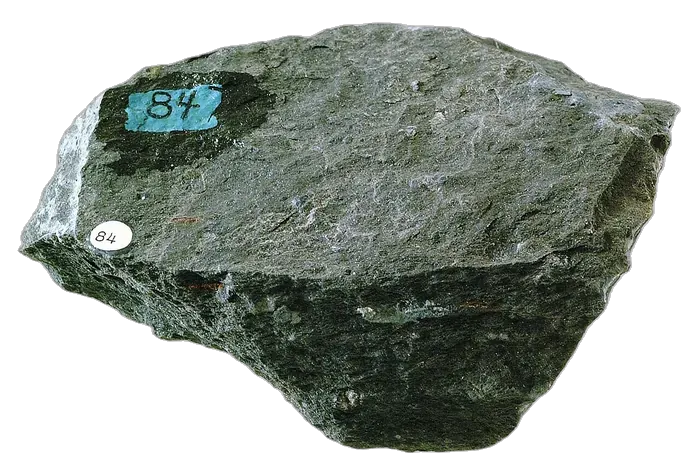
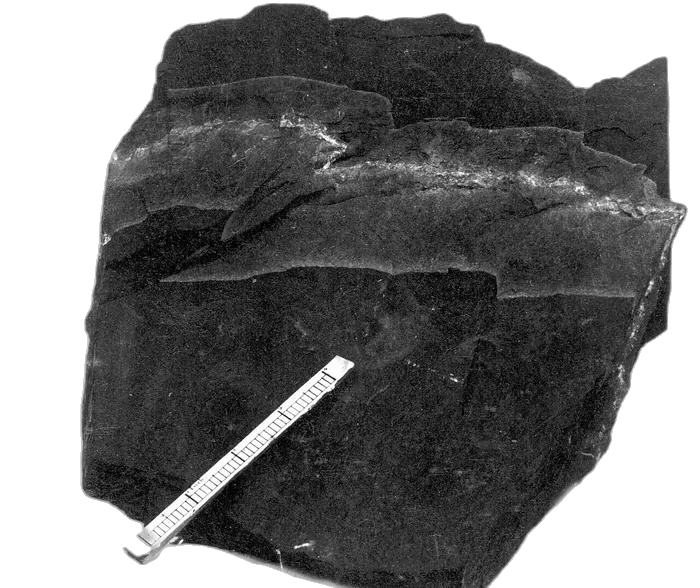
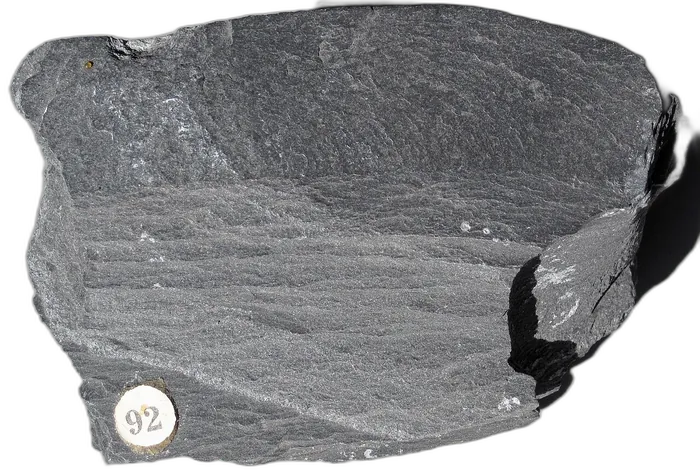
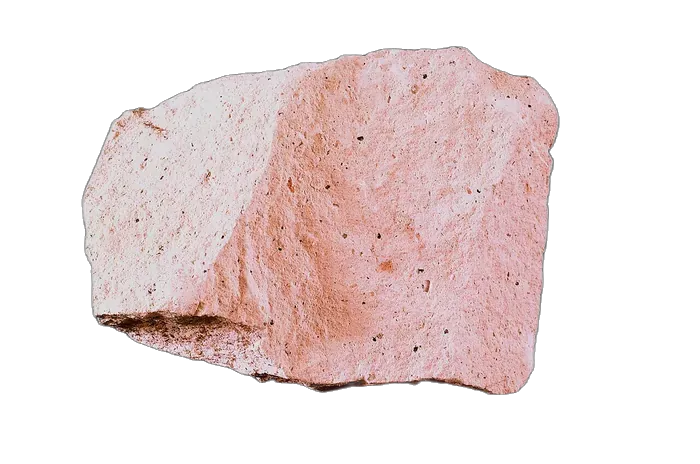
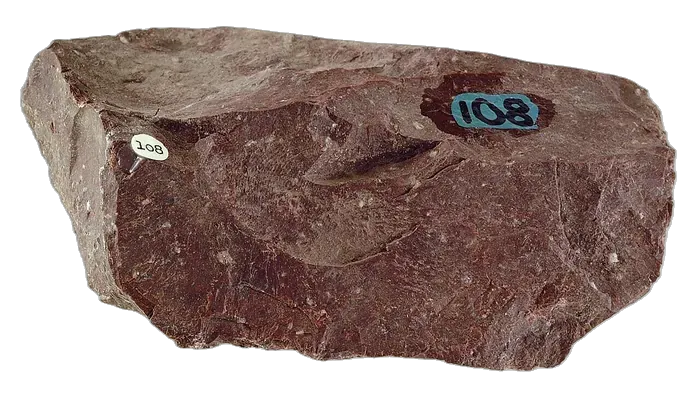
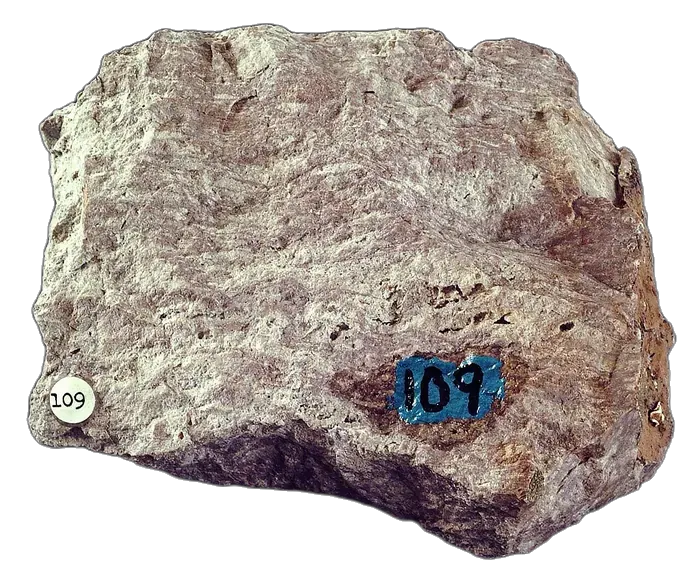
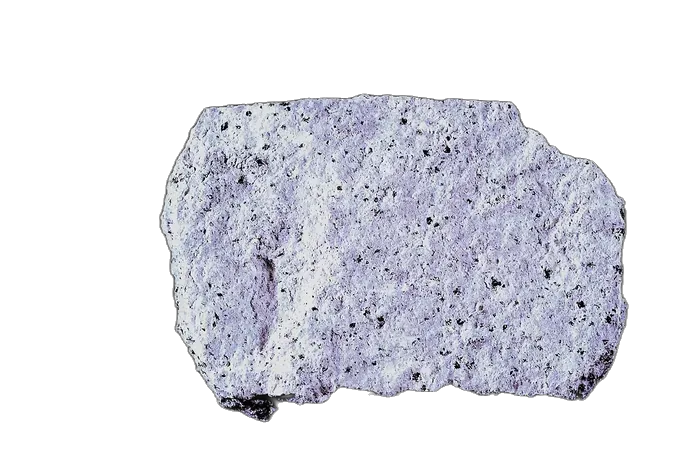
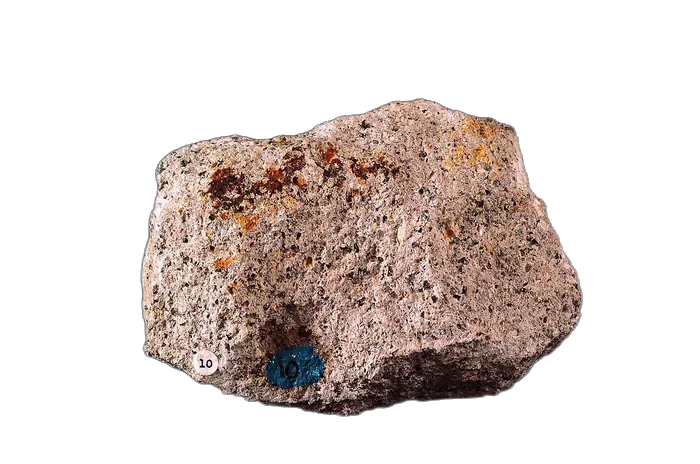
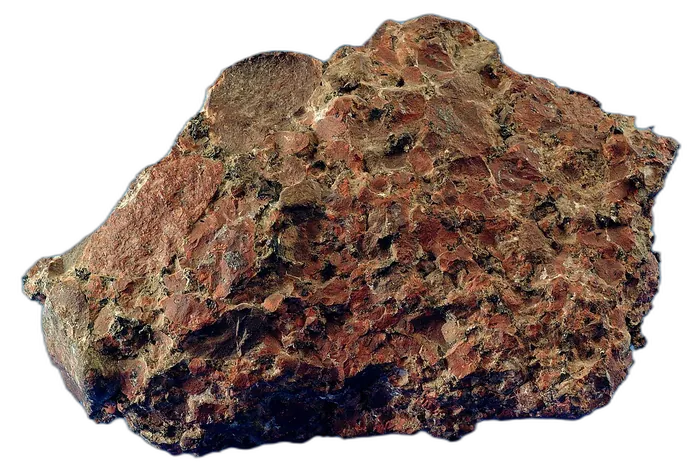
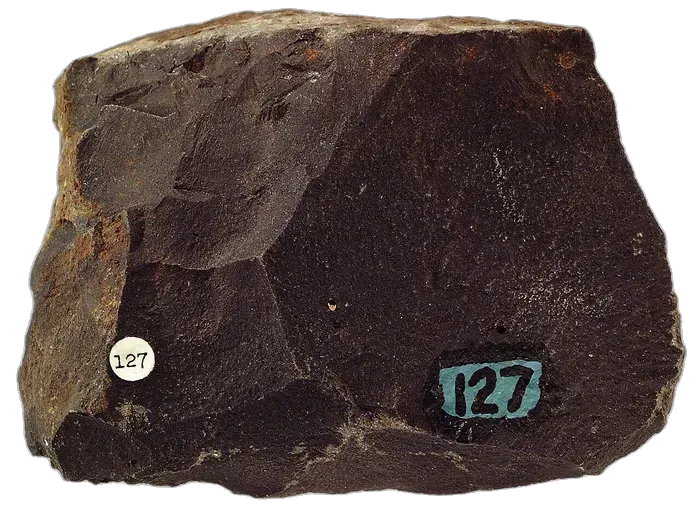
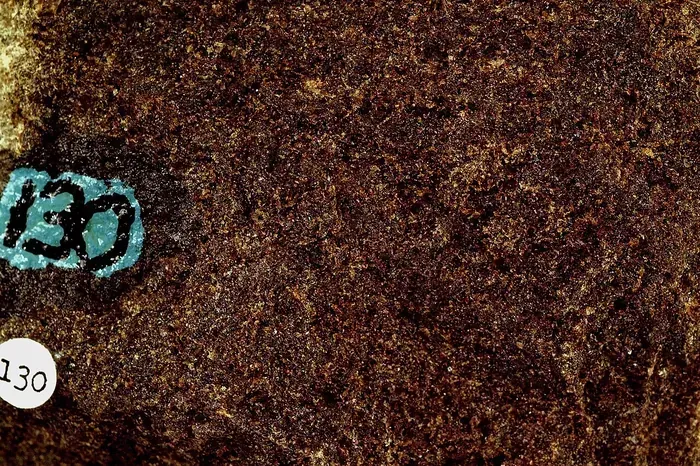
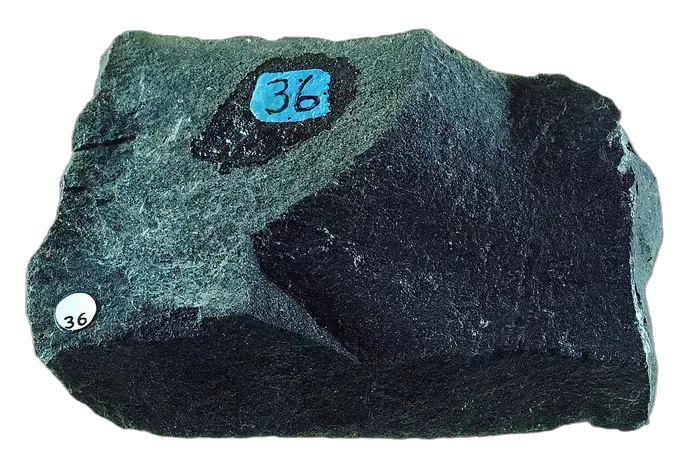
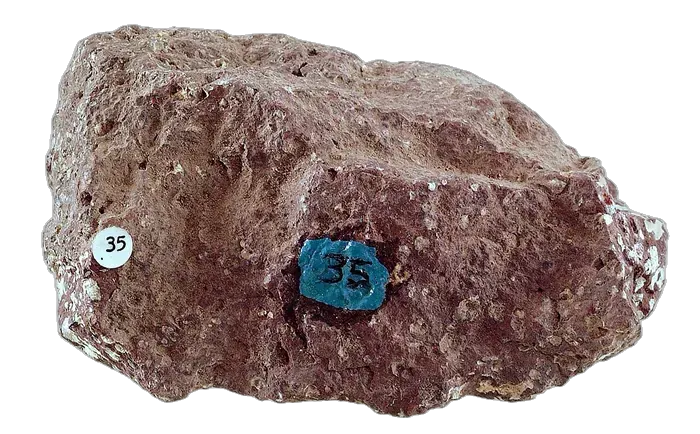
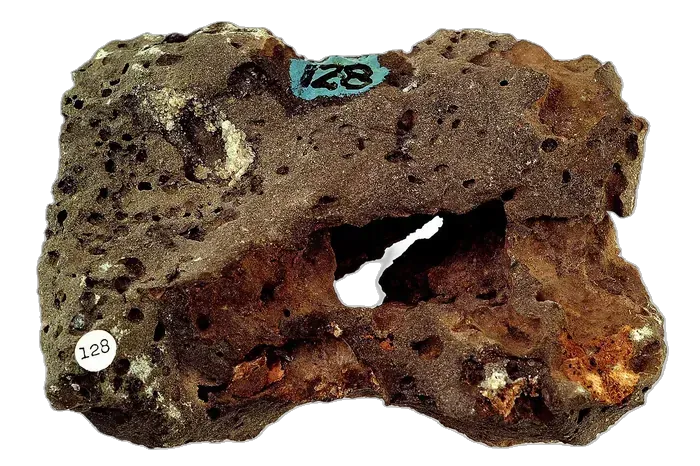
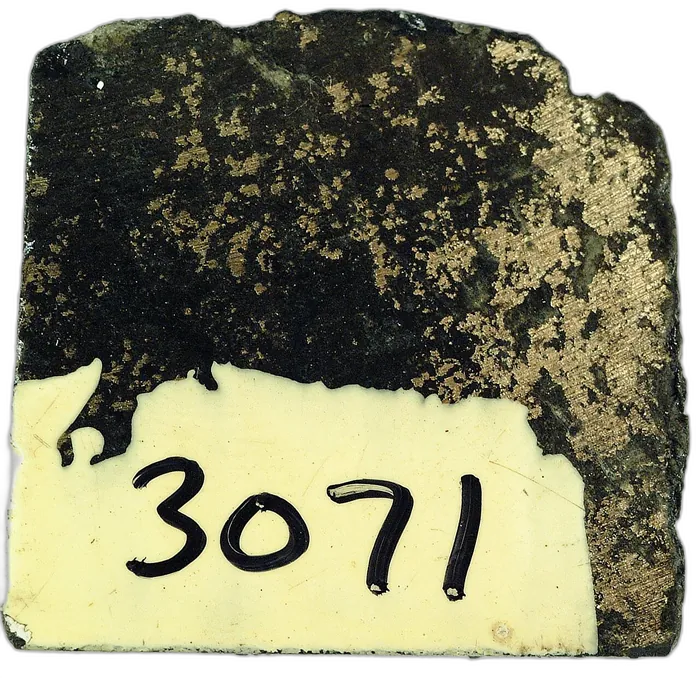
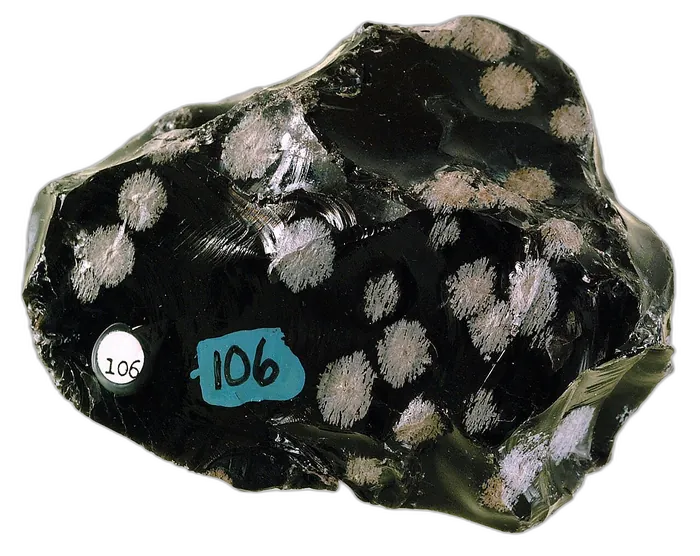
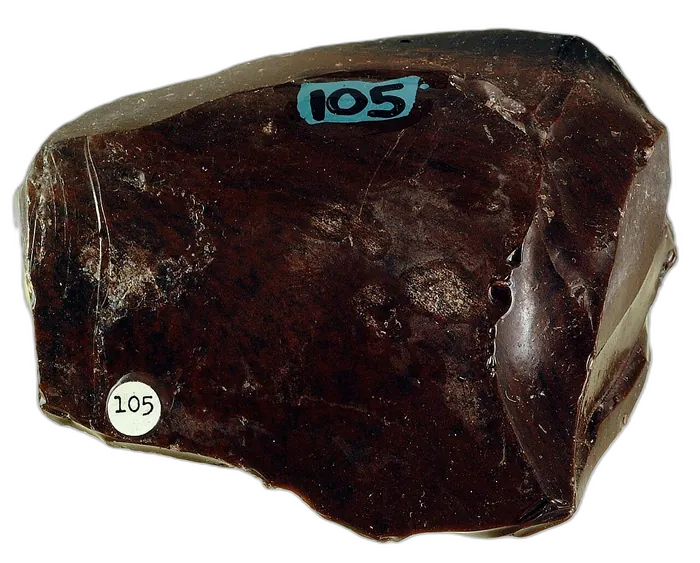
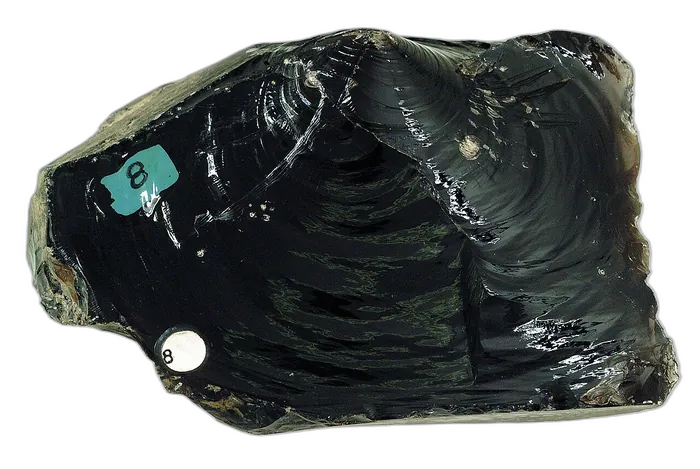
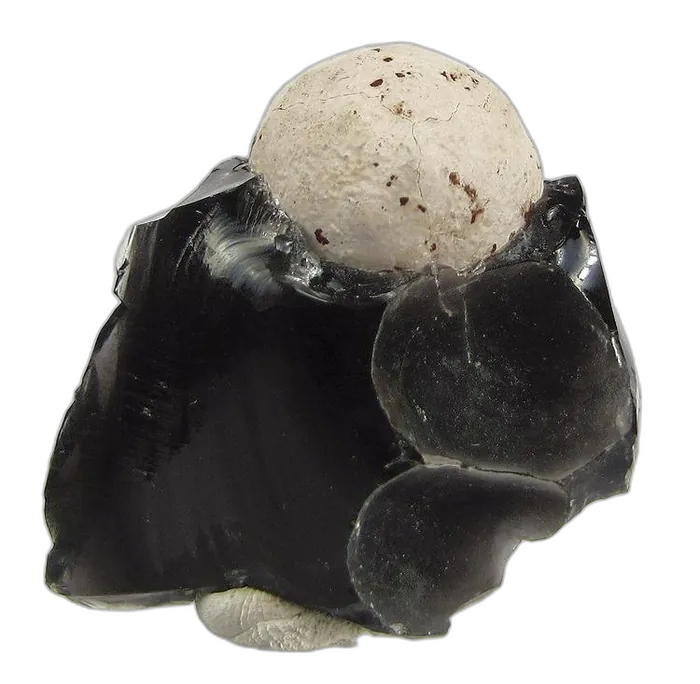
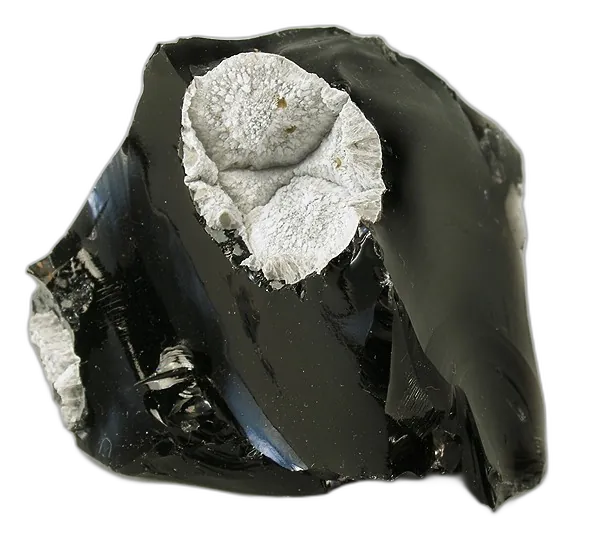
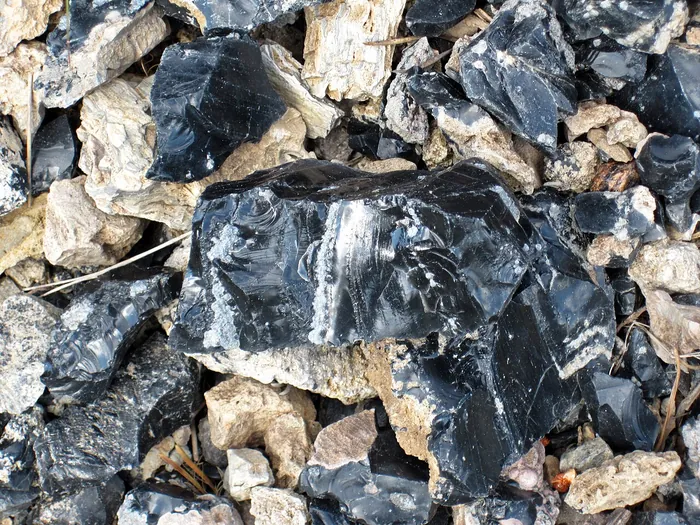
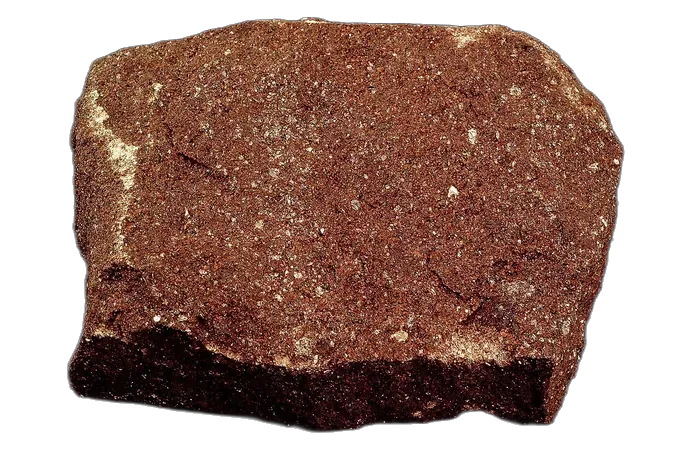
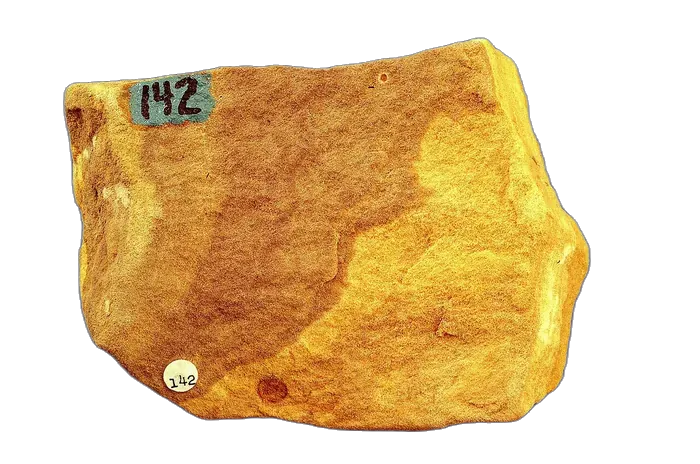
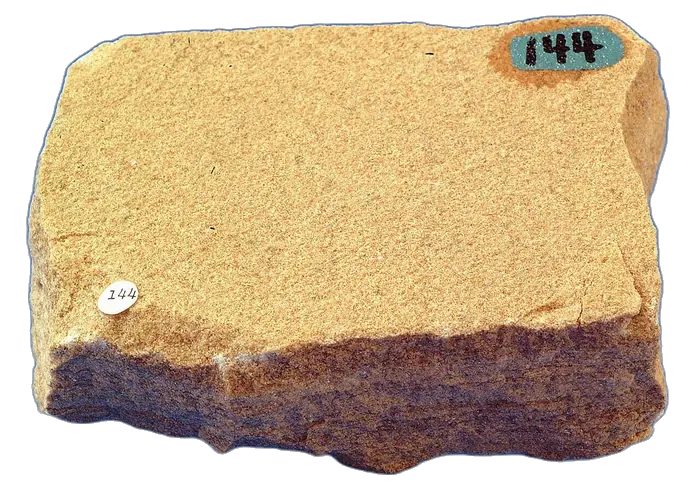
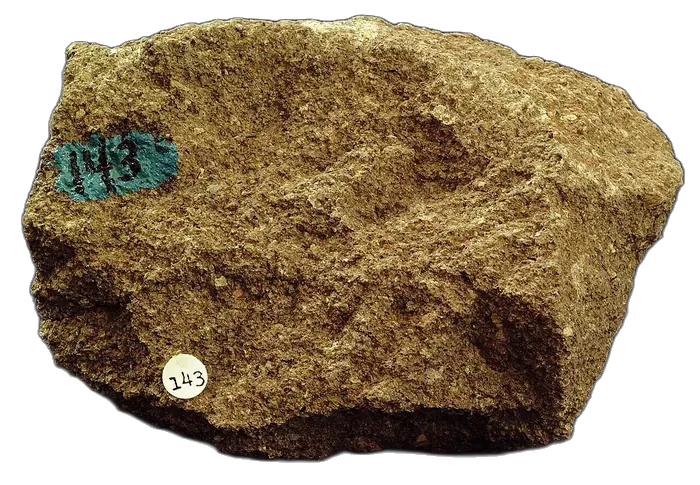
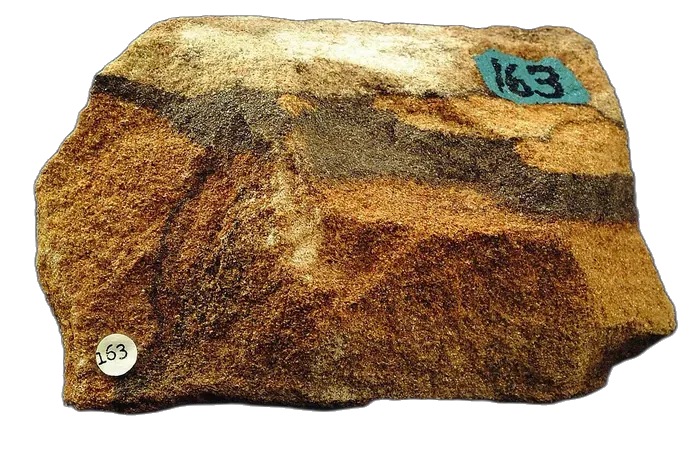
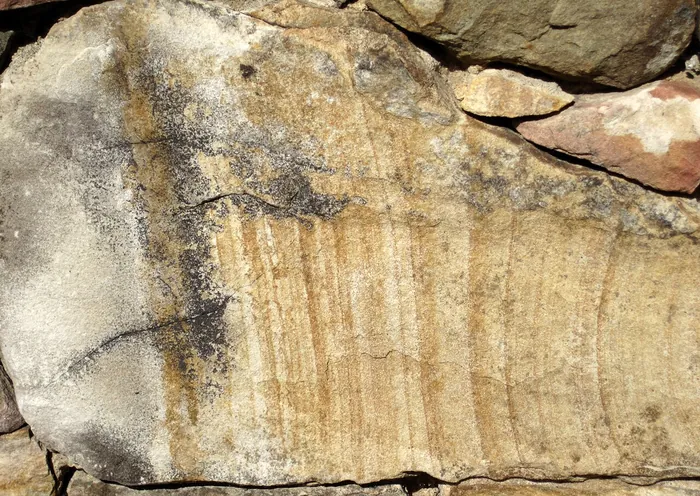
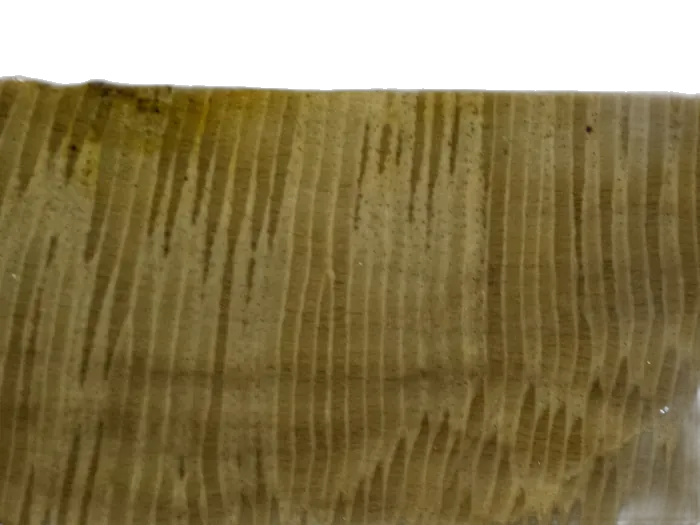
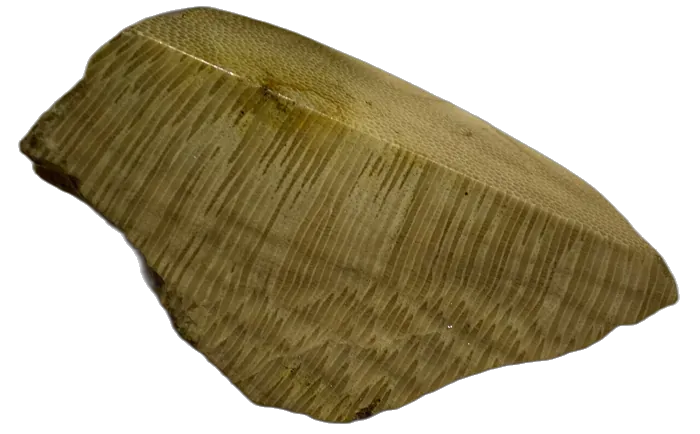
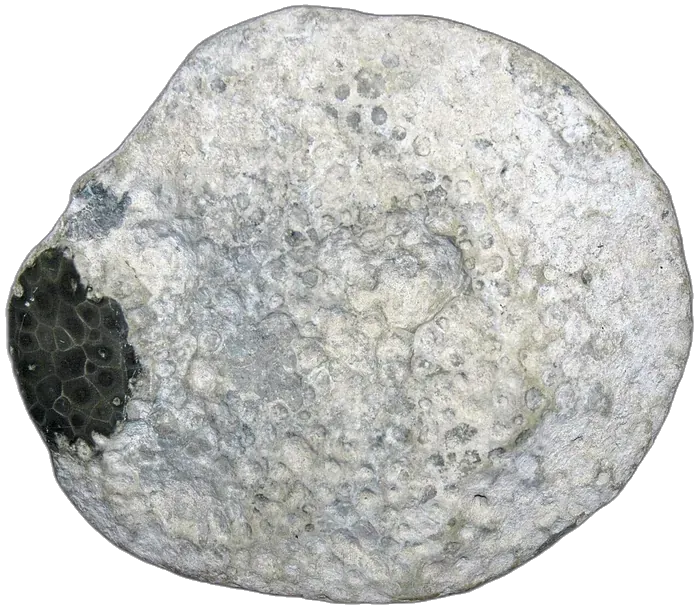
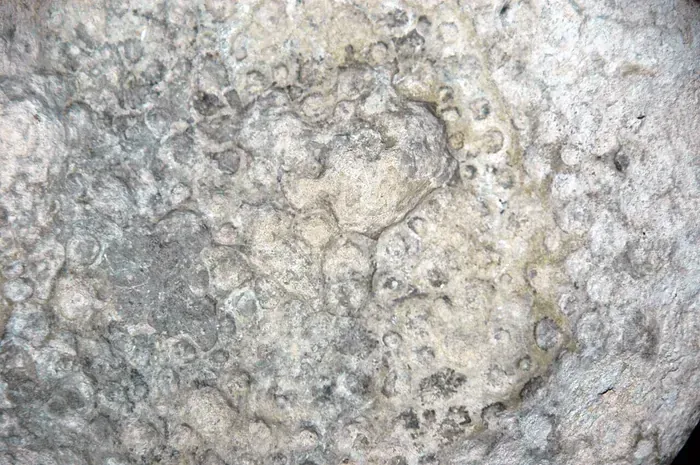
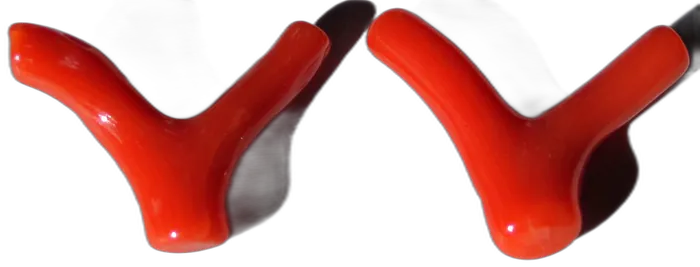
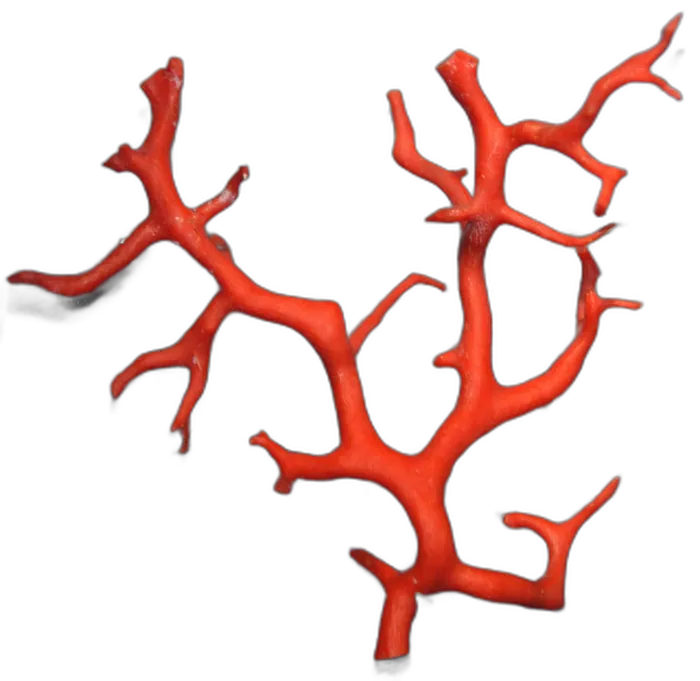
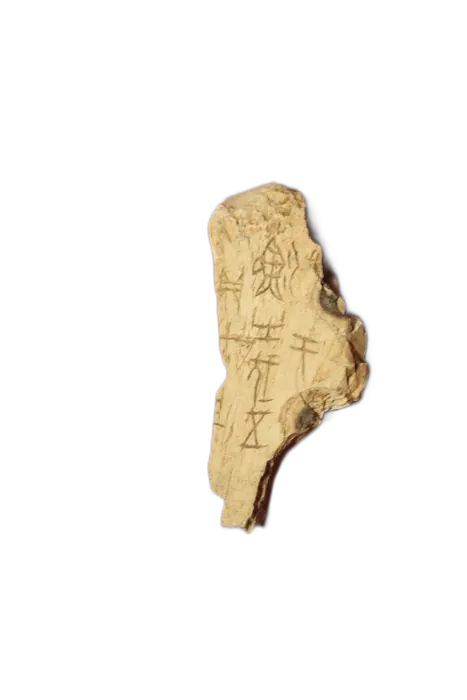
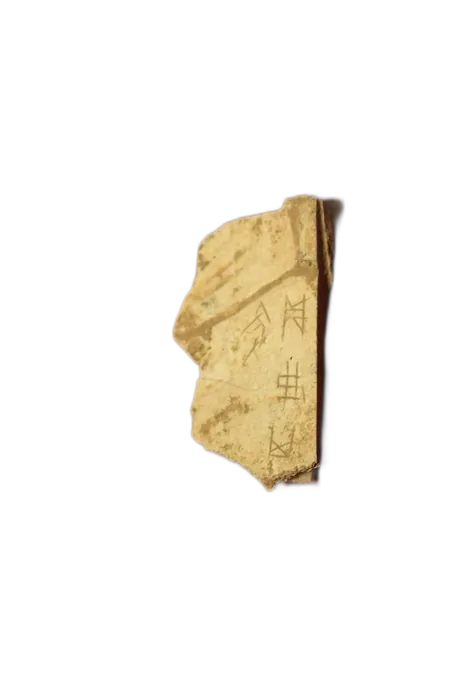
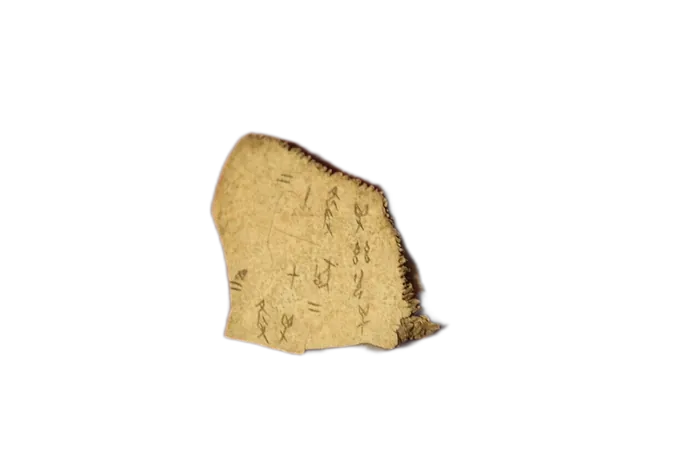
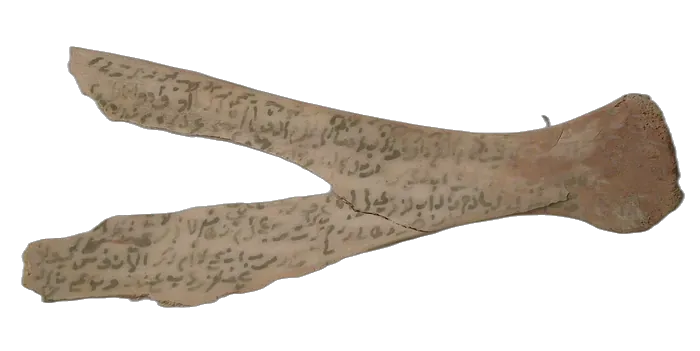
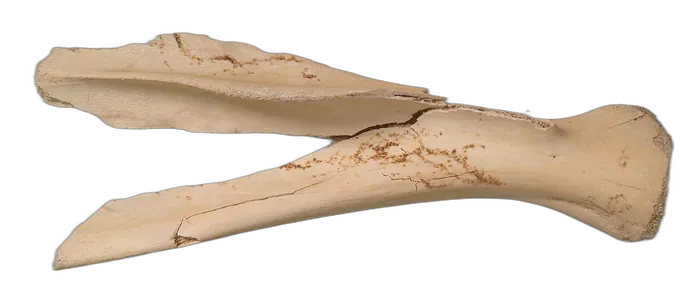
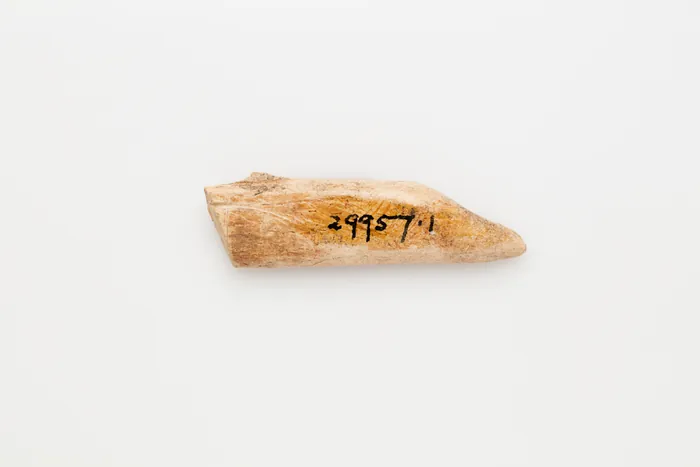
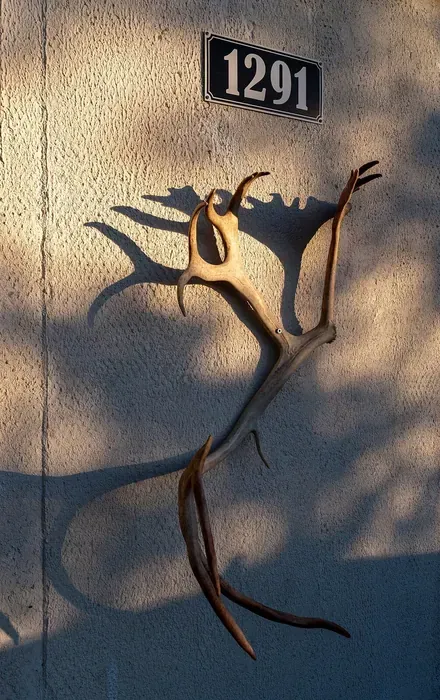
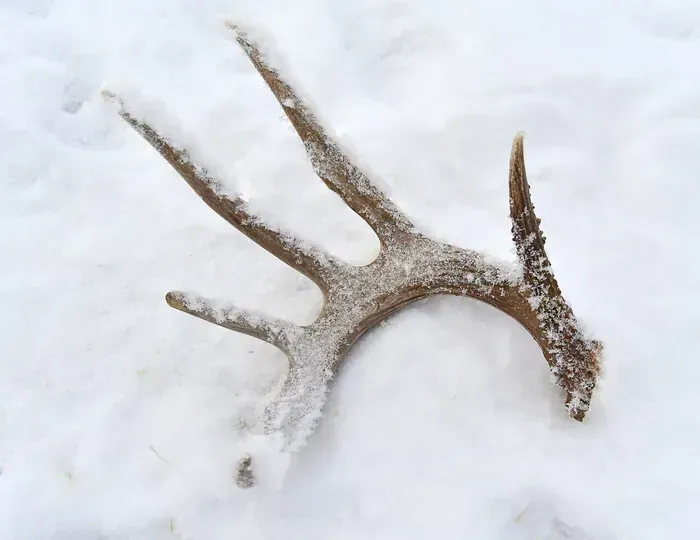
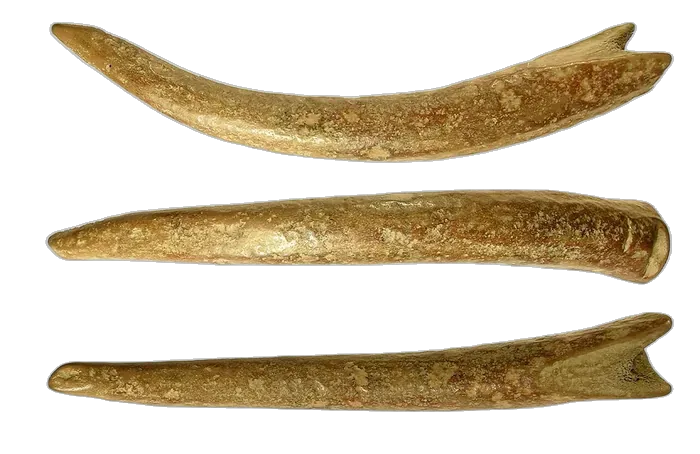
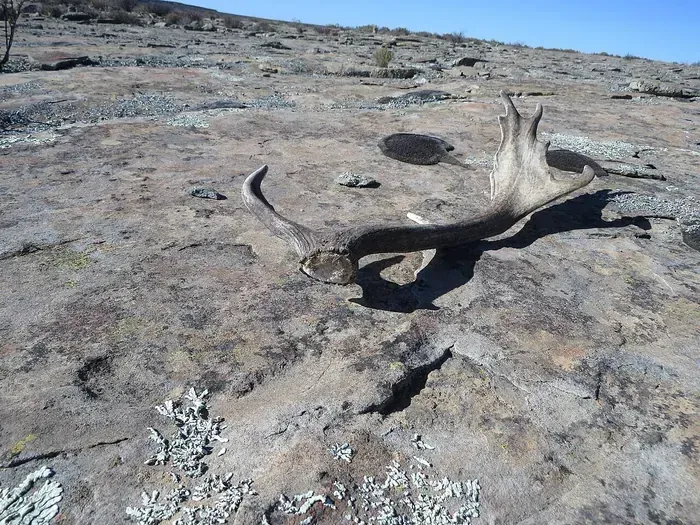
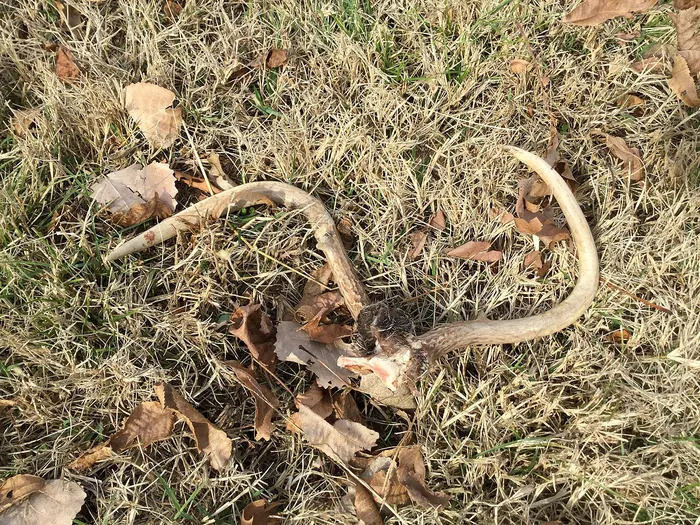
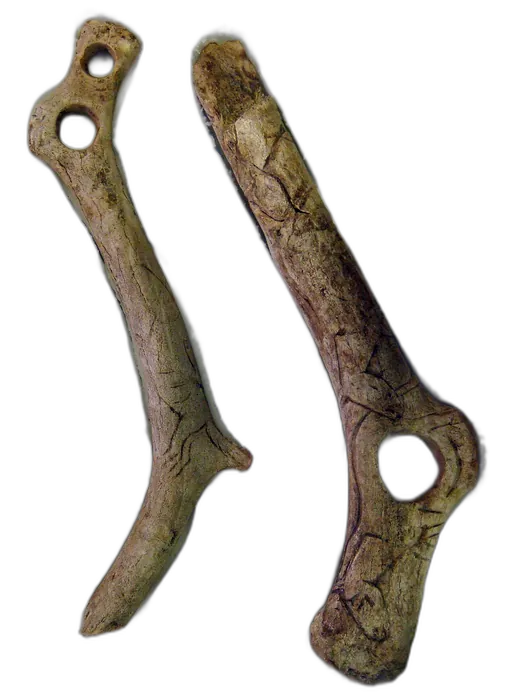
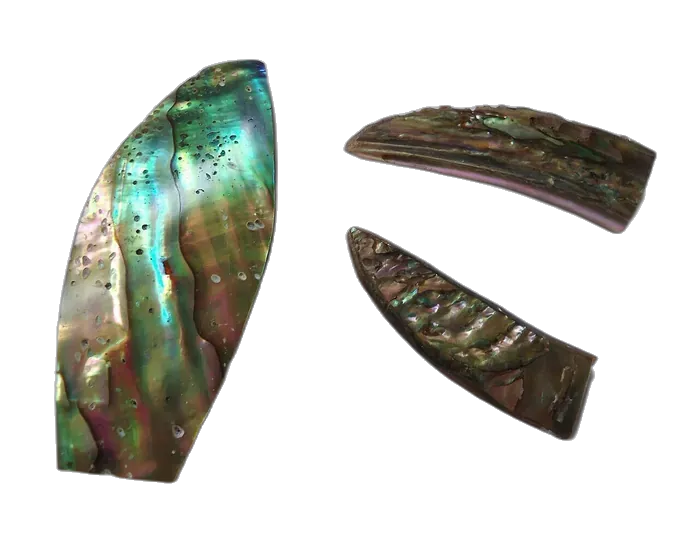
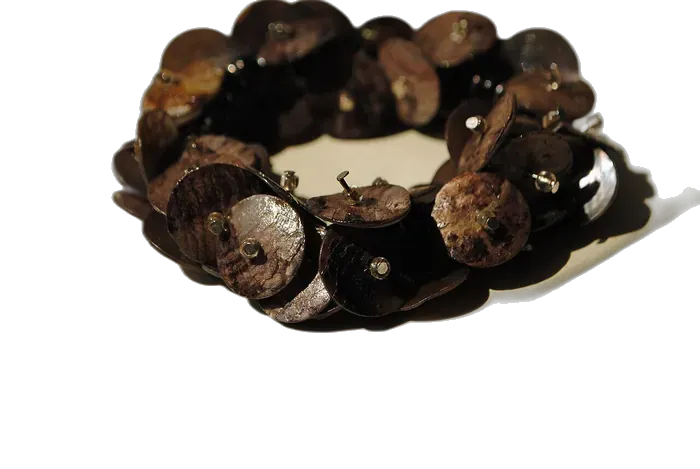
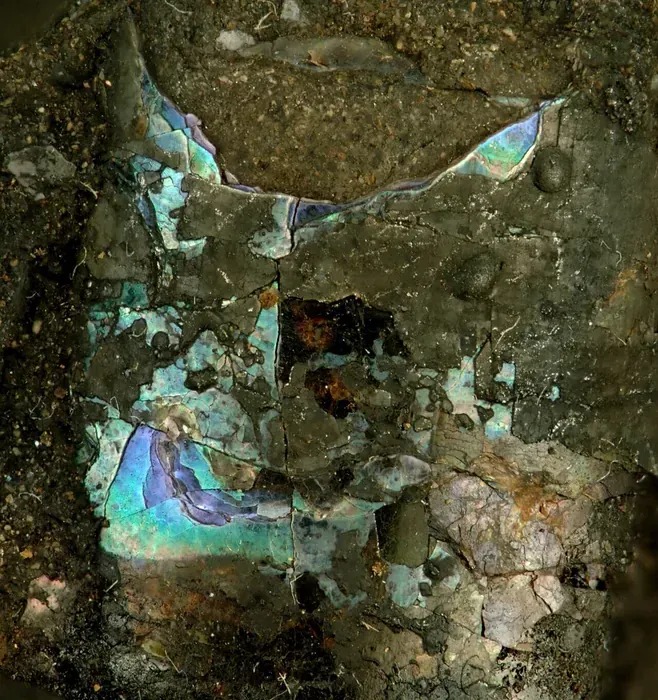
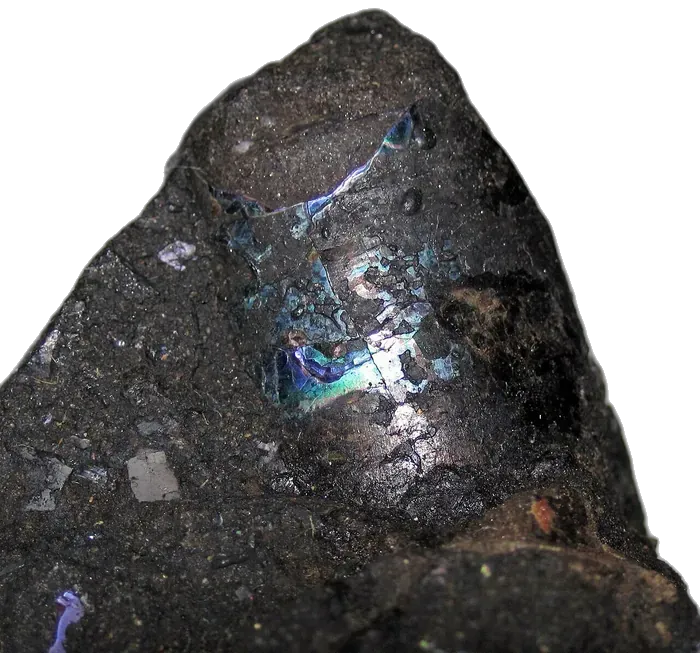
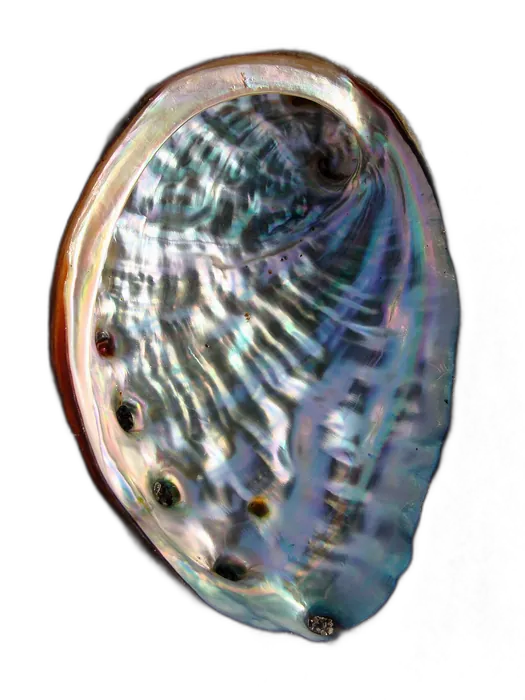
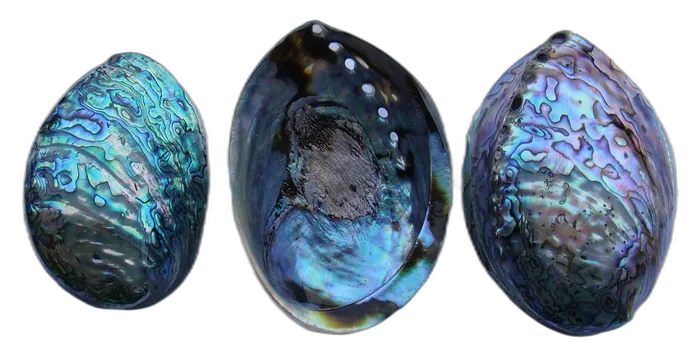
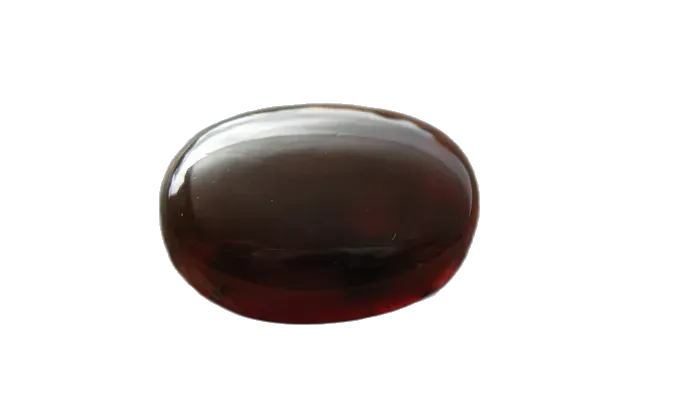
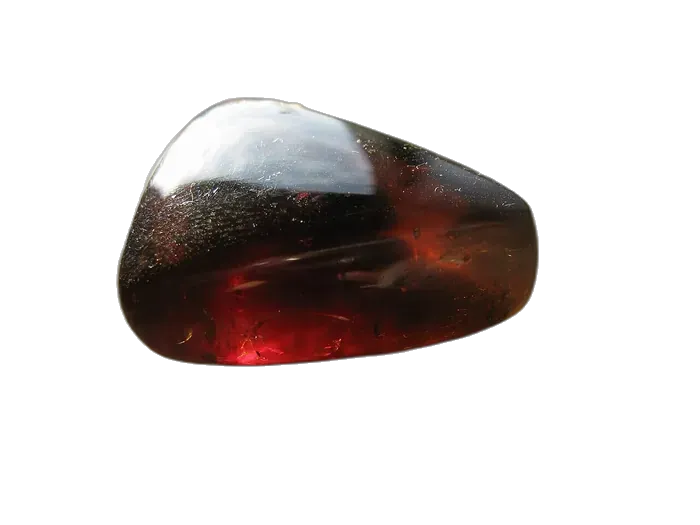
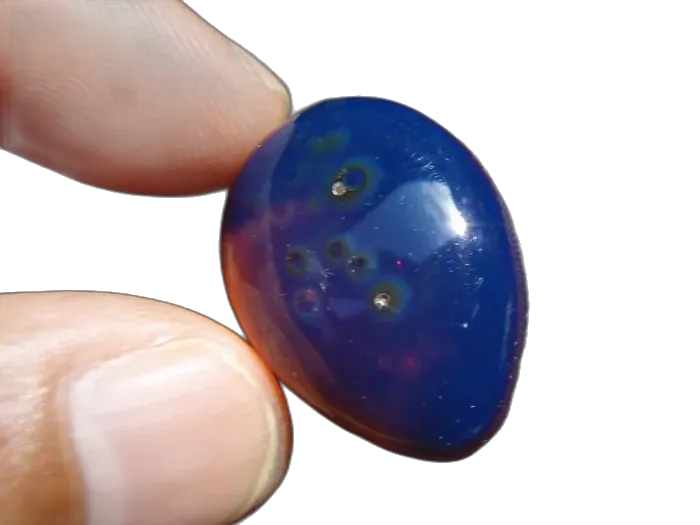
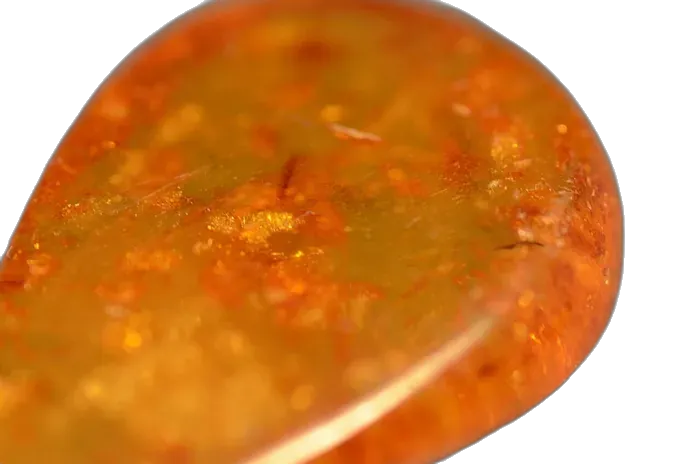
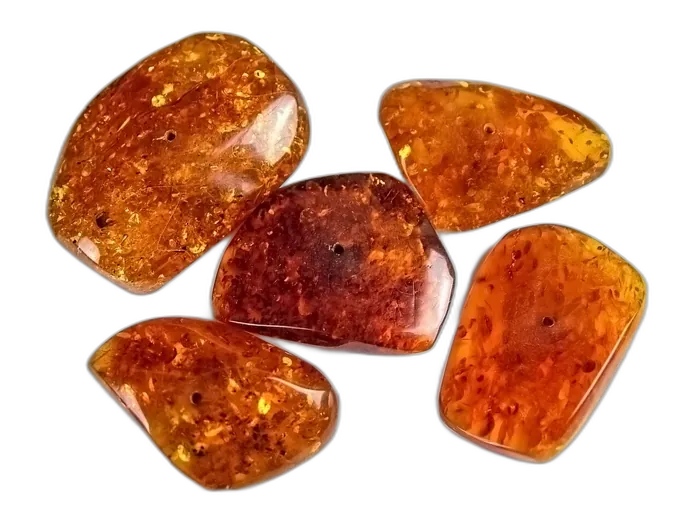
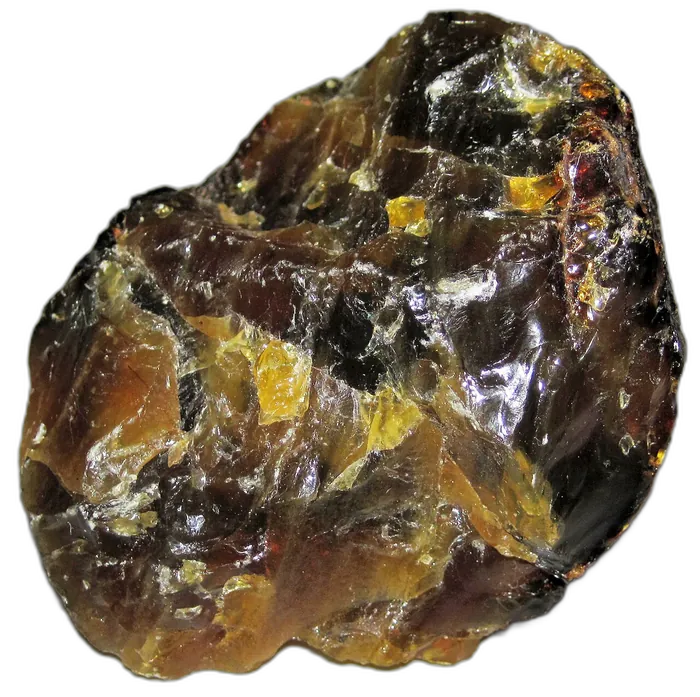
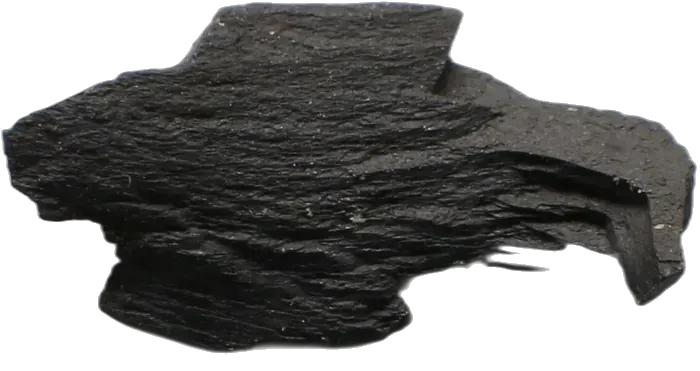
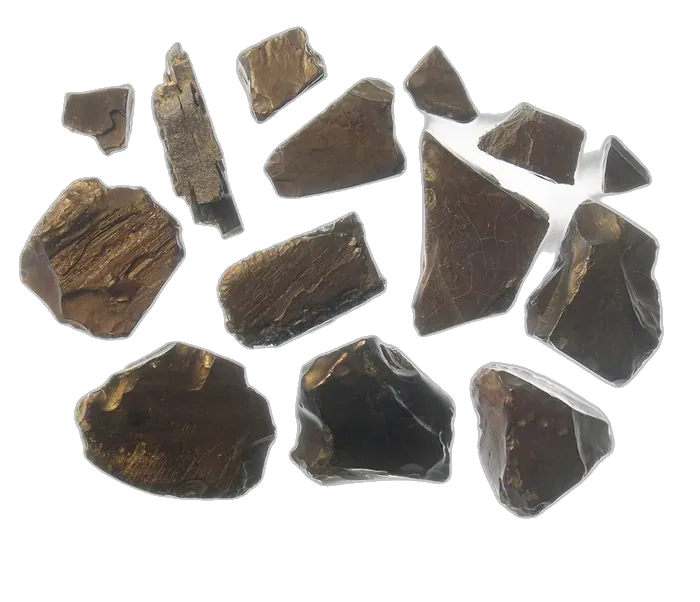
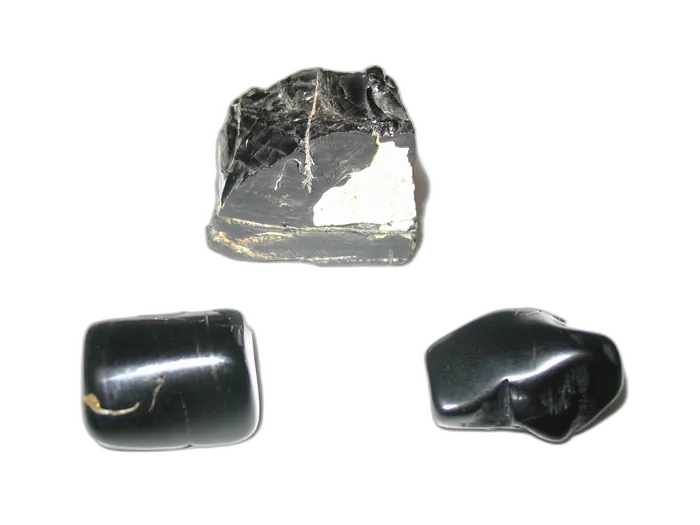
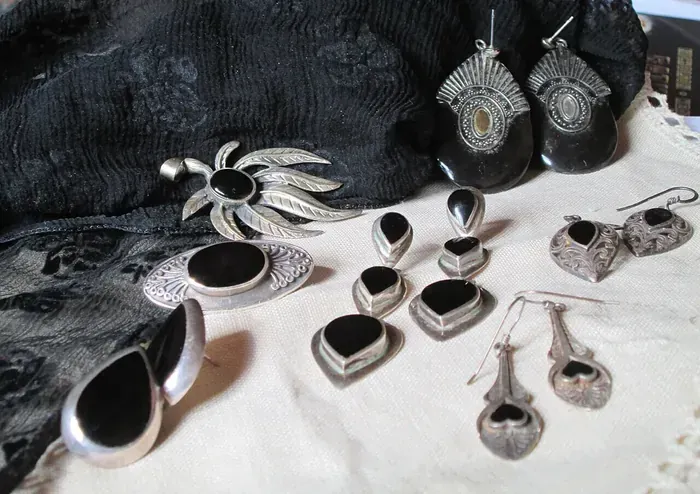
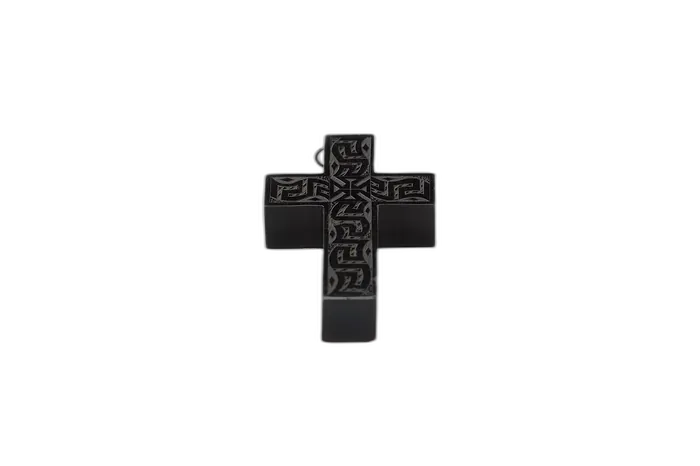
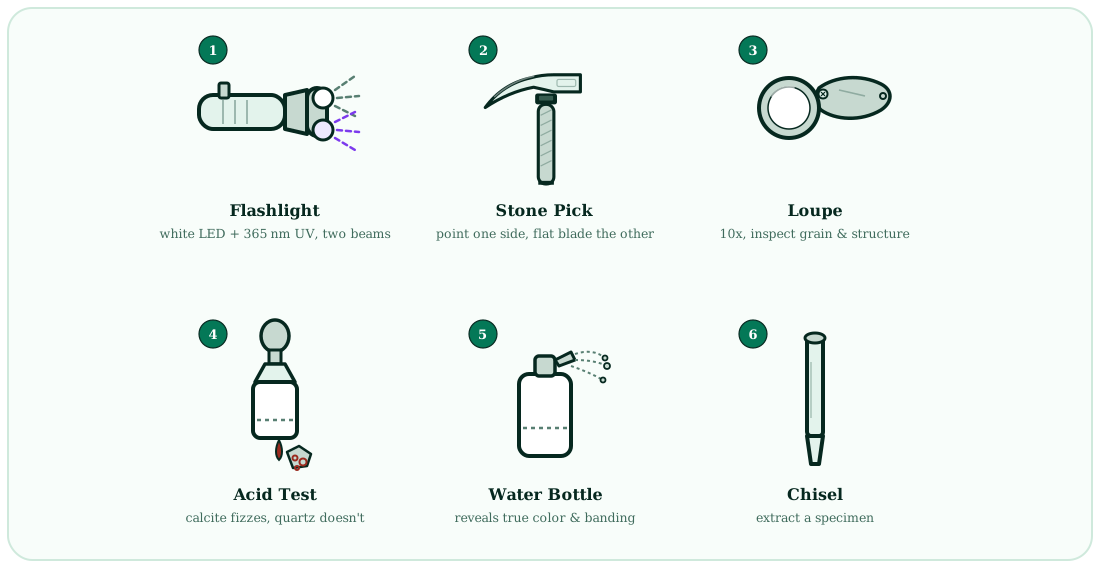

.jpg)


.jpg)
_4_(23624554460).jpg)
_9_(23851777341).jpg)


_(14618707748).jpg)
_1_(41756469702).jpg)
_2_(41756462202).jpg)
_3_(40899048665).jpg)
_5_(27929860728).jpg)
_6_(40899027645).jpg)
_1.jpg)

_South_Africa.jpg)

_(34154830520).jpg)
_8.jpg)
_9.jpg)
_10.jpg)
_11.jpg)
_2_(40375987800).jpg)
_261.jpg)
_255.jpg)
_256.jpg)
.jpg)
_(White_River_Badlands_area,_western_South_Dakota,_USA)_4_(15688316692).jpg)


_(Sar-e-Sang_Deposit,_Sakhi_Formation,_Precambrian,_2.4-2.7_Ga_(%3F);_Sar-e-Sang_Mining_District,_Hindu-Kush_Mountains,_Afghanistan)_7_(40672924053).jpg)
_(Sar-e-Sang_Deposit,_Sakhi_Formation,_Precambrian,_2.4-2.7_Ga_(%3F);_Sar-e-Sang_Mining_District,_Hindu-Kush_Mountains,_Afghanistan)_6_(40672923793).jpg)


_(29807269083).jpg)
_(30141933700).jpg)
_4_(24664737756).jpg)
_3_(24690945305).jpg)

_(FindID_240220).jpg)
_(FindID_240220).jpg)
_(FindID_240220).jpg)


_(49155351038).jpg)
_(16735383710).jpg)
_2_(17240910815).jpg)

_(Konnarock_Formation,_Neoproterozoic,_~750_Ma;_Grassy_Branch_Outcrop_-_Rt._603_roadcut,_Smyth_County,_Virginia,_USA)_4_(30253429760).jpg)
_(Konnarock_Formation,_Neoproterozoic,_~750_Ma;_Grassy_Branch_Outcrop_-_Rt._603_roadcut,_Smyth_County,_Virginia,_USA)_16_(30551970125).jpg)
_(Konnarock_Formation,_Neoproterozoic,_~750_Ma;_Grassy_Branch_Outcrop_-_Rt._603_roadcut,_Smyth_County,_Virginia,_USA)_5_(30474473801).jpg)


_4.jpg)
.jpg)
_4_(49201543328).jpg)
_1_(49202030231).jpg)
_2_(49202237457).jpg)
_1.jpg)
_3_(14882221049).jpg)


_4.jpg)
_polished_specimen_with_two_faces_from_Iowa_City,_Iowa_in_the_Cleveland_Museum_of_Natural_History_(cropped).jpg)
.jpg)
_(Traverse_Group,_Middle_Devonian;_Michigan,_USA)_4_(35743605926).jpg)
_(Traverse_Group,_Middle_Devonian;_Michigan,_USA)_5_(35614856172).jpg)
_(Mediterranean_Sea,_offshore_Italy)_1.jpg)
_1_(15691074776).jpg)
.jpg)

.jpg)


_2.jpg)


.jpg)

.jpg)
.jpg)